Last week marked this blog’s second anniversary! Which means, blogiversary (what a cheesy and intriguing word at the same time)! I can’t believe how fast time has gone and how much this blog has developed. Its exciting to say the least!
It all started out, two years ago, with a website for my cake business and the blog was mainly a platform to showcase the most recent creations. Fast forward two years and nowadays, it has everything from cake and other dessert recipes to fondant tutorials!
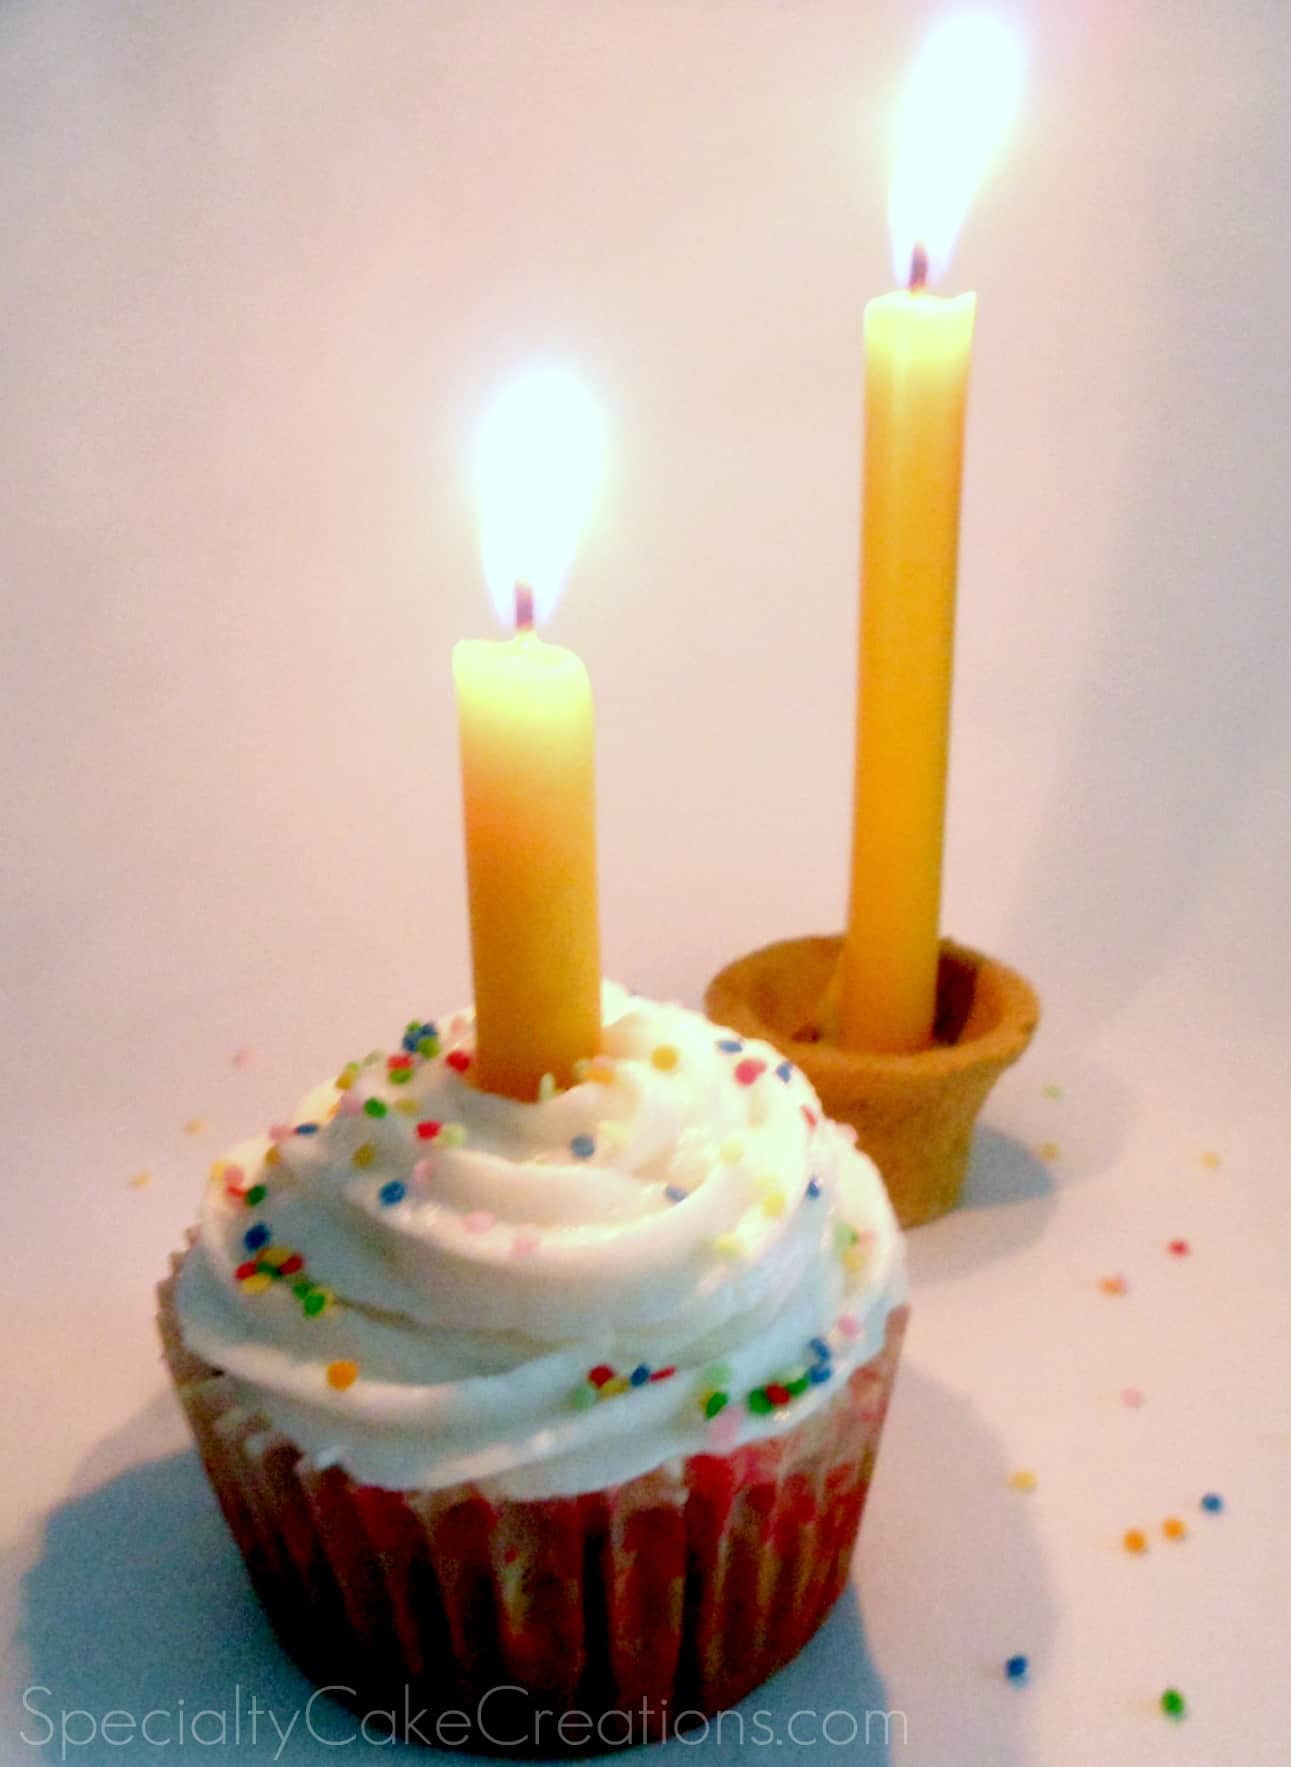
What better way to celebrate a birthday or anniversary … ahhh, lets embrace it – blogiversary—than cupcakes! As you might know, I am currently in an oven-less state here in Thailand, but, nonetheless, I enjoy buying cupcakes (so far the best kinds have been coconut and banana) and decorating them at home.
I used a simple powdered sugar + shortening + milk frosting, but, to my great dismay, I couldn’t find any of my sprinkles. It was a tough decision which caking items to take along to Thailand and it seems the sprinkles didn’t make the cut.
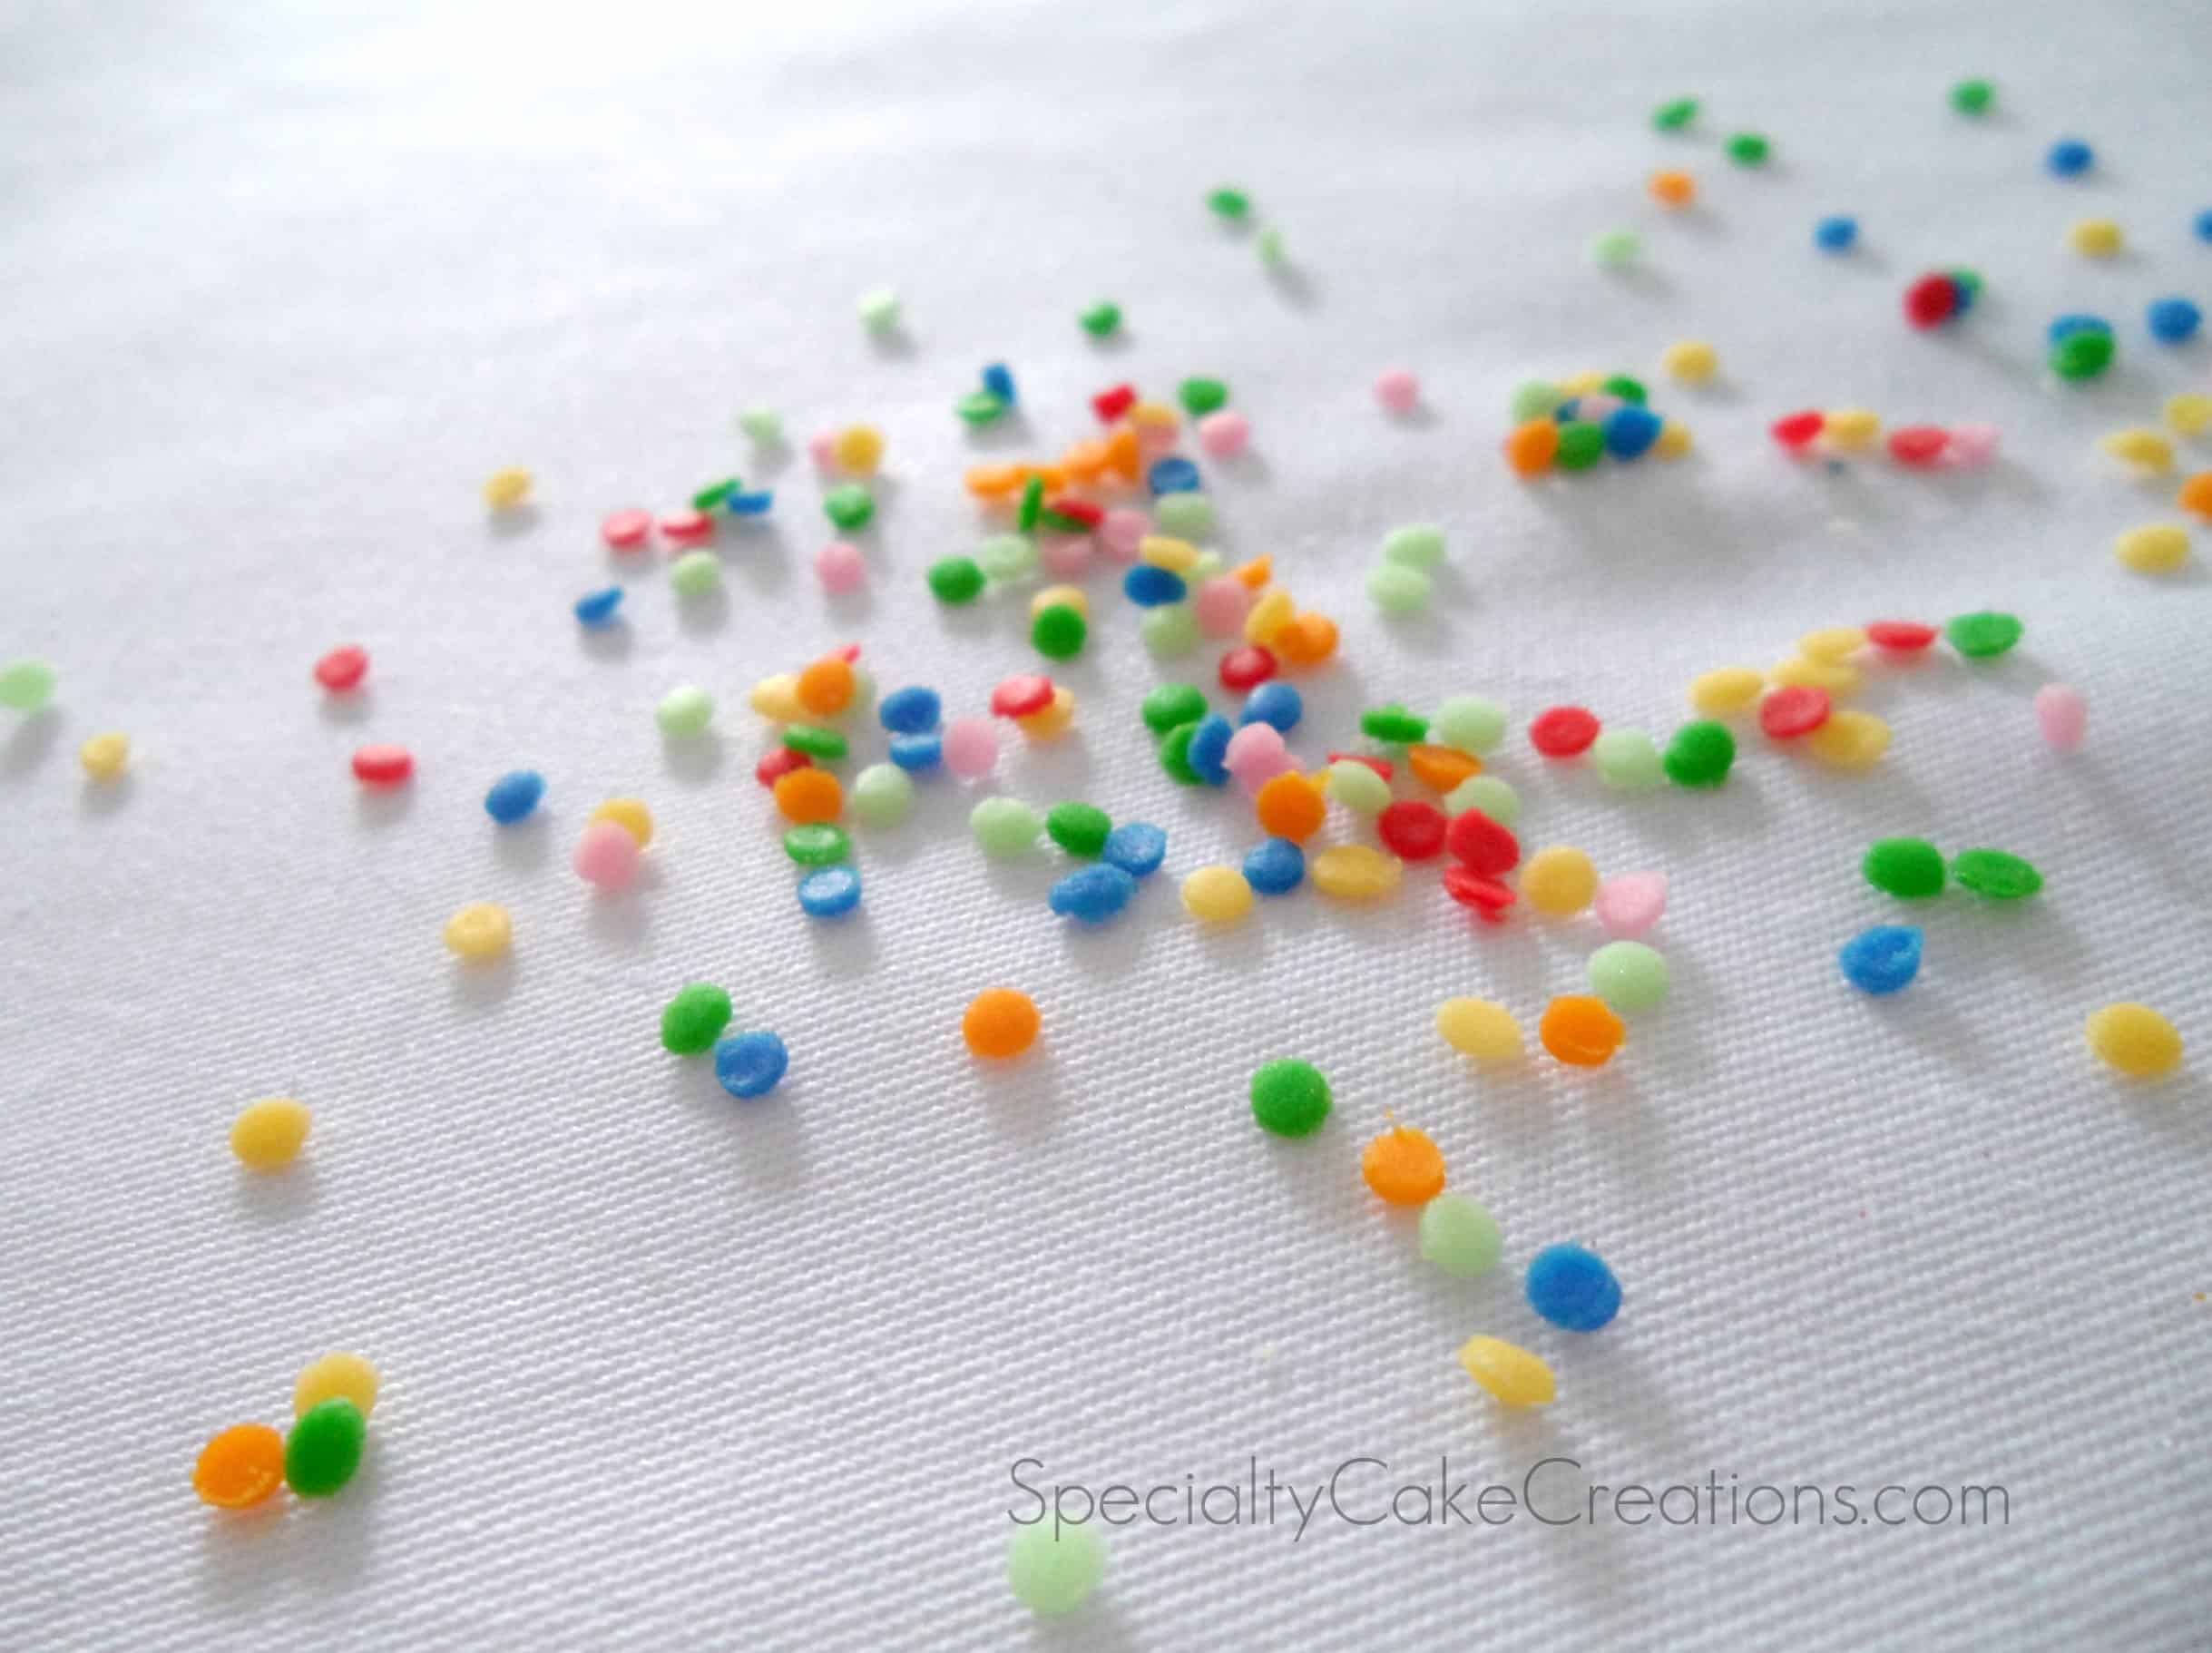
Then, however, it dawned on me, that I could make my own homemade sprinkles from colorful fondant left-overs. There were some rainbow cupcake toppers in the blog’s recent past, so I definitly had a whole range of color selections at my fingertips!

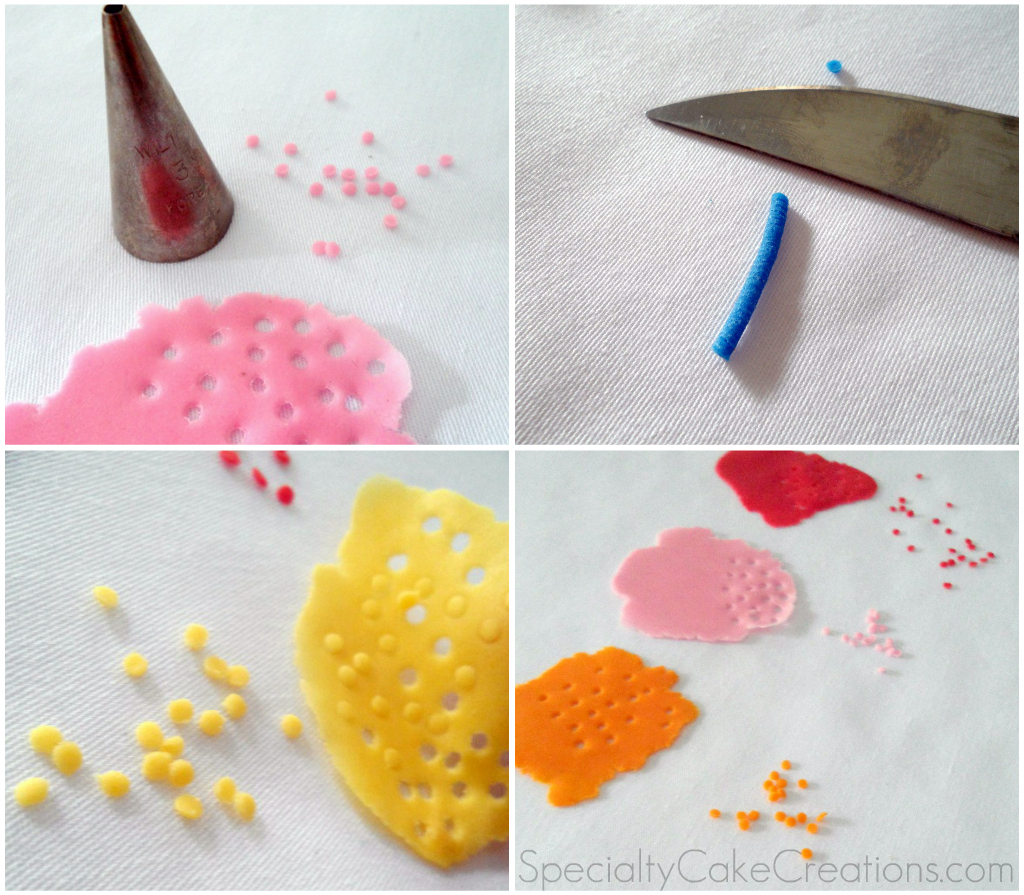
If you also want to make your own sprinkles, aside from fondant, you need a piping tip with an opening in the desired size and shape for your sprinkles. I used a #3 round piping tip (top left image).
The fondant has to be rolled out fairly thin for this, then let it dry after it’s been rolled-out, for just a couple minutes. This will make cutting out the sprinkles so much easier! Depending on your fondant consistency and use of cornstarch, the cut-out sprinkles will just fall out of the tip (this would be the most ideal scenario).
With a little stickier fondant, the sprinkles will stick together and form a snake inside the piping tip. I wouldn’t bother removing every single sprinkle after each cut but simply separate the “sprinkle snake” with a knife tip (top right).
It could also happen that the little sprinkle dots stay stuck on your patch of fondant (bottom left). When this happened to me, I just lifted up the fondant piece and pushed the sprinkles out with my fingers.

Repeat the process with your choice of colors for your own unique sprinkle mix. I wouldn’t recommend this technique for all your sprinkle needs, but it comes handy in a pinch (when you are out of sprinkles like me) or if you cannot find sprinkles in your desired color

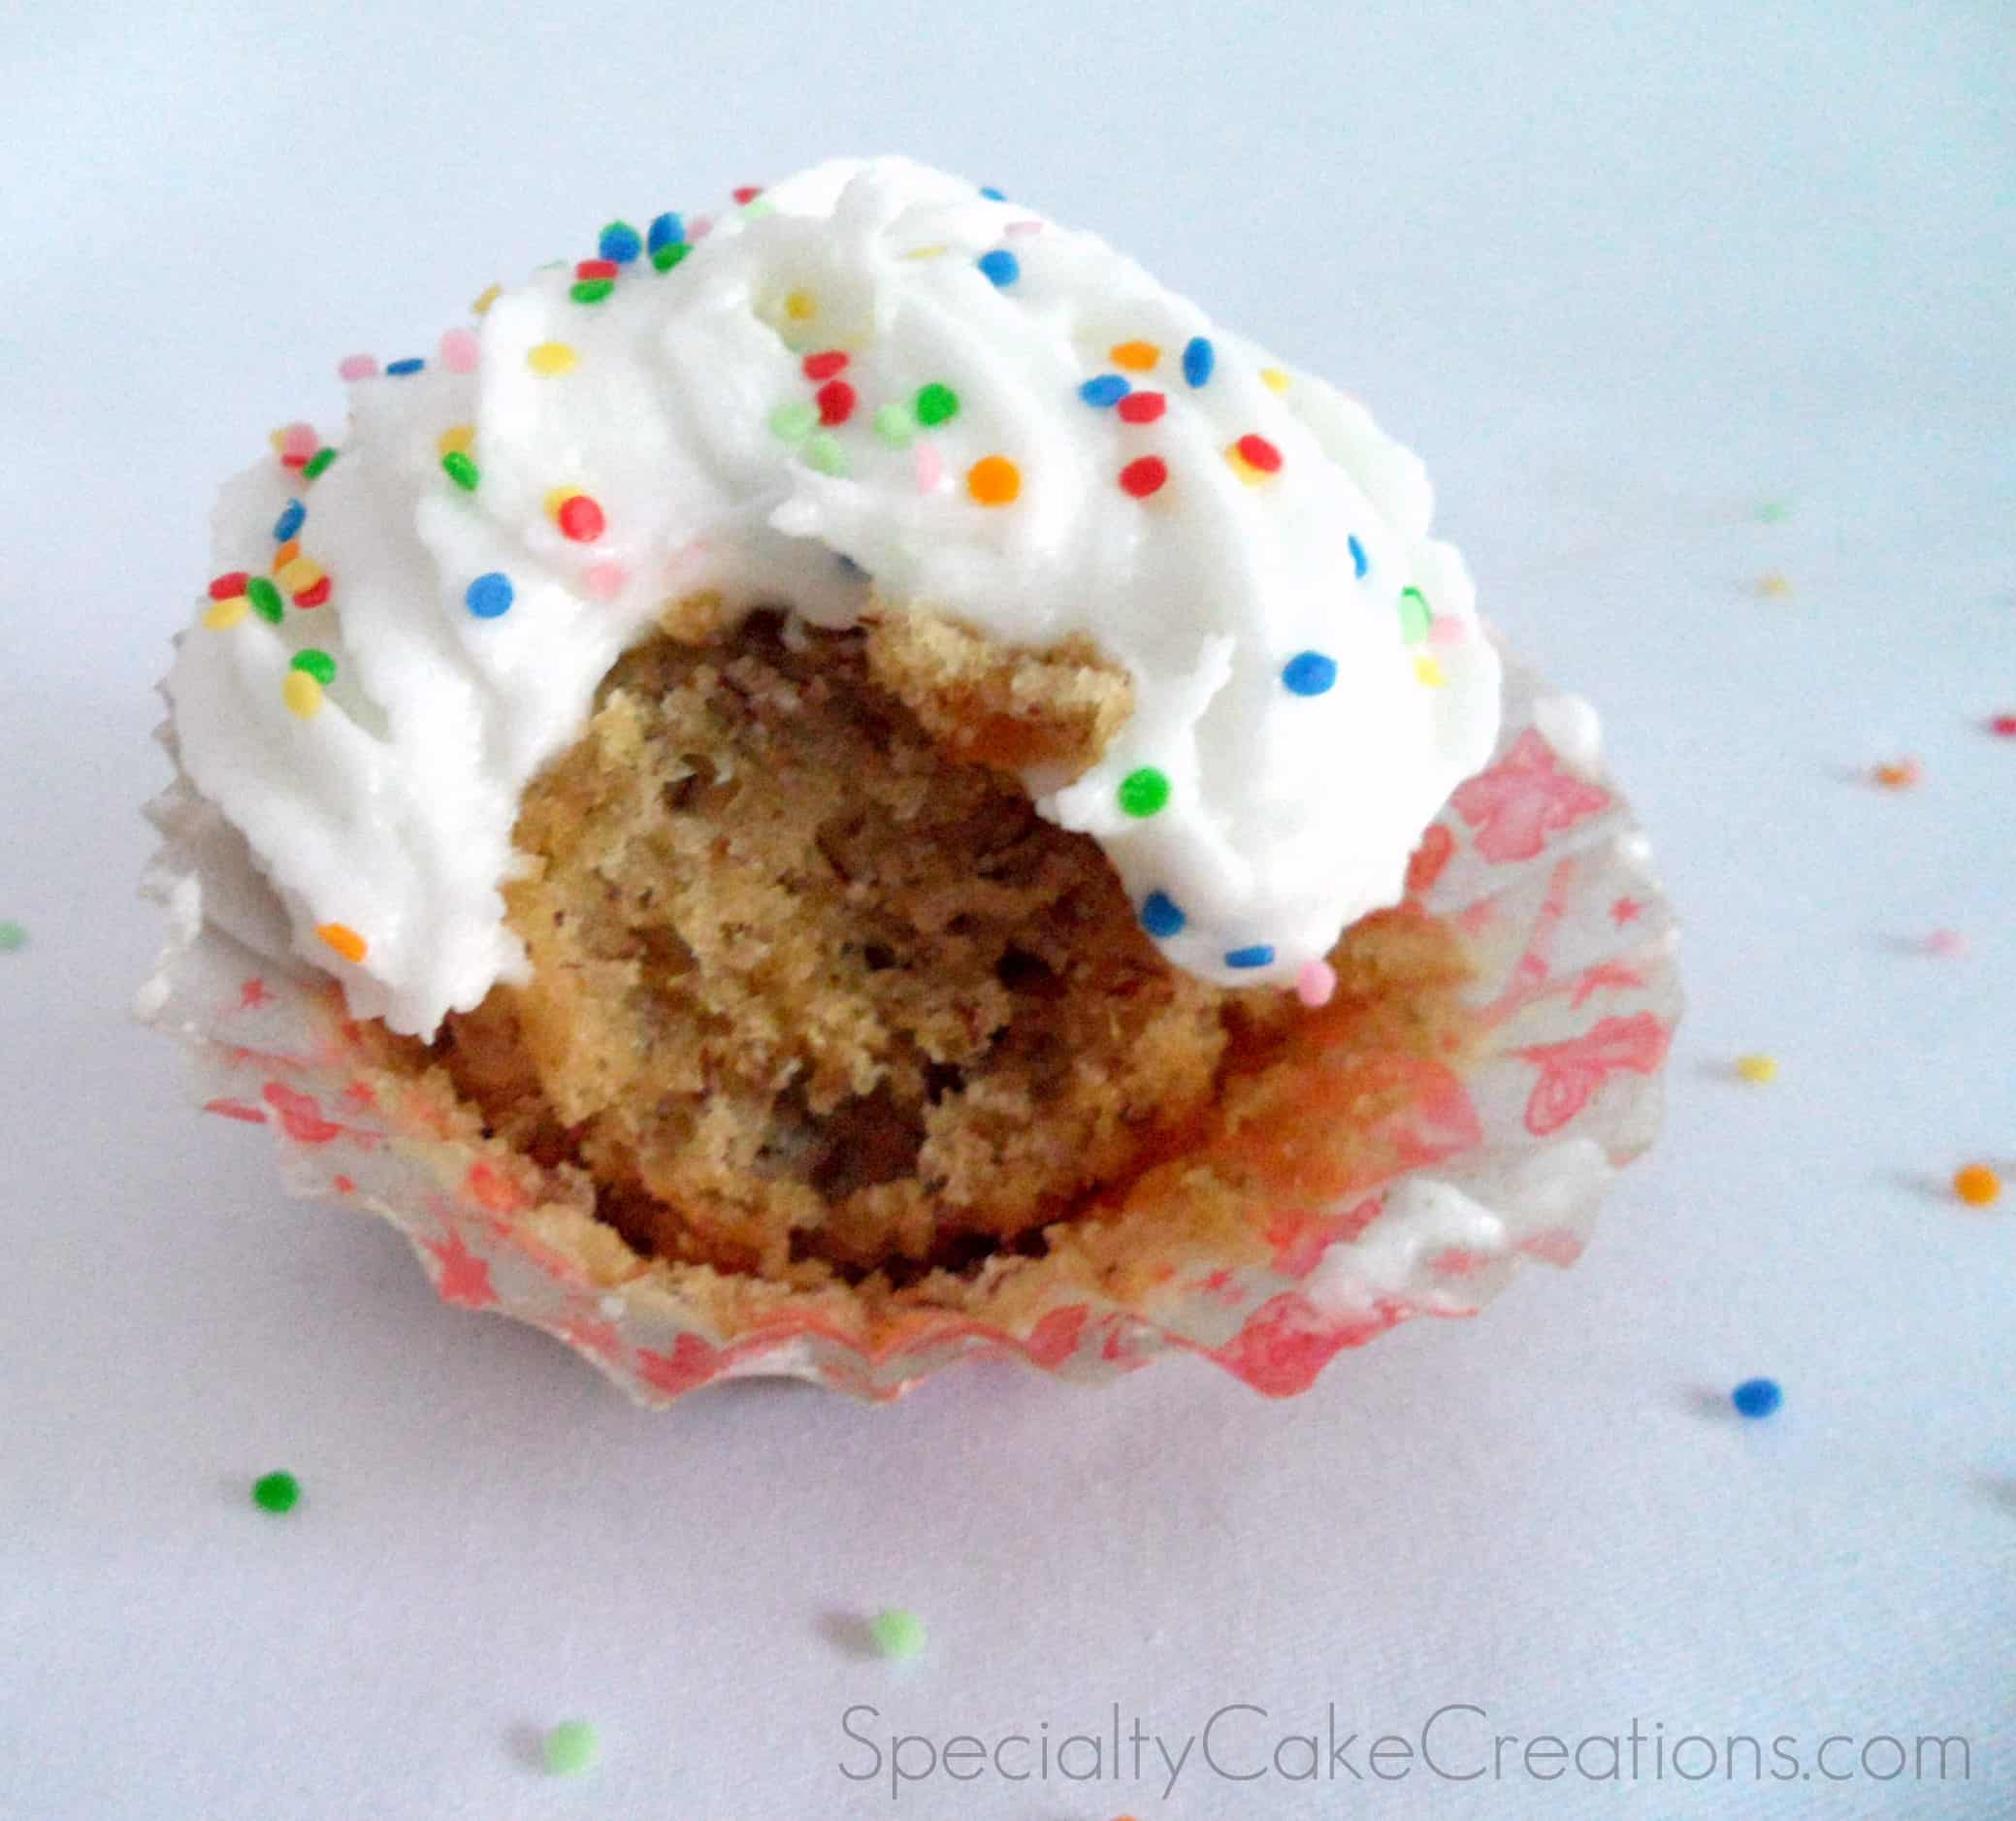
I don’t know about you, but, for me, there are just times when sprinkles are just necessary in a certain recipe or baked good. For example, how much fun are cupcakes with sprinkles on top? Nothing better! I hope this sprinkle recipe helps you out when you’re in a pinch or when you just want to try something new!
Share what you did and what your results were!
Common Questions
To make homemade sprinkles, you'll need colorful fondant, a piping tip with an opening in the desired size and shape for your sprinkles, and a rolling pin to roll out the fondant.
Roll out the fondant fairly thin, let it dry for a few minutes, and then use the piping tip to cut out sprinkle shapes. Depending on the fondant's consistency, they may fall out of the tip, stick together inside the tip, or remain on the fondant sheet. You can separate them as needed.
While sugar can be used as sprinkles, I focus on using colorful fondant to create homemade sprinkles, which can be a fun and creative alternative to traditional sprinkles.
Homemade fondant sprinkles, if stored properly in an airtight container, can last for several months. However, their shelf life might vary depending on factors like humidity and storage conditions.


Leigh-Anne
Smart idea!!
Belle
I followed you on twitter! Best wishes for another fun blogging year!
Belle
I just Liked you on FB!
Belle
I love how you made those sprinkles! They are so tiny, I would need a magnifying glass to see them! Congrats to you on you two years!
Pamela Tanyer
I am a Facebook fan and love seeing all of your creations!
Jenna Layne
whoah! now this is helpful! thanks for sharing this DIY sprinkles.. happy 2nd anniversary! 🙂
daphne
I already follow you on FB and Twitter 🙂 COngratulations! Wish you every success on your blog and your business :)))