Learn how to make Instant Pot Yogurt two different ways - either in a large batch or in small individual jars. With detailed instructions on how to turn it into extra rich and creamy Instant Pot Greek yogurt and different ways to flavor the homemade yogurt to your taste.
This post contains affiliate links
BEST INSTANT POT RECIPES eBook

Access ALL of my pressure cooker recipes in one convenient place
- - > Check it out HERE < - -
I've had my Instant Pot for a little over a year now and by far the one thing I have made the most in it is yogurt! Whenever I share a snippet of the process in my Instagram stories, I receive requests for the recipe.
So here we go!
Why Make Homemade Yogurt
First of all, maybe you aren't convinced yet that making yogurt in the Instant Pot or homemade yogurt in general is even a good idea. So let me share the reasons why I make yogurt at home instead of just conveniently picking up yogurt containers from the store.
Control ingredients
My absolute biggest reason for making pressure cooker yogurt is the fact that I can control the ingredients.
When we arrived here in Mexico I was quite shocked to read all the yogurt labels and realize that with the exception of 1-2 ALL yogurts here have sugar added! Even many 'natural' unflavored varieties.
And the same goes for added thickening agents. Almost all of them list some sort of gum in the ingredients list.
Now that I make homemade yogurt I can be sure that there ate no added sugar or thickeners.
PLUS: I can choose the quality of milk I use. Regular milk from the supermarket works just fine on a regular basis, but when I feel splurgy and want extra creamy yogurt, I buy the organic pastured milk from the farmers market.
Economic
No matter how you look at it, homemade yogurt will always be cheaper than store-bought. Dairy prices can vary significantly depending on where you live. But next time you are in the store just look at the price of a quart of yogurt (that's usually the size of the big containers) and compare it to the prize of a gallon of milk.
One gallon can make 4 quarts of yogurt!
Control over flavor
I like my yogurt extra tangy. My daughter likes it just a little sweetened. And my husband prefers fruit flavored yogurt.
Instead of buying three different types of yogurt all the time, with homemade yogurt each of us can easily adjust it to our own liking.
How to Make Instant Pot Yogurt in 5 Simple Steps
Over all the process of making yogurt at home is simple and straightforward, it's just not quick.
- Scald the milk (heat to 180°F/82°C). This kills harmful bacteria, destroys enzymes and denatures the proteins
- Let cool (to 105°F/40°C)
- Add starter yogurt and
- Incubate 8-14 hours.
- Chill the yogurt for at least 4 hours (or overnight) before using.
- Enjoy!
Now let's get down into the more detailed instructions - they are quite important to yogurt success:
What Milk To Use for Making Homemade Yogurt
This recipe is for whole dairy milk. The higher milk fat percentage you can find, the thicker your Instant Pot yogurt will be.
My grocery store whole milk has about 3.25% milk fat. My Farmers Market milk is closer to 4%.
I definitely want to experiment with dairy-free Instant Pot yogurt - like coconut milk, almond or soy milk yogurt - but this post is only for dairy milk. The other ones will get there own post in time.
Instant Pot Yogurt Starter
I use fresh yogurt as starter (not dehydrated starter or probiotic powders). For your first batch of Instant Pot yogurt you'll need to buy some natural, unsweetened yogurt from the store.
You need to make sure the ingredient list includes 'active cultures'. Sometimes they are listed with their actual names: lactobacillus bulgaricus and streptococcus thermophilus.
Go with one you like the flavor of. I recommend thicker, full-fat Greek yogurt.
After you have made your first batch of homemade yogurt, you can use that as starter for the next batch. Be sure to use it within 7 days though for the strongest most active cultures.
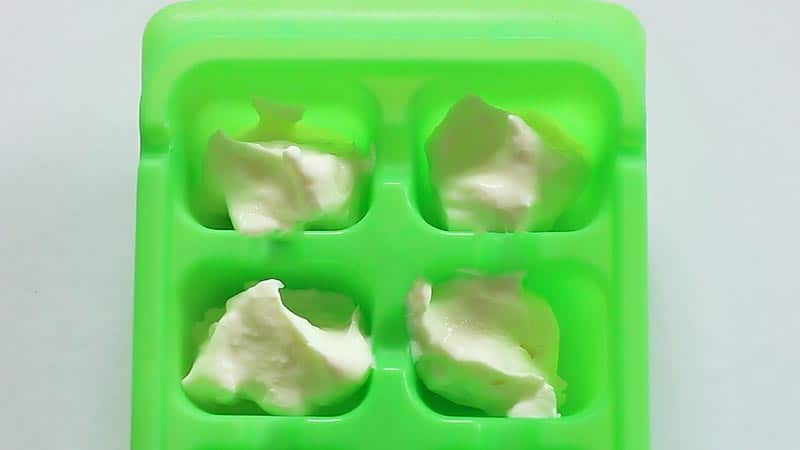
I freeze a little bit of the fresh yogurt in ice cube trays to preserve the cultures for longer. According to Cultures for Health you can store starter yogurt frozen for 3-4 weeks, but it may lose some potency. So you may need to double the amount of starter to culture your batch of milk into yogurt.
Instant Pot Yogurt Incubation Time
Incubation refers to the process of letting the milk and starter sit at a warm (not hot) temperature. In this time the bacterial cultures are actively working to process the milk into yogurt.
Minimum incubation time should be 8 hours. As I mentioned before, I like really tart yogurt. So I go for 12-14 hours of incubation. Anywhere in this 8-14 hour time frame is good. You can always increase at your discretion.
To make sure the yogurt is at my preferred level of tartness, I will try a spoon full of the warm yogurt. Not the most pleasant, but better than a whole batch of not quite tart enough yogurt.
If it tastes tart enough, I will move the yogurt over to the fridge. The bacterial cultures will stop actively working at cold temperature. If I am not happy with the tanginess yet, I will add a couple more hours of incubation time.
For your first attempt at Instant Pot yogurt, I recommend to time it so that you can be there at the 8 hour mark to test the tartness.
2 Ways to make Instant Pot Yogurt:
1. How to make Instant Pot Yogurt in the Inner Pot
To make yogurt in the inner pot of your Instant Pot, pour the milk right into the pot and close the lid. Since there will be no pressurizing at all, you can use the glass lid (if you have one).
SCALD
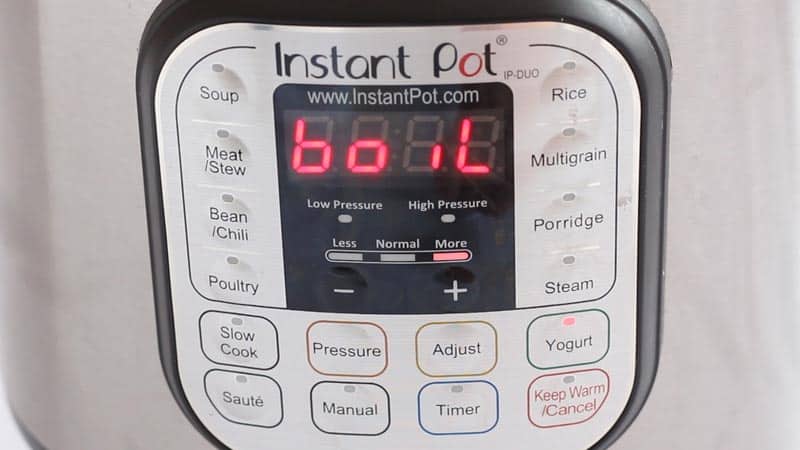
To scald the milk, press the 'yogurt' button and the display will show 'boil'. How long this takes depends on the amount of milk you use. I usually do ½ gallon and it takes 30-40 minutes.
When the 'boil' cycle is finished, immediately whisk the milk and take the temperature. It should be at least 180°F/82°C. If it is not quite there yet, you can hit 'saute' and adjust to 'less'. Carefully watch and whisk occasionally until the milk reaches the right temperature. Turn off the heat by hitting 'cancel'.
COOL
Using your thermometer to check, let the milk cool down to 105°F/40°C. Adding the starter yogurt into too hot milk would destroy the bacterial cultures.
You can just let it cool down by itself, which takes about 30 minutes. To speed up the process, fill your sink with cold water and put the inner pot in there. Once cooled enough, remove the skin that may have formed on top of the milk.
ADD STARTER
Temper the starter yogurt - this means to heat it up slowly. To a bowl with the yogurt, add some of the milk and whisk until combined. Then whisk the yogurt mixture into the rest of the milk in the inner pot. Be sure to avoid scraping at the bottom, as some of the milk may have set up there.
INCUBATION
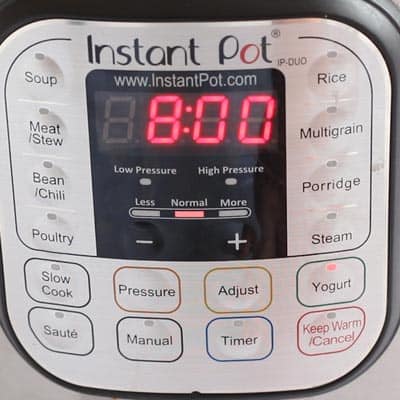
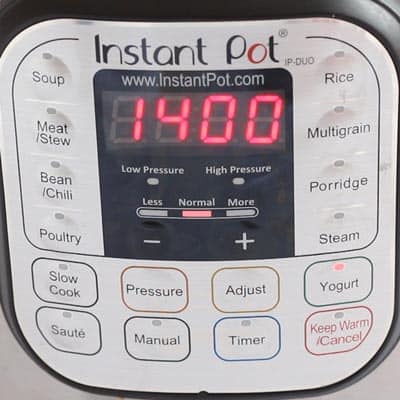
Now it is time to incubate a.k.a. let the bacterial cultures do their magic. Close the lid and press the 'Yogurt' button. Using the 'Adjust' and '+' or '-' buttons select your incubation time.
Anywhere from 8-14 hours may be required (see section about incubation time above).
CHILL
Now let your freshly made homemade yogurt cool down in the fridge. Let it chill for at least 4 hours (or overnight) before using. During this time the yogurt will thicken and set up.
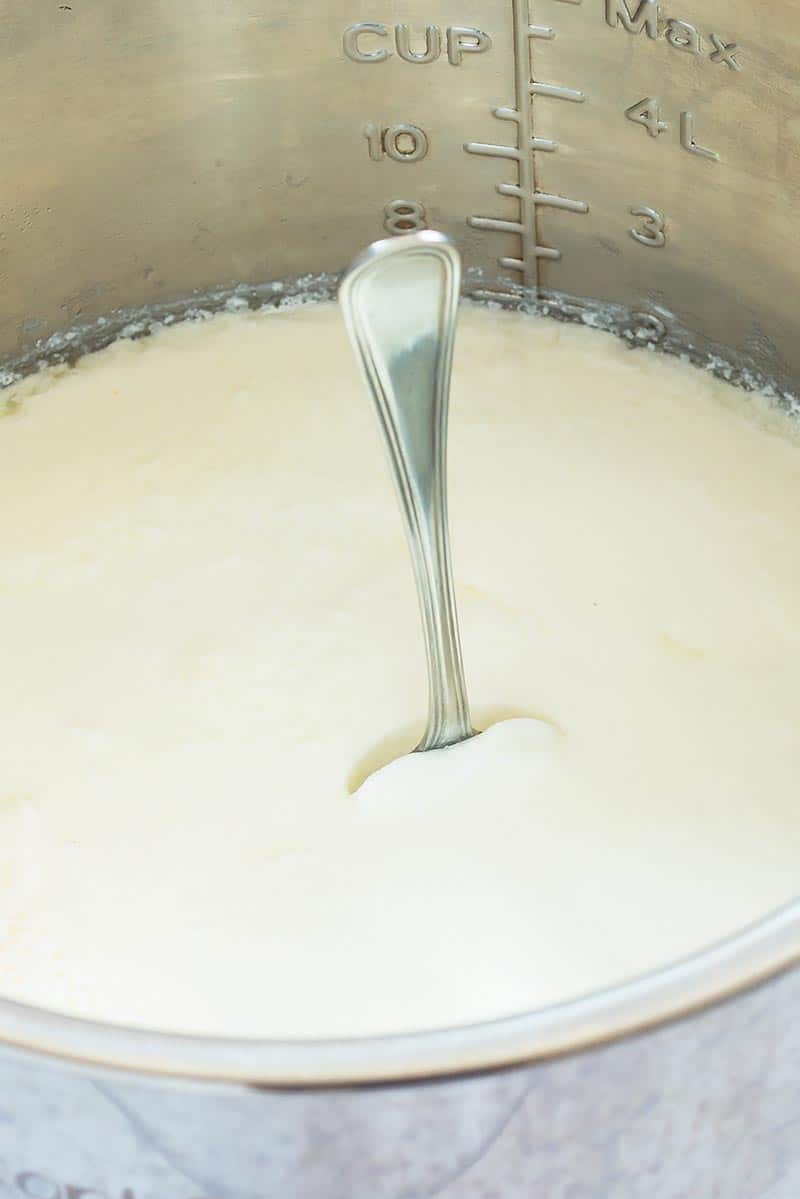
After that you can start enjoying the yogurt. Be sure to freeze some of it as starter for the next batch. Or move on to the steps below for making thicker Greek yogurt or how to flavor it.
How to Make Greek Yogurt at Home
If you prefer really thick Greek-style yogurt you need to strain some of the whey out of your homemade yogurt.
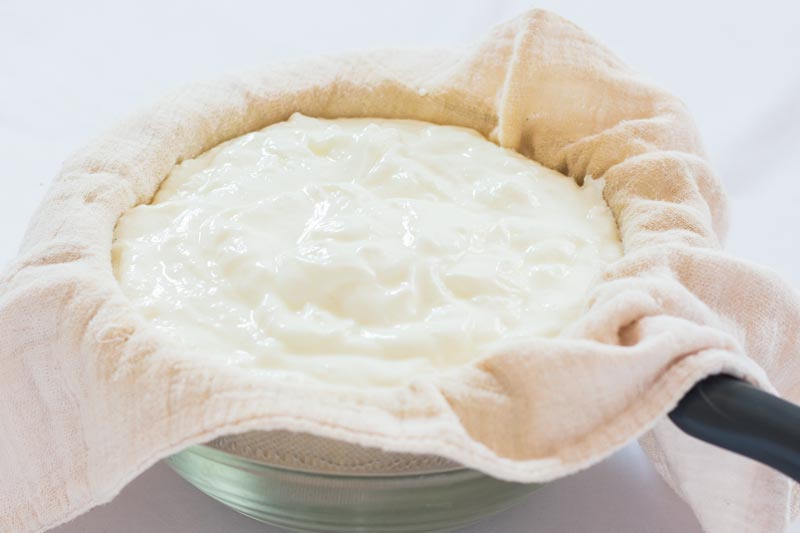
You can use a Greek Yogurt Strainer made specifically for this purpose. But if you have a cheesecloth and strainer you are good to go. That's the setup I use.
Ladle the chilled homemade yogurt into a strainer that is lined with a cheesecloth and suspended over a large bowl. Take care not to scrape too much from the bottom of the inner pot. That way you may loosen bits of milk solids that have set down there during the scalding stage.
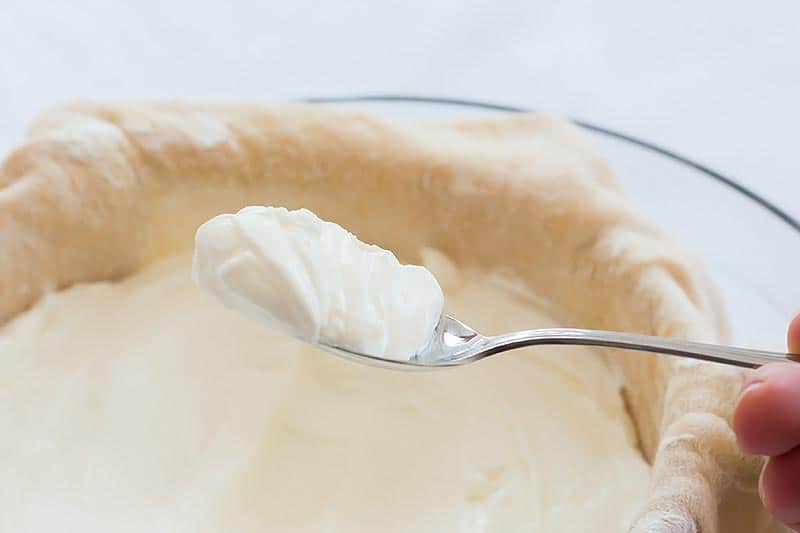
Let the yogurt sit in this setup to strain until it reaches desired thickness - in the fridge or on the counter is fine. I like mine best after about 2 of hours of straining.
Now you are ready to transfer the Instant Pot Greek yogurt into storage containers to keep in the fridge until ready to use. Or move on to flavoring the yogurt.
What to do with the whey
The whey that accumulates in the bottom bowl is super nutritious and full of protein. Don't simply discard it. I like to use it for some of the liquid portion in my smoothies.
You can do the same when making bread or pancakes. Replace some or all of the liquid called for in those recipe with whey.
Whey keeps very well refrigerated. Some say up to 6 months, but I try to use it within 1-2 months.
How to Make Instant Pot in Jar - Pot-in-Pot Method (PIP)
Another great way to make Instant Pot yogurt is right inside little portion sized jars. It's really super convenient.
That way your Instant Pot isn't out of commission during the chilling period. And my daughter loves taking these little yogurt jars to her preschool even.
I am using the glass jars that one of the good brands of yogurt here in Mexico came in. You can find something very similar here.
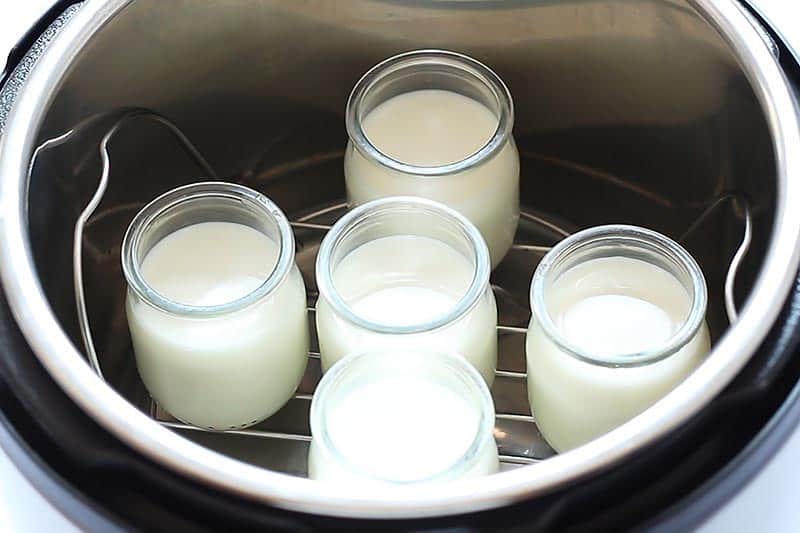
You also can use little mason jars. To make sure they won't break in the process check that they are suitable for canning.
There are also sets of plastic containers for sale just for the purpose of making yogurt in the Instant Pot. But I am not a fan of heating any kind of food in plastic - heating plastic makes it leach into the food.
The steps of making Instant Pot yogurt in jars are essentially the same, just a little differently executed.
SCALD
Start by adding 2 cups of water to the inner pot, then add a trivet. Fill your jars with whole milk up to about ½ inch from the top rim.
Carefully place the jars on the trivet and close with the Instant Pot lid. Be sure to use an extra sealing ring dedicated to sweet recipes (to avoid onion, chicken or bean flavored yogurt).
Turn the pressure valve to sealing and select 'Steam' for 1 minute. The pot will take some time to pressurize (it took 8 minutes for me). When the minute is over, quick release (QR) the pressure by turning the pressure valve to venting.
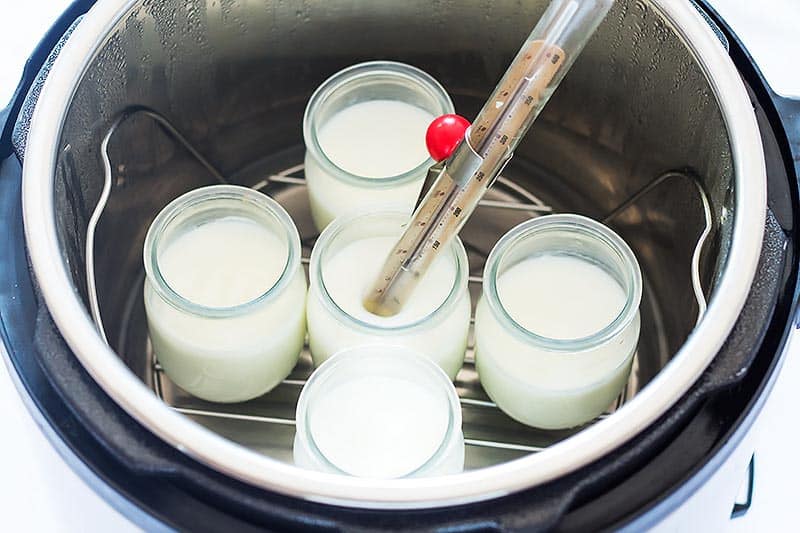
Immediately check the temperature of the milk with your thermometer. At times I don't get it to 180°F/82°C on the first try. In that case I close the lid again, and steam for another minute.
Other times the milk actually boils over a little bit. I haven't figured out why that happens occasionally, but it's not a big deal at all. Just proceed as usual.
COOL
Let the milk in the jars cool down to 105°F/40°C. Taking the jars out of the Instant Pot and placing them into a sink filled with cold water will speed up the process.
Once cooled, remove the skin that has formed on top of each little jar.
ADD STARTER
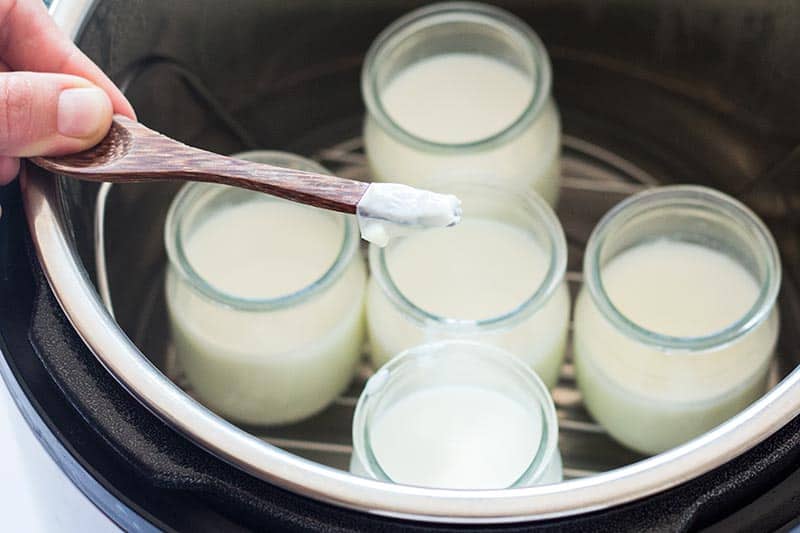
Add a little starter yogurt to each jar and stir really well. The amount of starter you need depends on the size of your jars.
Use a generous ½ teaspoon of starter per cup of milk. I have ½ cup jars, so I use a heaping ¼ teaspoon for each.
INCUBATION
You should still have water at the bottom of the inner pot. Place the milk jars on the trivet again.
Cover them loosely with their lids. No need to seal. Covering them will just keep condensation from dripping into the jars.
Cover the Instant Pot with a lid. You can use the glass lid now.
Press the 'Yogurt' button. Using the 'Adjust' and '+' or '-' buttons select your incubation time. Anywhere from 8-14 hours may be required (see section about incubation time above).
CHILL
To stop the incubation process place your Instant Pot yogurt jars in the fridge. Let them chill for at least 2 hours (or overnight) before using. During this time the yogurt will thicken and set up.
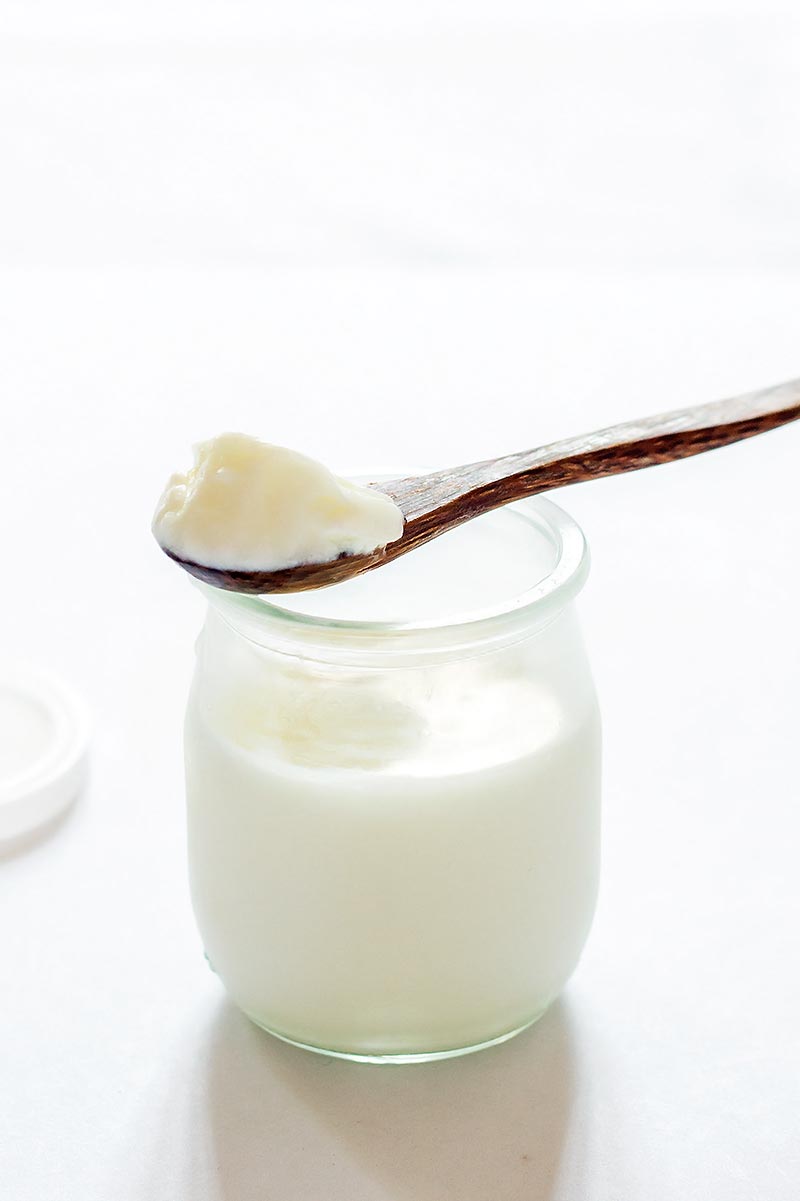
How To Flavor Homemade Yogurt
Sweeten
My favorite way to sweeten homemade yogurt naturally is maple syrup. Because it is more liquid than honey and doesn't harden when it comes in touch with chilled yogurt, it is really easy and quick to incorporate.
Extracts/Spices
Vanilla extract is my next favorite thing to add to yogurt. And of course you can use any other extracts that you have on hand.
Cinnamon and other sweet spice blends (pumpkin spice, apple pie, chai) are great healthy natural ways to flavor yogurt.
Fruit
You can simply add fresh cut up fruit or berries to your yogurt. Or puree the fruit first for flavored yogurt without chunky textures.
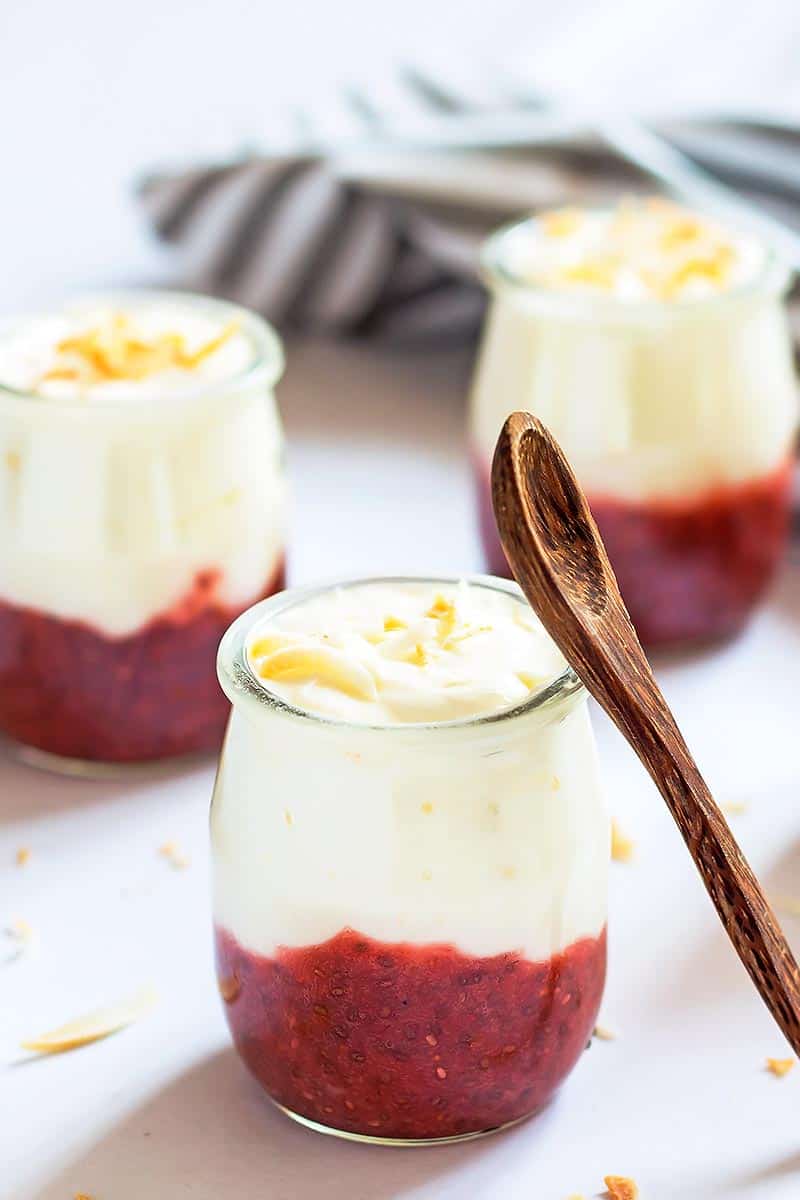
Jam
And by far the easiest way to flavor and sweeten yogurt at the same time is jam! Use any fruit jam you like and have on hand. Or make this healthier chia berry jam.
You can add it at the bottom of little jars before filling in yogurt (not with the PIP method) for a homemade fruit at the bottom-style yogurt. Just stir well before consuming.
How Long Will Homemade Yogurt Last
If stored in the fridge, your homemade Instant Pot yogurt should keep for at least 2 weeks.
If you want to use the homemade yogurt as starter for your next batch, you should do so within 7 days. Or freeze some of the freshly made yogurt in an ice cube tray, to preserve the yogurt cultures for longer (see above Instant Pot Yogurt Starter)
Tools I Use to make yogurt in the Instant Pot
- Instant Pot with Yogurt setting - I have an Instant Pot DUO 7-in-1
- Instant Pot glass lid
- thermometer: I use a simple culinary thermometer, but an instant read thermometer would be much faster
- extra sealing ring (only necessary for PIP method)
- trivet
- glass jars
- cheesecloth/yogurt strainer
More Delicious Pressure Cooker Recipes
How To Make Homemade Yogurt - VIDEO
Instant Pot Yogurt
Ingredients
- 2 liters whole milk *
- 2 tablespoons full-fat Greek yogurt with active bacterial cultures
Instructions
Instant Pot Yogurt in the Inner Pot:
- Fill the whole milk into the Instant Pot and close the (glass) lid. To scald the milk press the 'Yogurt' button until the display shows 'boil'. The scalding cycle will take about 30-40 minutes.
- When the cycle is finished, whisk the milk and immediately take the temperature. It should be at least 180°F/82°C. If it is not quite there yet, press ‘saute’ and adjust to ‘less’. Carefully watch and whisk occasionally until the milk reaches the right temperature. Turn off the heat by hitting ‘cancel’.
- Let the milk cool down to 105°F/40°C. Either by itself (this takes about 30 minutes) or speed up the process by filling your sink with cold water and let the inner pot cool in there.
- Remove the skin that may have formed on top. To a small bowl with the starter yogurt add some of the cool milk and whisk until combined (this is called tempering). Then whisk the yogurt mix into the rest of the milk.
- Close the lid and start the incubation process. Press 'Yogurt' and adjust the time to 8-14 hours (see details in the Incubation section).
- Afterwards, move the inner pot to the fridge and chill to let it set for at least 4 hours. Then the yogurt is ready to be enjoyed or move on to turn it into Greek yogurt.
Instant Pot Greek yogurt:
- To make really thick and creamy Greek yogurt, transfer the chilled yogurt to a special yogurt strainer or to a sieve lined with a cheesecloth suspended over a large bowl.
- This will remove some of the whey from the yogurt. Let it sit in the fridge for about 2 hours.
- The Greek yogurt at the top of the strainer is ready to be enjoyed or transferred into storage containers.
Instant Pot Yogurt in jars
- To make Instant Pot yogurt with the pot-in-pot method (PIP) fill 2 cups of water into the inner pot and add a trivet.
- Fill little glass jars with whole milk up to ½ inch from the top rim. Place the jars on the trivet and close the Instant Pot lid.
- Turn the pressure valve to sealing. Select 'Steam' for 1 minute. (Pressurizing time is about 8 minutes).
- When the steam cycle is over, quick release (QR) the pressure by moving the sealing valve to venting. Quickly check that the temperature of the milk has reached 180°F/82°C. If not repeat the steam process for 1 more minute.
- Let the jars cool down to 105°F/40°C. Speed up the process by placing the jars in a sink with cold water.
- Remove the skin that has formed on top of the cooled milk. Stir starter yogurt into the jars and combine well (about ½ teaspoon of starter for 1 cup milk).
- Return the jars to the Instant Pot which still has the water and trivet inside. Loosely cover the jars with their lids. Place the big glass lid on the Instant Pot.
- To start the incubation process press 'Yogurt' and adjust the time to 8-14 hours (see details in the Incubation section).
- Afterwards, move the jars to the fridge and chill until set (at least 2 hours).
- Instant Pot yogurt lasts about 2 weeks in the fridge.
Notes
Nutrition
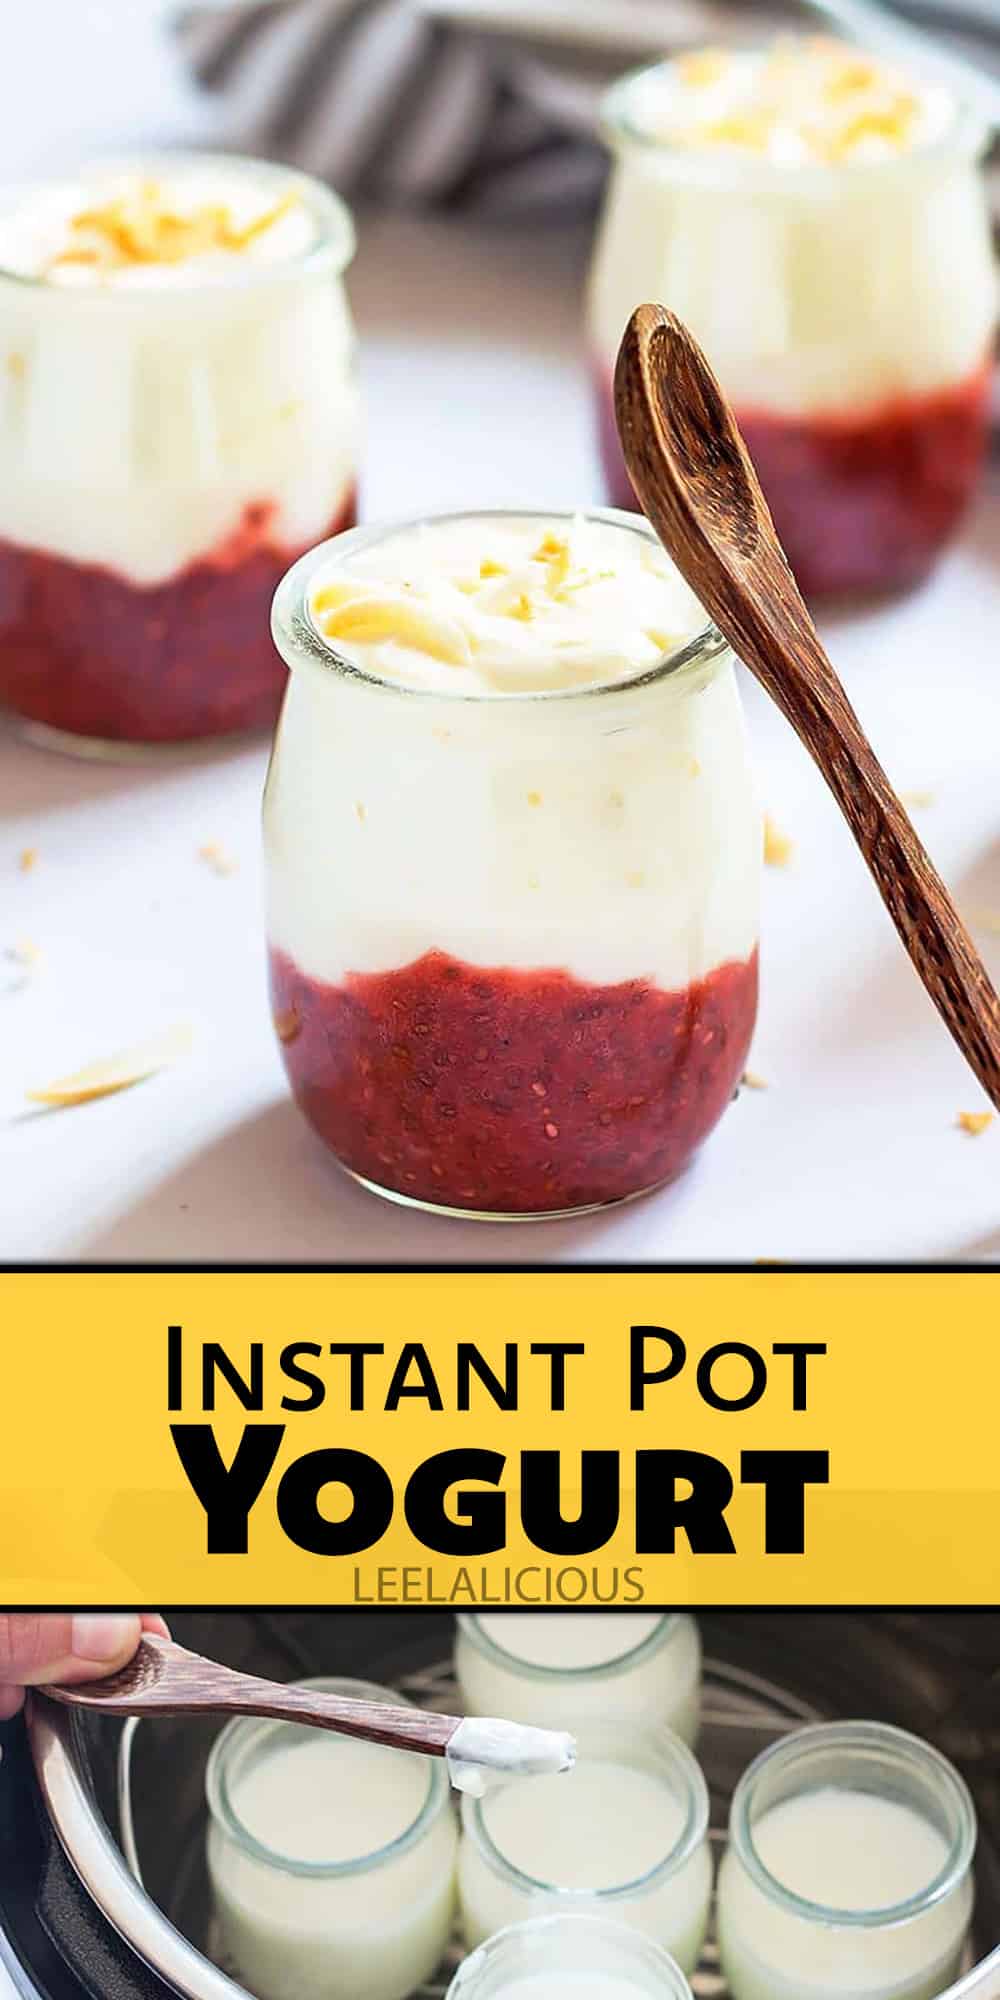
Pin Instant Pot Yogurt recipe for later?
Random Questions
Absolutely! Homemade yogurt allows control over ingredients, flavors, and thickness. It's cost-effective and can be tailored to personal preferences.
You can still make yogurt using the pot-in-pot method or by utilizing other equipment like a slow cooker or dehydrator.
The yogurt setting on the Instant Pot typically heats the milk to around 110-115°F, which is an ideal temperature for culturing yogurt.
Chunky yogurt may result from a variety of factors, including insufficient incubation time, too high or low incubation temperature, or uneven distribution of the starter culture. Adjusting these factors can help achieve a smoother consistency.


Theresa
I made yogurt this weekend using Fairlife milk. It turned out so good! Thank you for this post. I was a little intimidated by the process but you laid it out nicely. Have you ever made it using goat's milk?
Jennifer @ Leelalicious
Thanks for your wonderful review, Theresa! I don't think this has been tested with goat's milk but it should work well. If the milk you choose has lower fat, it might just produce a thinner yogurt.
Adele Cobb Aiken
I’ve been making yogurt in my instant pot for years. There is a simpler way to make it. If you can find Fairlife milk, use a carton with about 1/4 cup of good store bought yogurt or yogurt from your previous batch. Put both in the inst Pot and whisk fully. Turn the IP on yogurt. If you’re doing keto, leave it in the IP for 12 hours or more as that cuts down on the sugars. Otherwise set the IP for 8 hours. When it’s finished transfer to a container and refrigerate. It doesn’t need to be strained as it comes out quite thick. Generally as it sits some of whey releases on its own. I put the whey in a freezer baggie and use it for making bread, applesauce and lemon pie! If more whey accumulates I add it the baggie in the freezer
Jennifer @ Leelalicious
This sounds great, Adele! Thank you for sharing!
Doni
I made this over the weekend and what a huge success! I have a couple of questions for the next time.
1) If I want some tangier than the rest, can I take some out during the incubation period and leave the rest to incubate longer?
2) Is it okay to stir the finished yogurt and when is best to do that?
3) How long is store bought "starter" (plain yogurt) still effective in the fridge or do I need to freeze that within 7 days as well?
Thank you! Yours was the best page I found for this experiment!
Regina | Leelalicious
Hi Doni,
So glad to hear about your yogurt making success! About your questions:
1. Yes you can remove some, and leave the rest to incubate longer for langier yogurt. This would be easiest when making yogurt in jars. If you are using a ladle to remove some warm mix from the pot, the yogurt may not set up as firmly. This ties in with
2. The yogurt is fine to stir after you've let it set up in fridge. Movement in the warm mix may cause it to be more fluid in texture.
3. The sooner you use store bought yogurt the more active bacteria it has and more effective it is. If you are not going to use it quickly, freezing would help its efficacy for the long term.
Allison
I am planning to try this for the first time, but my family is not real big yogurt eaters so I'm afraid to make too much at once. Does anything in the recipe change if I only do half the amount of milk?
Regina | Leelalicious
I think there is no problem with simply cutting the recipe in half. Everything else should be the same
B.Scott
You can make yogurt cheesecake
Ann
If using ultra-pasteurized milk, you do not need to scald first. I like the texture best with *ultra-filtered* milk that has more protein per serving and less lactose, but when Fairlife had a recent controversy over treatment of calves at some of their contracted dairies and I could not see that they had resolved it, I switched to high protein Horizon Organic that was ultra-pasteurized with added protein, but not ultra-filtered. It had added protein but the same amount of lactose (which is OK for me - I just liked the lower calories so that a full 8-oz jar wasn't almost 300 calories). I couldn't get Horizon Organic in anything but full fat (whole milk), so it was delicious but higher calorie than other milks. I recently found that Organic Valley also ultra-filters (i.e, breaks down milk into components and keeps the protein but removes some or all of the lactose). It comes in whole and 2%, so I tried the 2% and it works perfectly. I mix 1-2 Tb yogurt culture and a little over 3/4 carton of milk in a sanitized bowl, sometimes I add a 1/2-can of sweetened condensed milk (SCM) for slight sweetness right out of the jar. I mix these well with a whisk, spoon them into 7 8-oz jars, and place in my instant pot with water half-way up the jar. If I use less water, they don't set up as well. I have learned where to add the water *before* adding the jars so that the displacement of the filled jars brings the water level about half way up. Higher is OK, but you don't want it to get into your jars. I have never used a trivet but maybe I should. I just place the jars directly into the inner pot/water bath, lay flat mason jar lids over top of each so condensate doesn't get inside, lay a plate over the top of the IP inner pot to keep heat in and set mine on "Yogurt" for 10 hours. This gives me perfect yogurt, the right tang for my taste, and thick enough to turn upside down and shake with no spillage. I do tip them over a sink before chilling to pour off about 1 drip of whey or use the corner of a paper towel to absorb this, then dry jars, add lids and sealing rings, and refrigerate for up to two weeks.* If I have used SCM, I may also add a Tb of peanut butter powder later or take a small container of walnuts, some cut-up fruit or frozen berries that can thaw before use - sometimes with a shake of cinnamon/nutmeg or other spice - with me to work and add that to unsweetened yogurt as I eat it. *It may not be necessary, but a background in microbiology makes me think about these things too much, so I sanitize my mason jars and lids, whisk, measuring cup for scooping/pouring into jars, and Tb measure for adding yogurt culture in my IP first - about 5 minutes on pressure cook or sterilize or steam, then QR. I let them cool - jars inverted - on a clean, cotton low-lint dish towel or paper towels until room temp. They are not technically sterile once they're open in my kitchen, but I minimize the chance that I'm incubating bacteria other than those in my culture this way. After doing this almost weekly for months with no change in consistency or flavor, I feel confident storing my yogurt for up to 2 weeks in sealed jars.
Linda
Twice I have heated the milk in the jars this way and the milk temperature goes above 180 into the 200's. I don't think this is good to heat it so high but I do not know of a way to control this. The amount of milk, the number of jars, and the size of the IP may differ.
Regina
Hey Linda, jar thickness, milk amounts, and many other factors could contribute to the variation. I did a little research and came across this interesting post though https://brodandtaylor.com/the-science-of-great-yogurt/
They actually had a good experience with heating milk to a higher point and got a thicker yogurt as result. Did you try making yogurt from the higher heated milk? What was your result?
Debbie D.
The hotter you make it, the more sterile it will be. I've made the mistake of not heating it 'enough' and gotten yogurt with a 'snotty' texture. Not a great thing when making it by the gallon like we do. So no worries on making it too hot. Worry more if you don't get it hot enough. Cheers!
David
I'm wondering if you need to use the water in the Instant Pot if you are not bringing the milk up to boiling. I use FairLife ultra-filtered and ultra-pasteurized milk. I found a yogurt website that says I don't need to bring it to 180° F given it's already ultra-pasteurized. They say I can just bring it to incubation temperature.
So I'm wondering if I could just bring the milk to incubation temperature I prefer (110° F) then mix in the starter, then put the milk+starter in the jars, then put the jars on the rack without any water in the bottom. I will not be pressurizing the IP. Then I would just the time and press the Yogurt button.
Will this do? I've not made yogurt in the IP but would like to do the PIP method but not boiling it in the IP.
Thanks.
Regina
Hi David, since your plan is to only incubate the yogurt cups in the pressure cooker, I think it should work just as well without water in the bottom. While I have never tried it this way, it should work just fine since you are never pressurizing the pot.
jamie
By what physical process does organic milk or or pastured cows affect the consistency/texture ("extra creamy") of the final product?
Regina
I am not exactly sure why this is the case. I am wondering if the local milk I can get here has maybe a higher fat content?
Karen Tenorio
So with yogurt recipe, you don't boil the milk you just steam it? This makes better sense. Thank you for sharing
Regina
Glad you found it helpful!
Kate
Hello Regina,
Thank you for the tutorial. I have discovered a super-fast and easy way to make yogurt - just add the culture to a new carton of milk (dairy or non-dairy), add to sterilized jars and then set the IP for yogurt. This saves the step of scalding the milk and waiting for it to cool. Since you are just opening a carton to make yogurt, there should be no bad bacteria there to spoil it.
Just wanted to share my experience in case you want to try it. Great blog!
Kate
Regina
What a great tip! Thanks for sharing - I have never heard of that before. I'll give it a try with my next batch. Have you tried it with almond milk?
Kate
Hi Regina - sorry about the late reply. I haven't tried it with almond milk because I can't find a shelf-stable carton without the extra ingredients. I've done it with shelf-stable soy milk with great success. Trader Joe's and Westsoy are the two brands that work well because they only have soybeans and water as ingredients.
Liz Teaches
Superb video. I really enjoyed it. The yogurt becomes thicker if we add hot milk to it. Making yogurt is pretty simple and I always recommend homemade yogurt over ready-made.