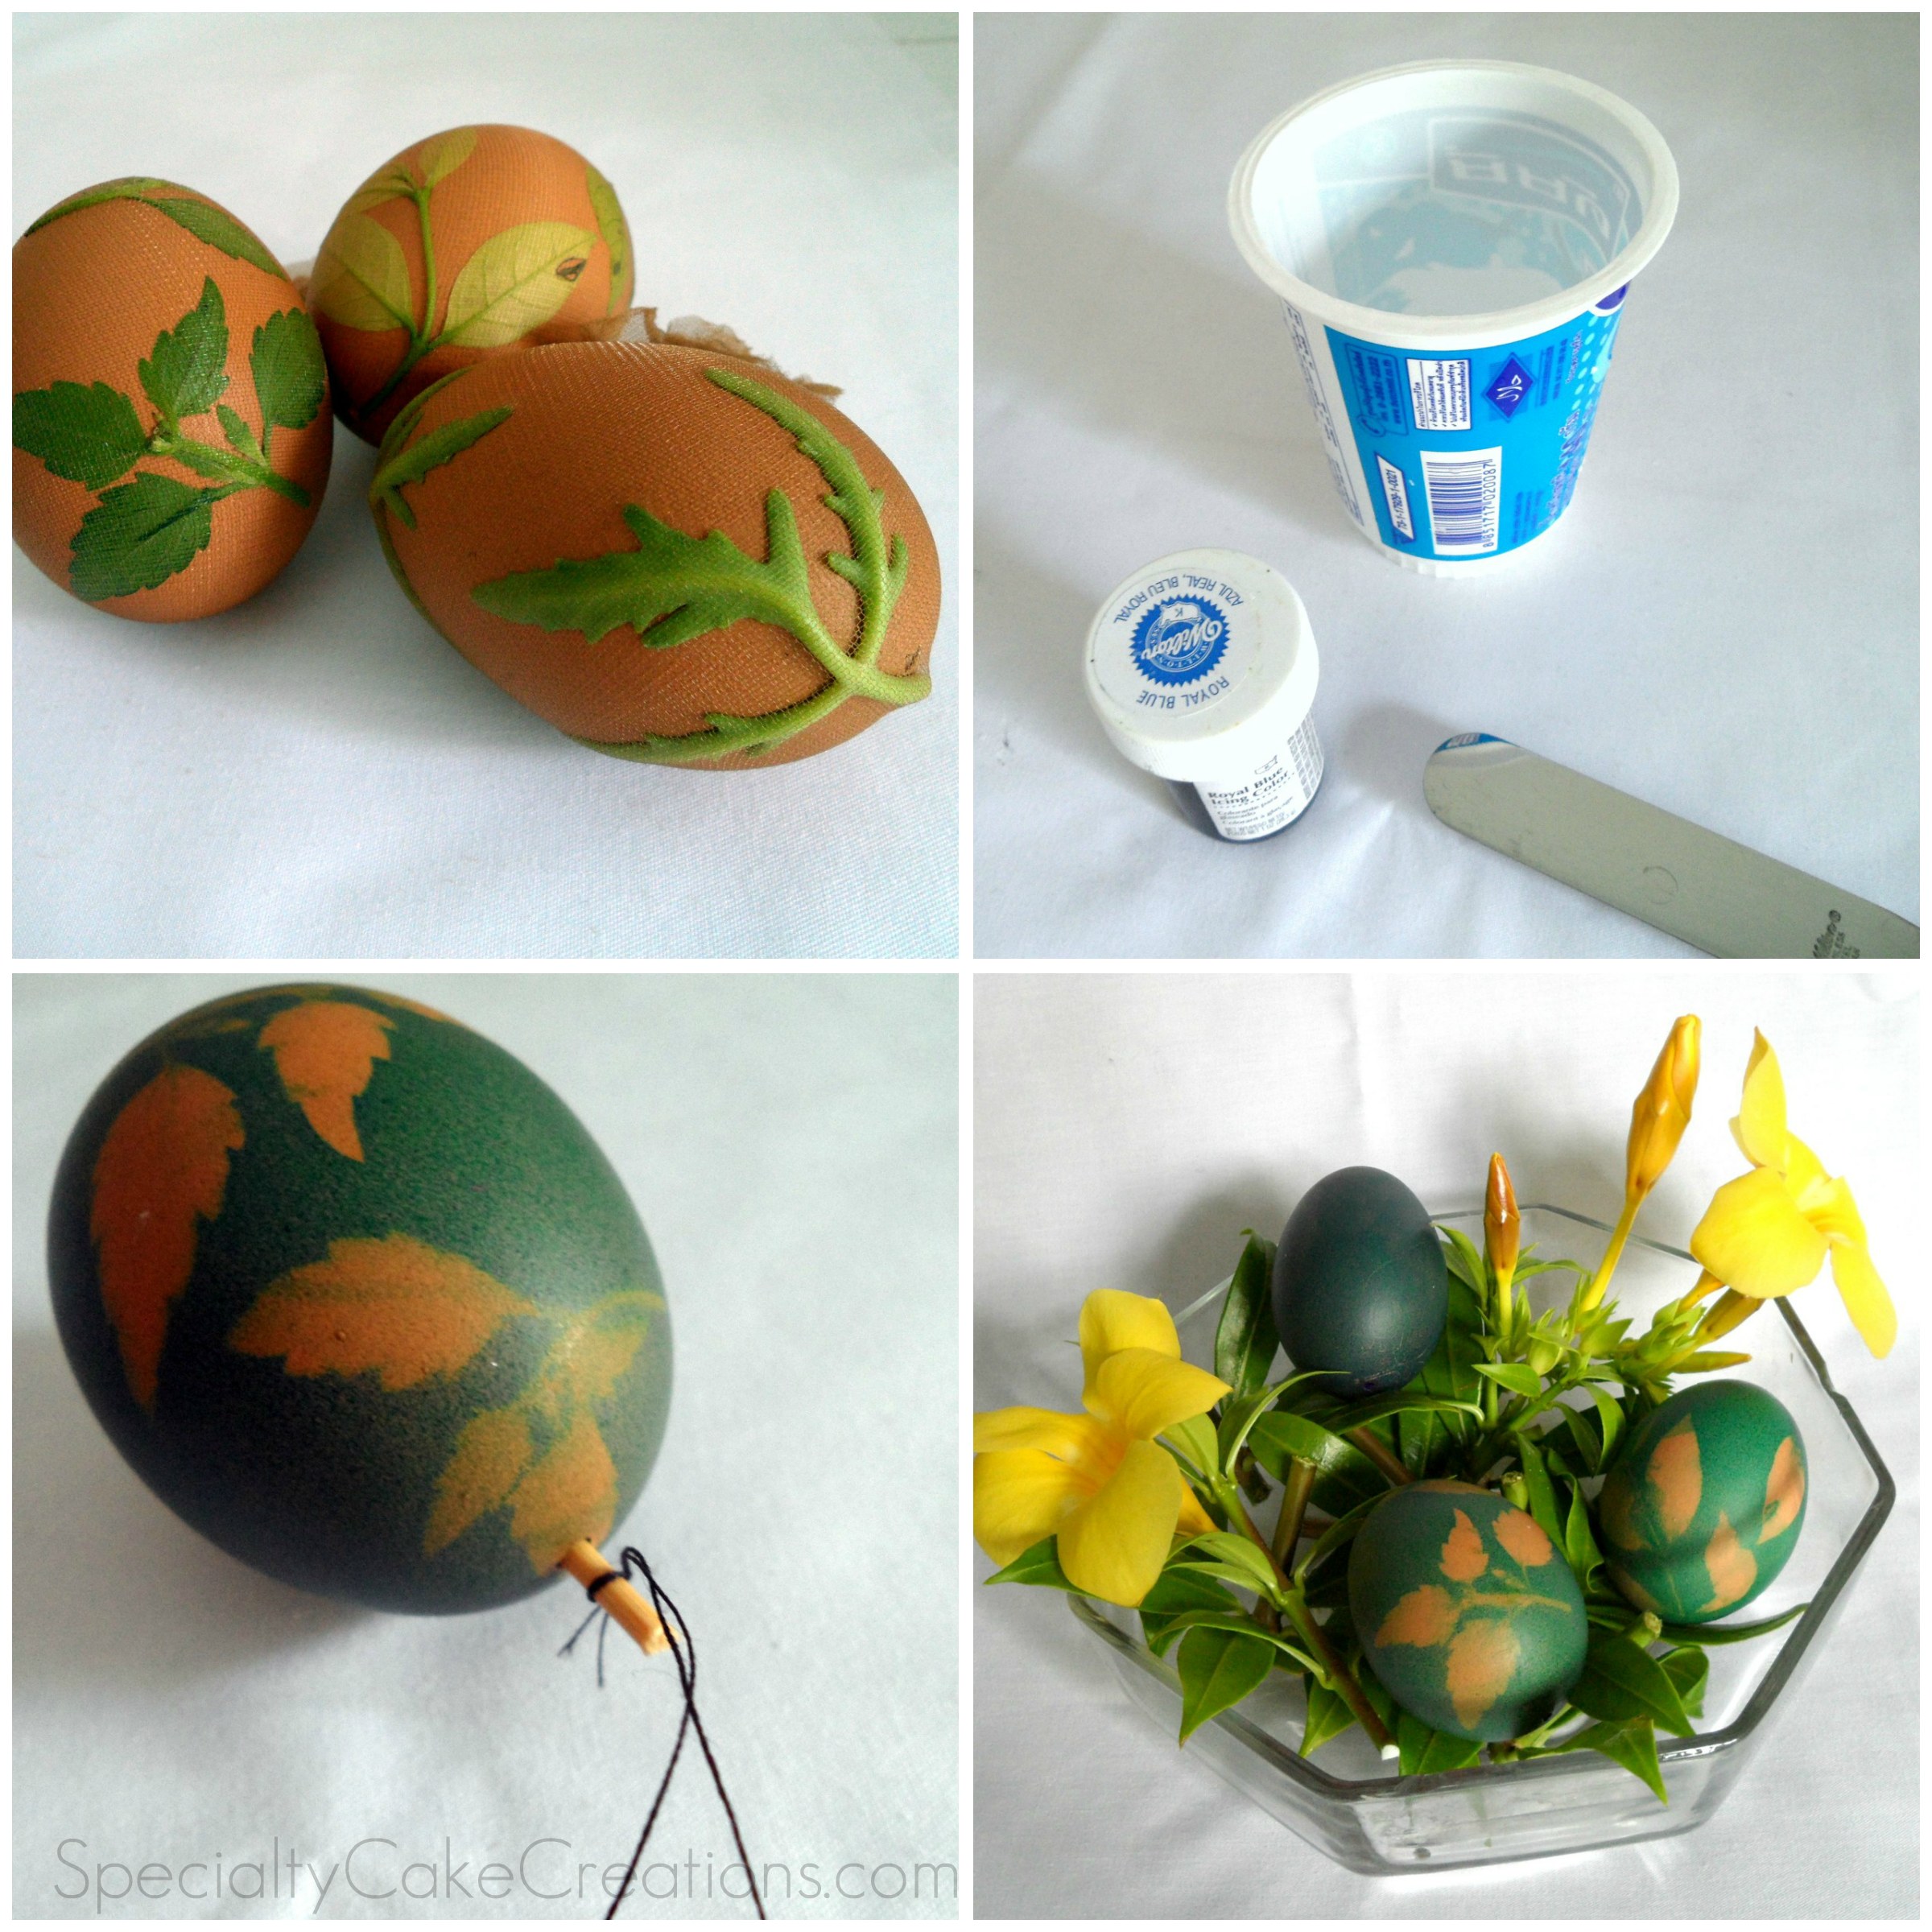
This year I don’t really have any sort of special baking or cooking plans for the Easter holidays. We also plan to spend yet another holiday without family, so there isn’t a huge need for it either. I was also under the impression that it would be impossible to even make something as simple as colored eggs. So far, I haven’t seen any egg coloring tablets for purchase here in Thailand.
But then, surprisingly enough, via Pinterest, I came across a chart from Printabelle.com showing how to color Easter eggs with food coloring. Thankfully, I definitely have food coloring available! The only other items needed are boiled water and vinegar.
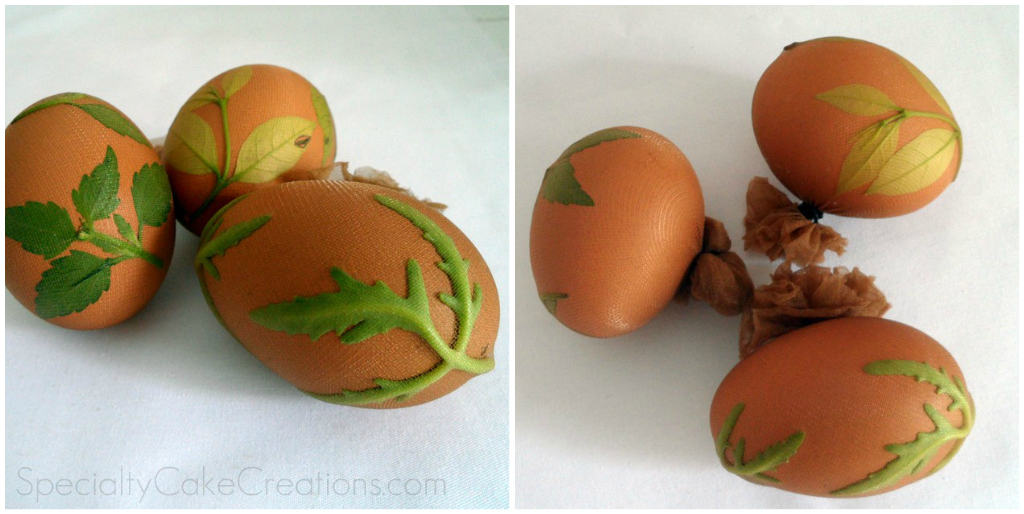
My Pinterest Easter inspiration spree didn't end here though. I also came across this post on leaf print on eggs using nylons. I have faint memories of using this technique as well as using onion skins as coloring from Easter projects with my mom. My Pinterest Easter inspiration spree didn't end here though. All this was a good reminder and I'm glad to have also come across this post on leaf print on eggs using nylons.
All that is needed are leaves or flowers and stockings. I didn’t use onion skin as coloring since I wanted to try out food colors, instead. I used blown-out eggs and placed the leaves on, wrapped a piece of stocking around tightly and putting a tiny hair elastic band to hold it together.
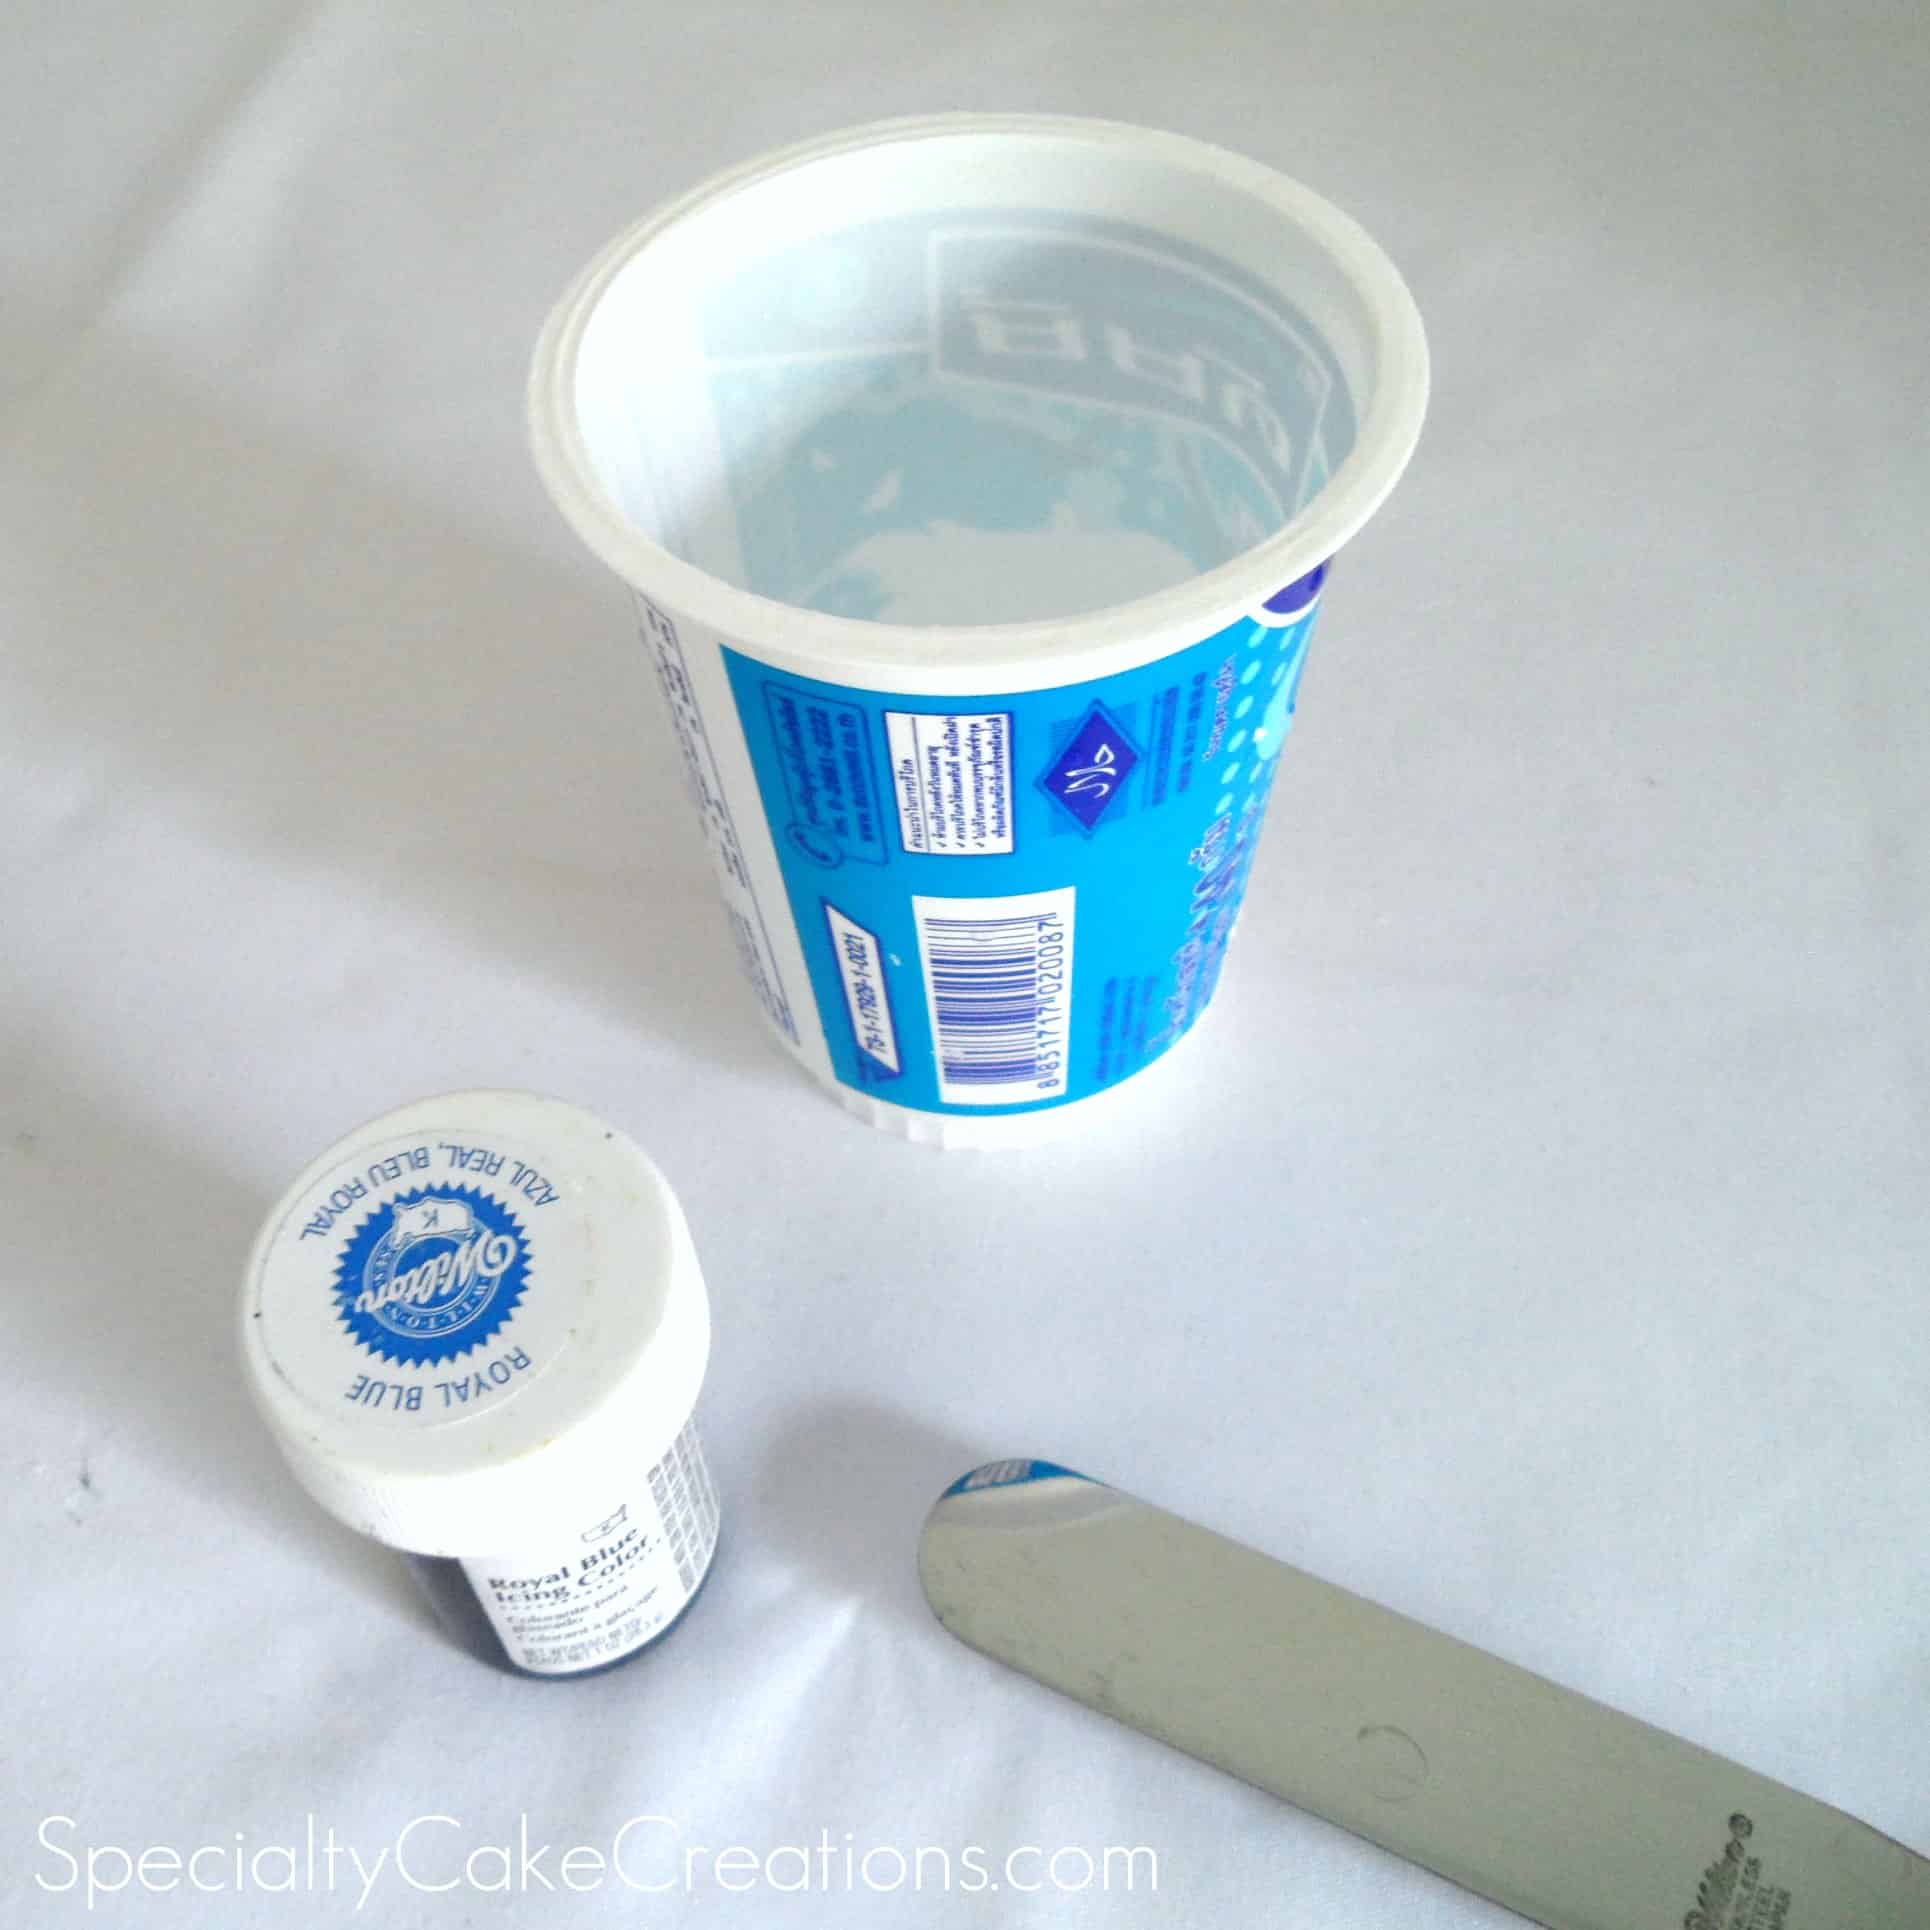
To prepare the color add 1 teaspoon of vinegar to ½ cup of boiling water. The chart calls for 10-20 drops of food coloring. Since I used gel color, I dipped a spatula tip into the color and stirred it into the water. This technique seemed to work well.
I seem to be able to buy only brown eggs at the store here, therefore, I decided to use a darker color, like royal blue, since I wanted to the color to show up well on the egg.
Dip the prepared eggs into the color for a few minutes and that’s it—you’re done! Because I used blown out eggs I had to hold them down with a spoon to keep them immersed. Remove the nylon and leaf to reveal your print pattern. Carefully leave the egg in a place where it can dry.
One egg ended up having no visible print because I used a fairly thick leaf and the coloring seeped underneath. It seems thinner leaves work best.
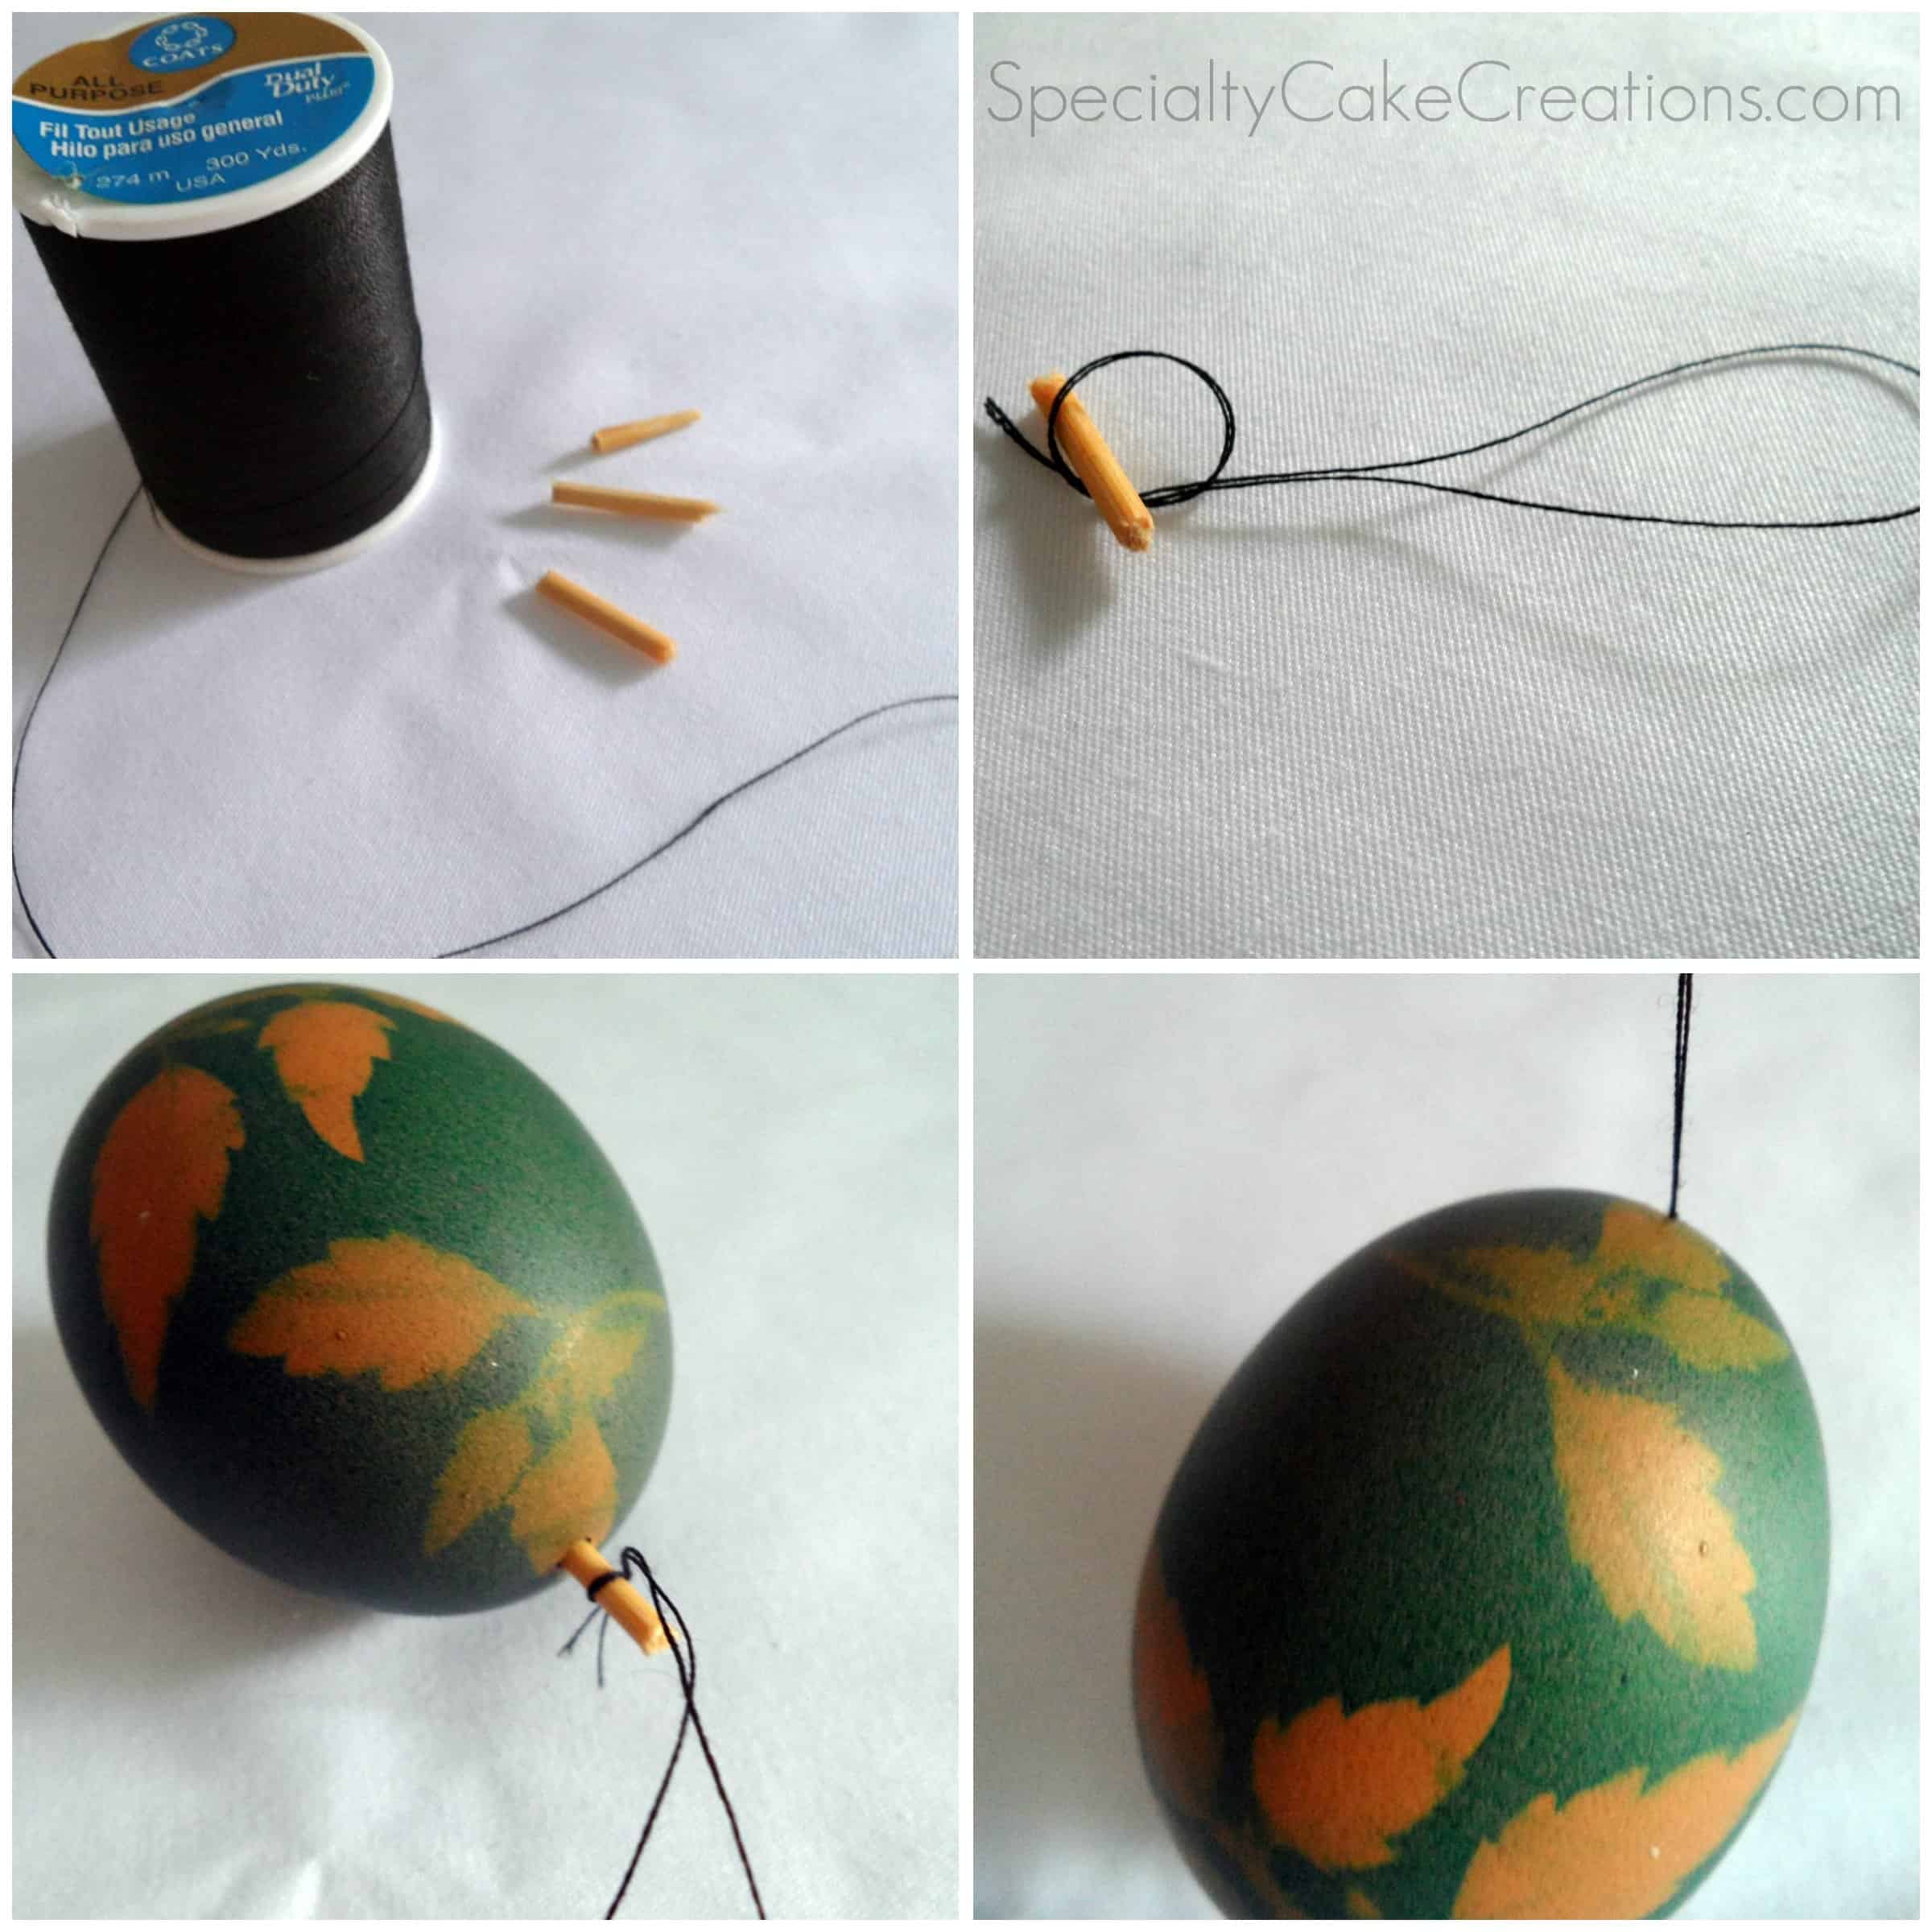
If you would like to hang up your blown-out eggs, there is a really simple way to create a hanger. Use yarn or ribbon and form a loop. Before closing the knot at the end put in a small piece of toothpick. Insert the toothpick into the hole on top of your egg.
I didn’t do this, but for additional shine, you can also rub a little bit of vegetable oil onto the egg.
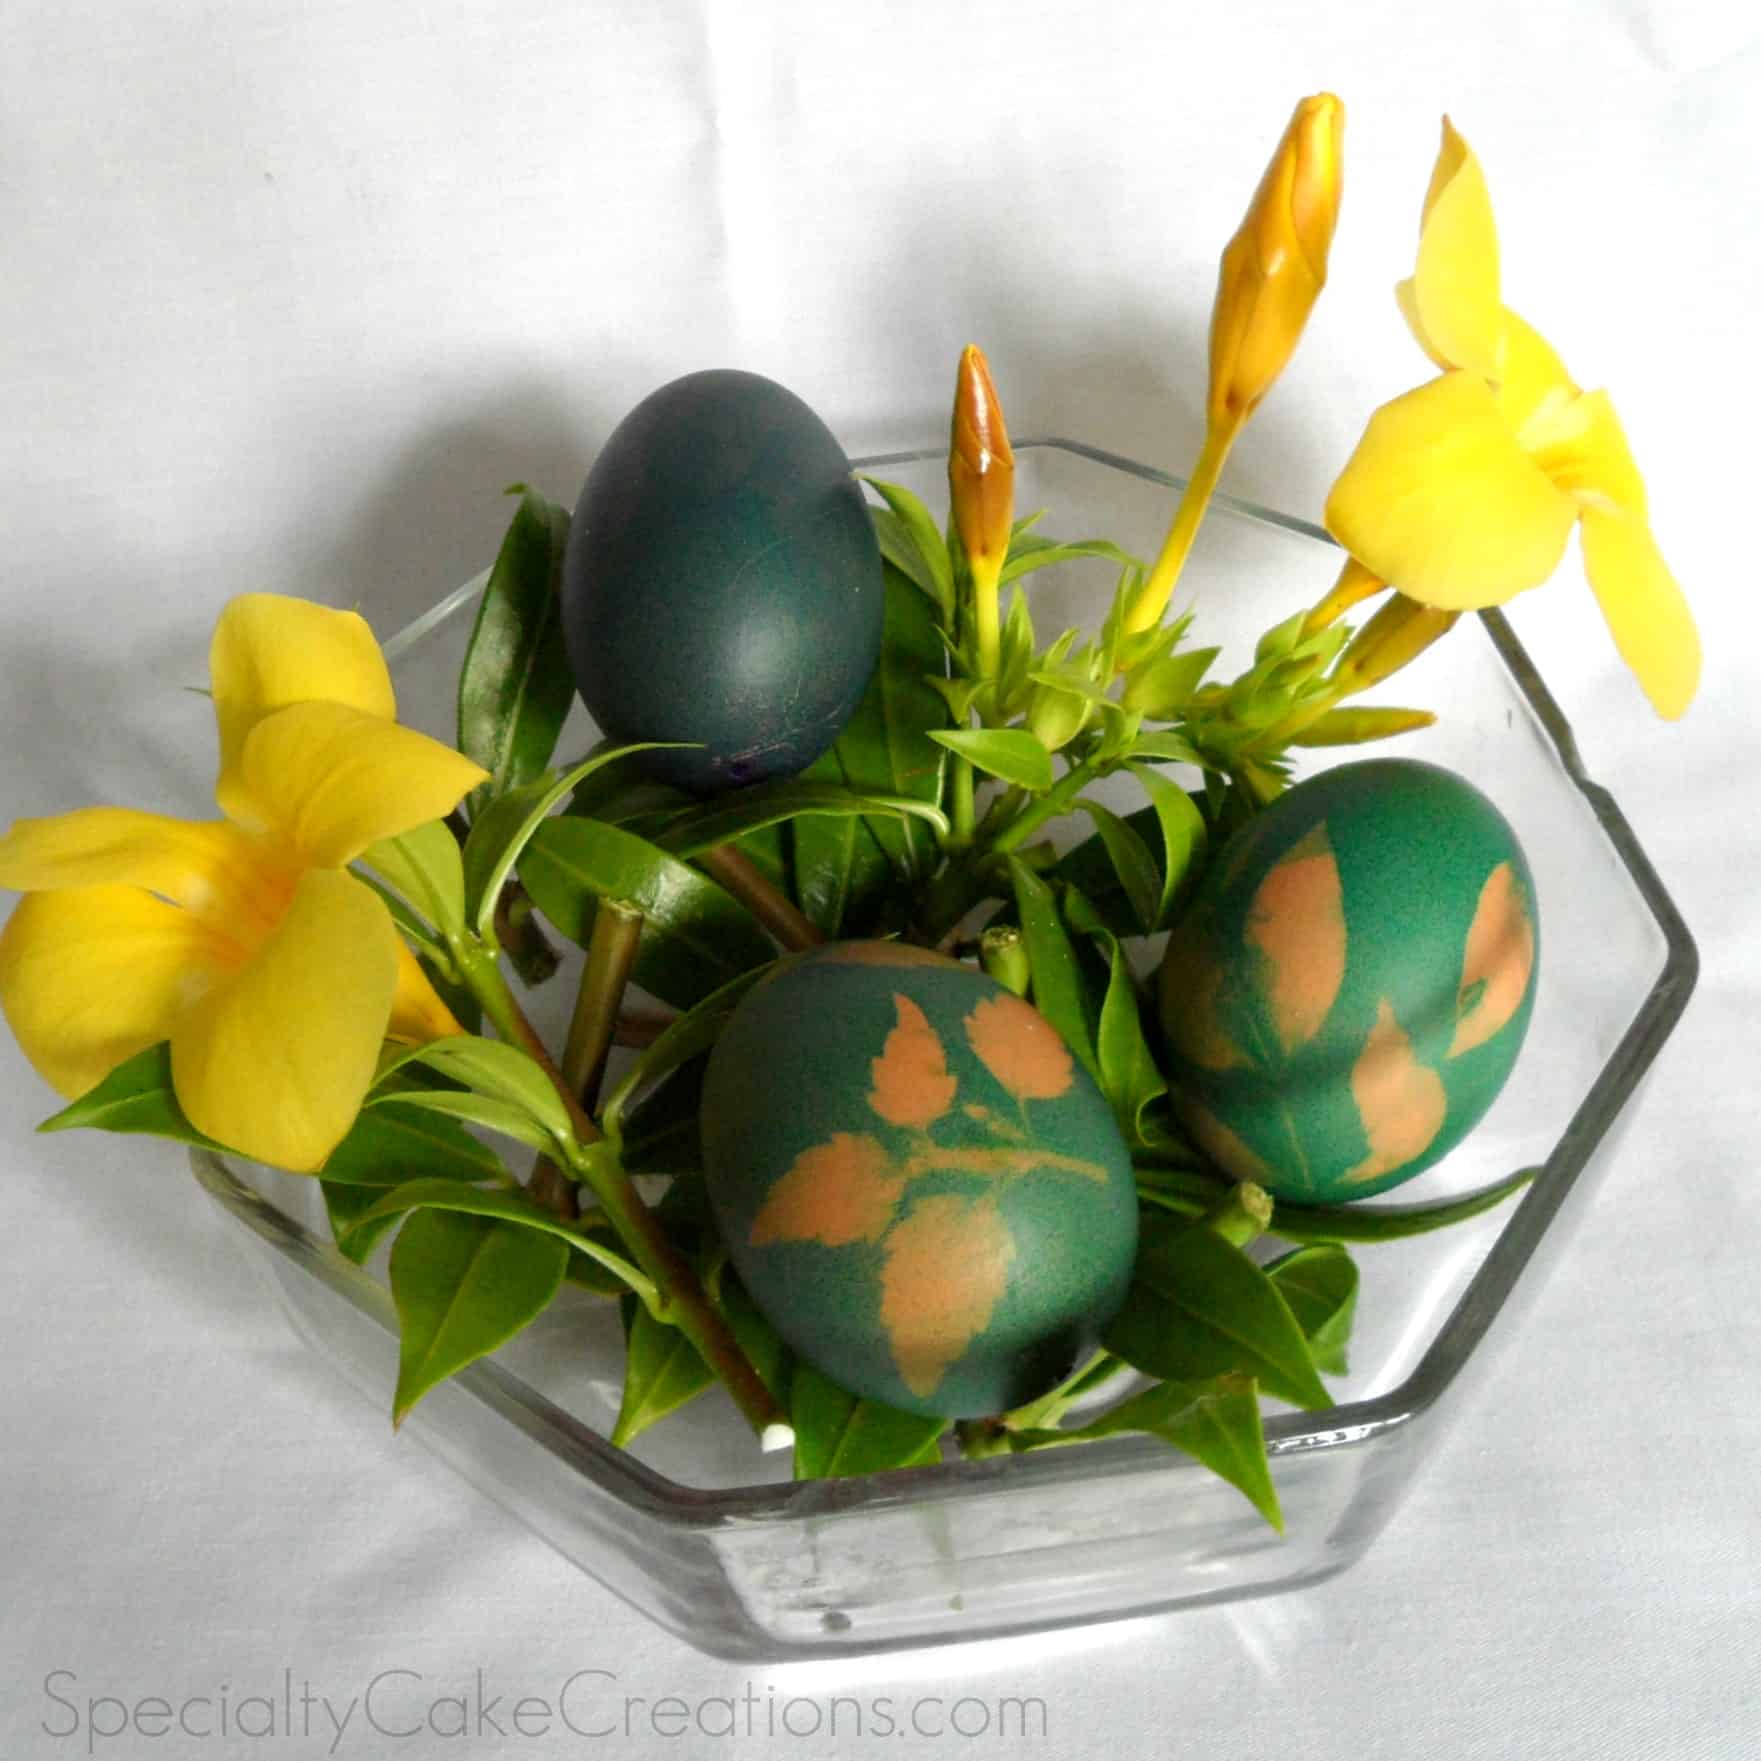
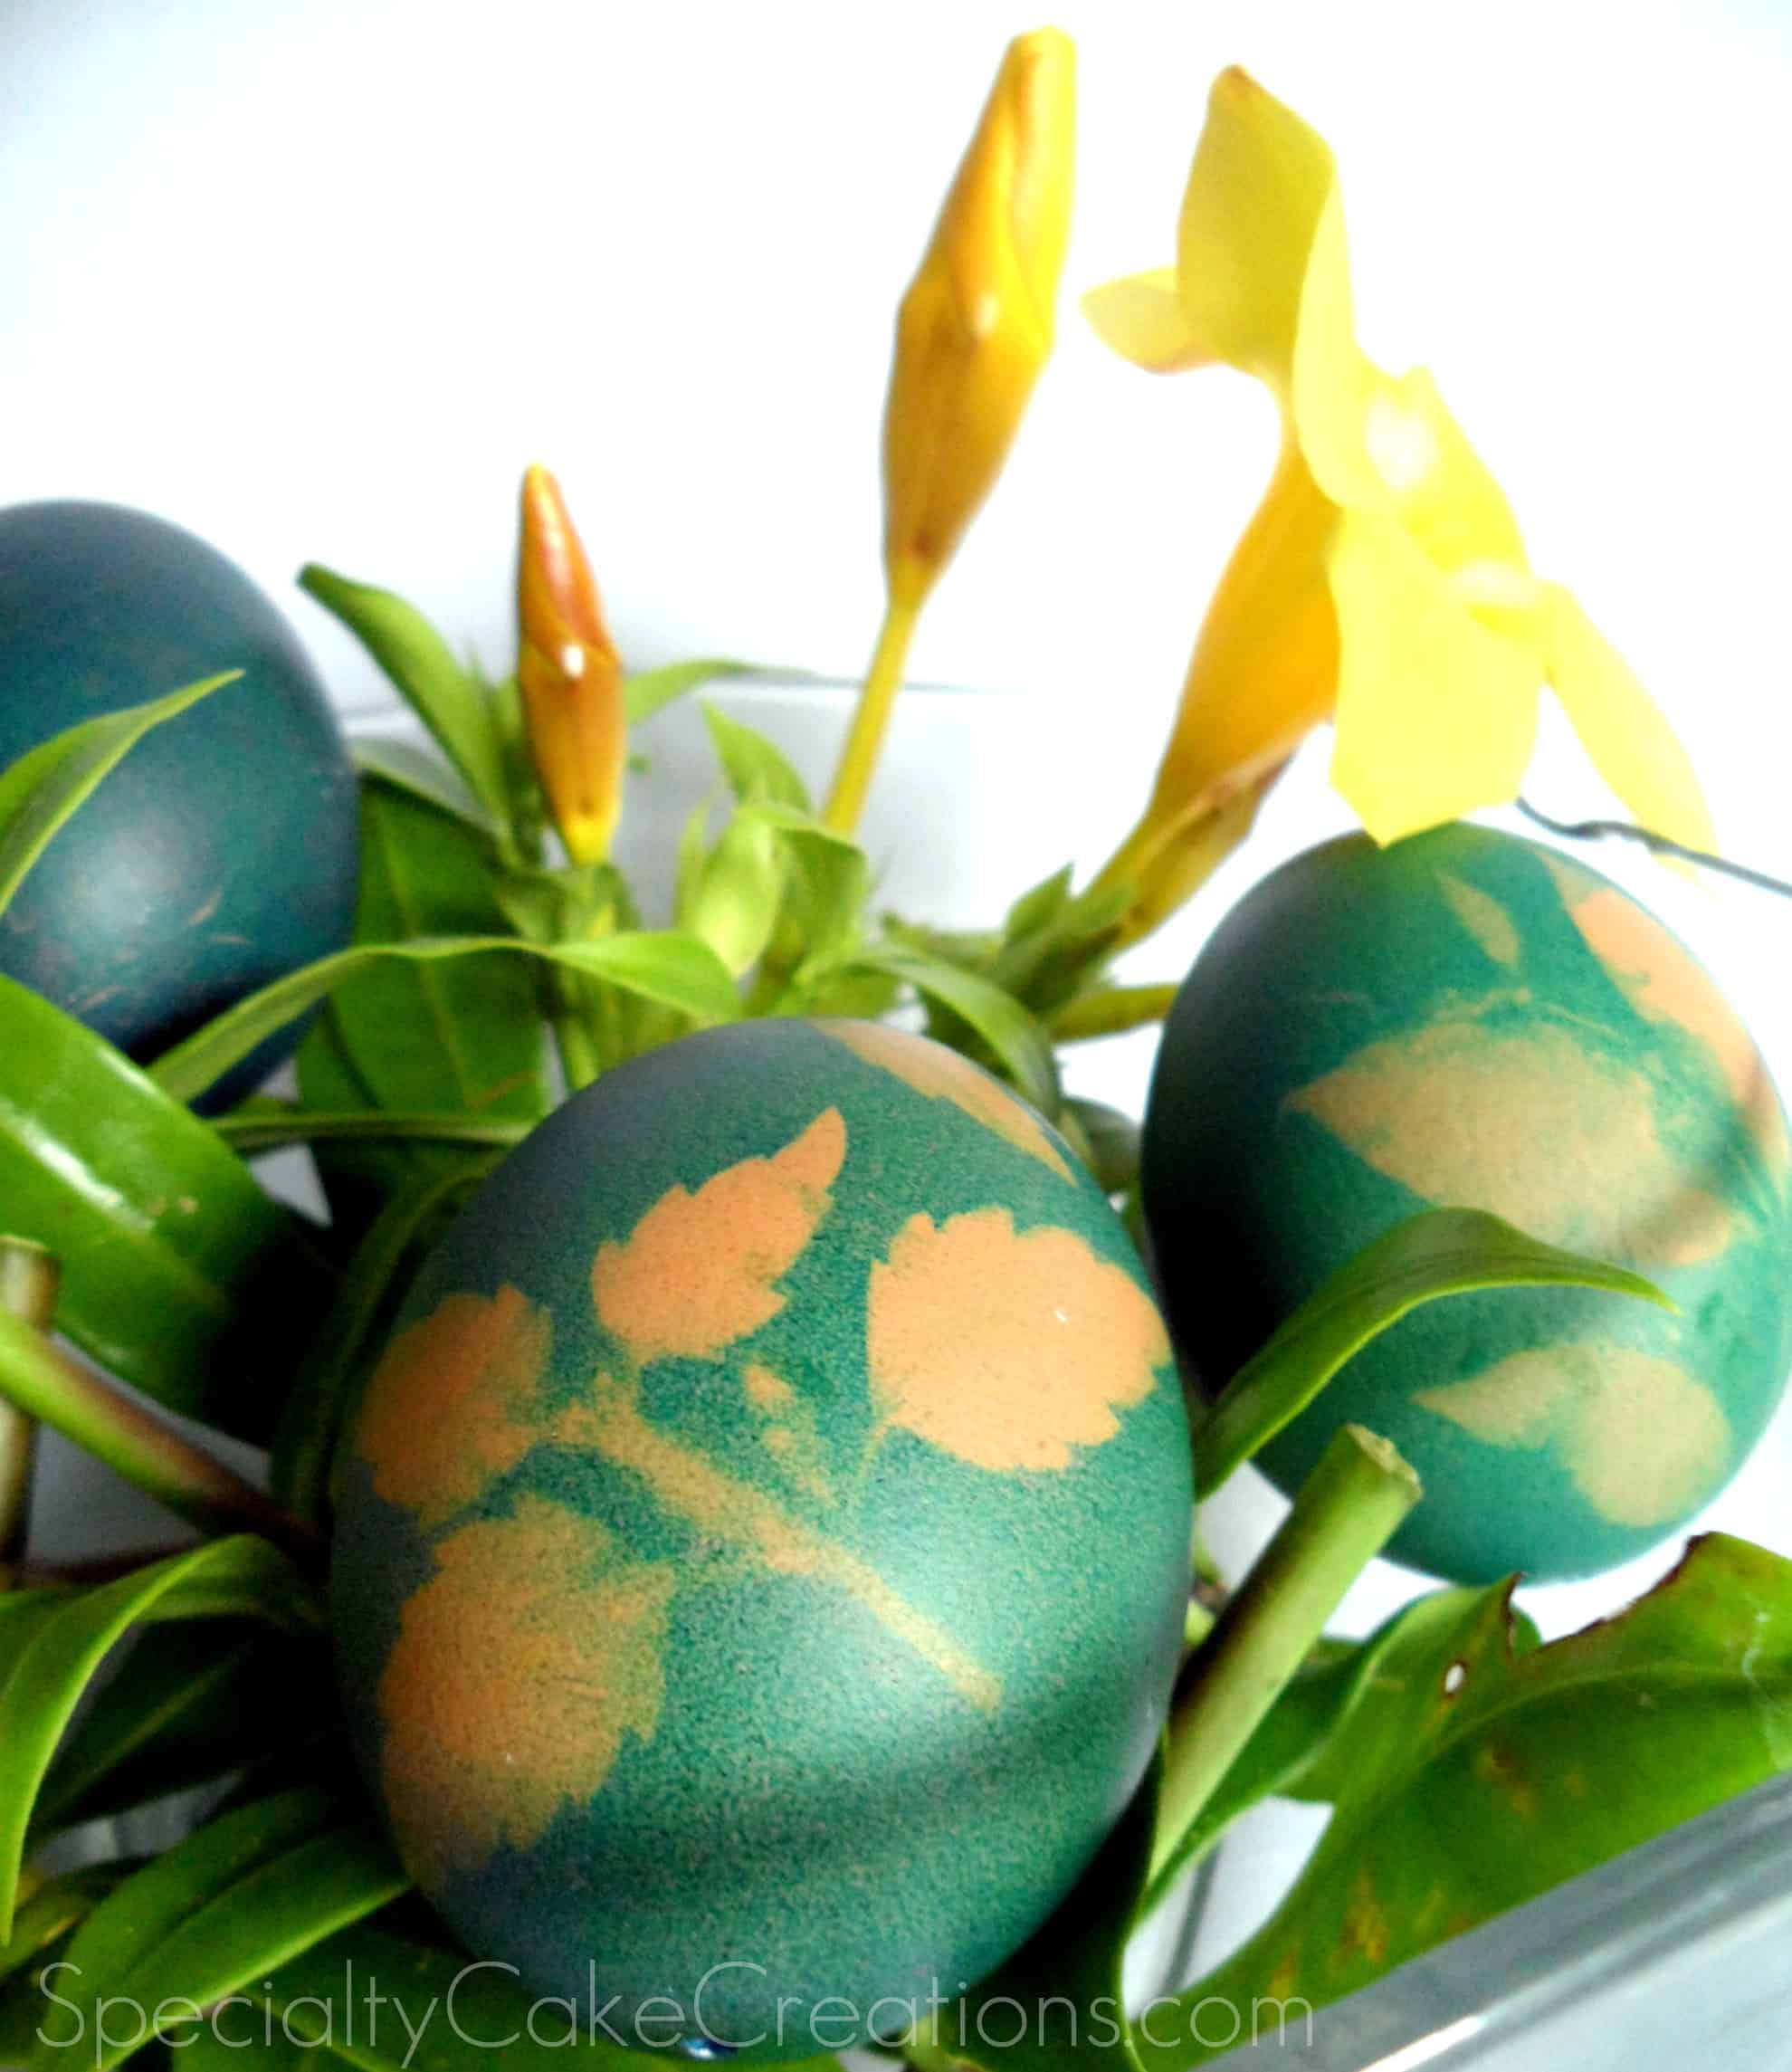
I didn’t end up hanging my eggs but put them in a little centerpiece on our coffee table. These beautiful yellow flowers are blooming all around our house at the moment.
What projects are you working on for this Easter? Please share your project and results with me!
Common Questions
Yes, regular food coloring can be used to dye eggs. It's a simple and easily accessible option for coloring Easter eggs.
Yes, vinegar is often used when dyeing eggs with food coloring. It helps the color adhere to the eggshell and produces vibrant and lasting colors.
Easter eggs can be decorated in various ways, including using food coloring, stickers, paints, natural dyes, or wax resist techniques to create intricate and colorful designs.
To prepare eggs for coloring, they are typically hard-boiled or blown out. Hard-boiled eggs are cooked until they are firm, while blown-out eggs have the contents removed through a small hole, leaving only the eggshell.
It is generally recommended to dye eggs in hot or warm water to help the color set more quickly and evenly. Cold water may result in lighter and less vibrant colors.
Decorative Easter eggs can be used as festive centerpieces, displayed in Easter baskets, or used as part of Easter egg hunts. They are also popular as gifts and can be kept as mementos.
Egg decorating is a popular Easter tradition in many cultures, symbolizing new life and rebirth. It dates back to ancient times and has become an integral part of Easter celebrations around the world.
The tradition of Easter egg decorating has origins in various ancient cultures, including those of Mesopotamia, Rome, and early Christians. It has since evolved into a widespread practice that varies in style and technique across different regions and cultures.

