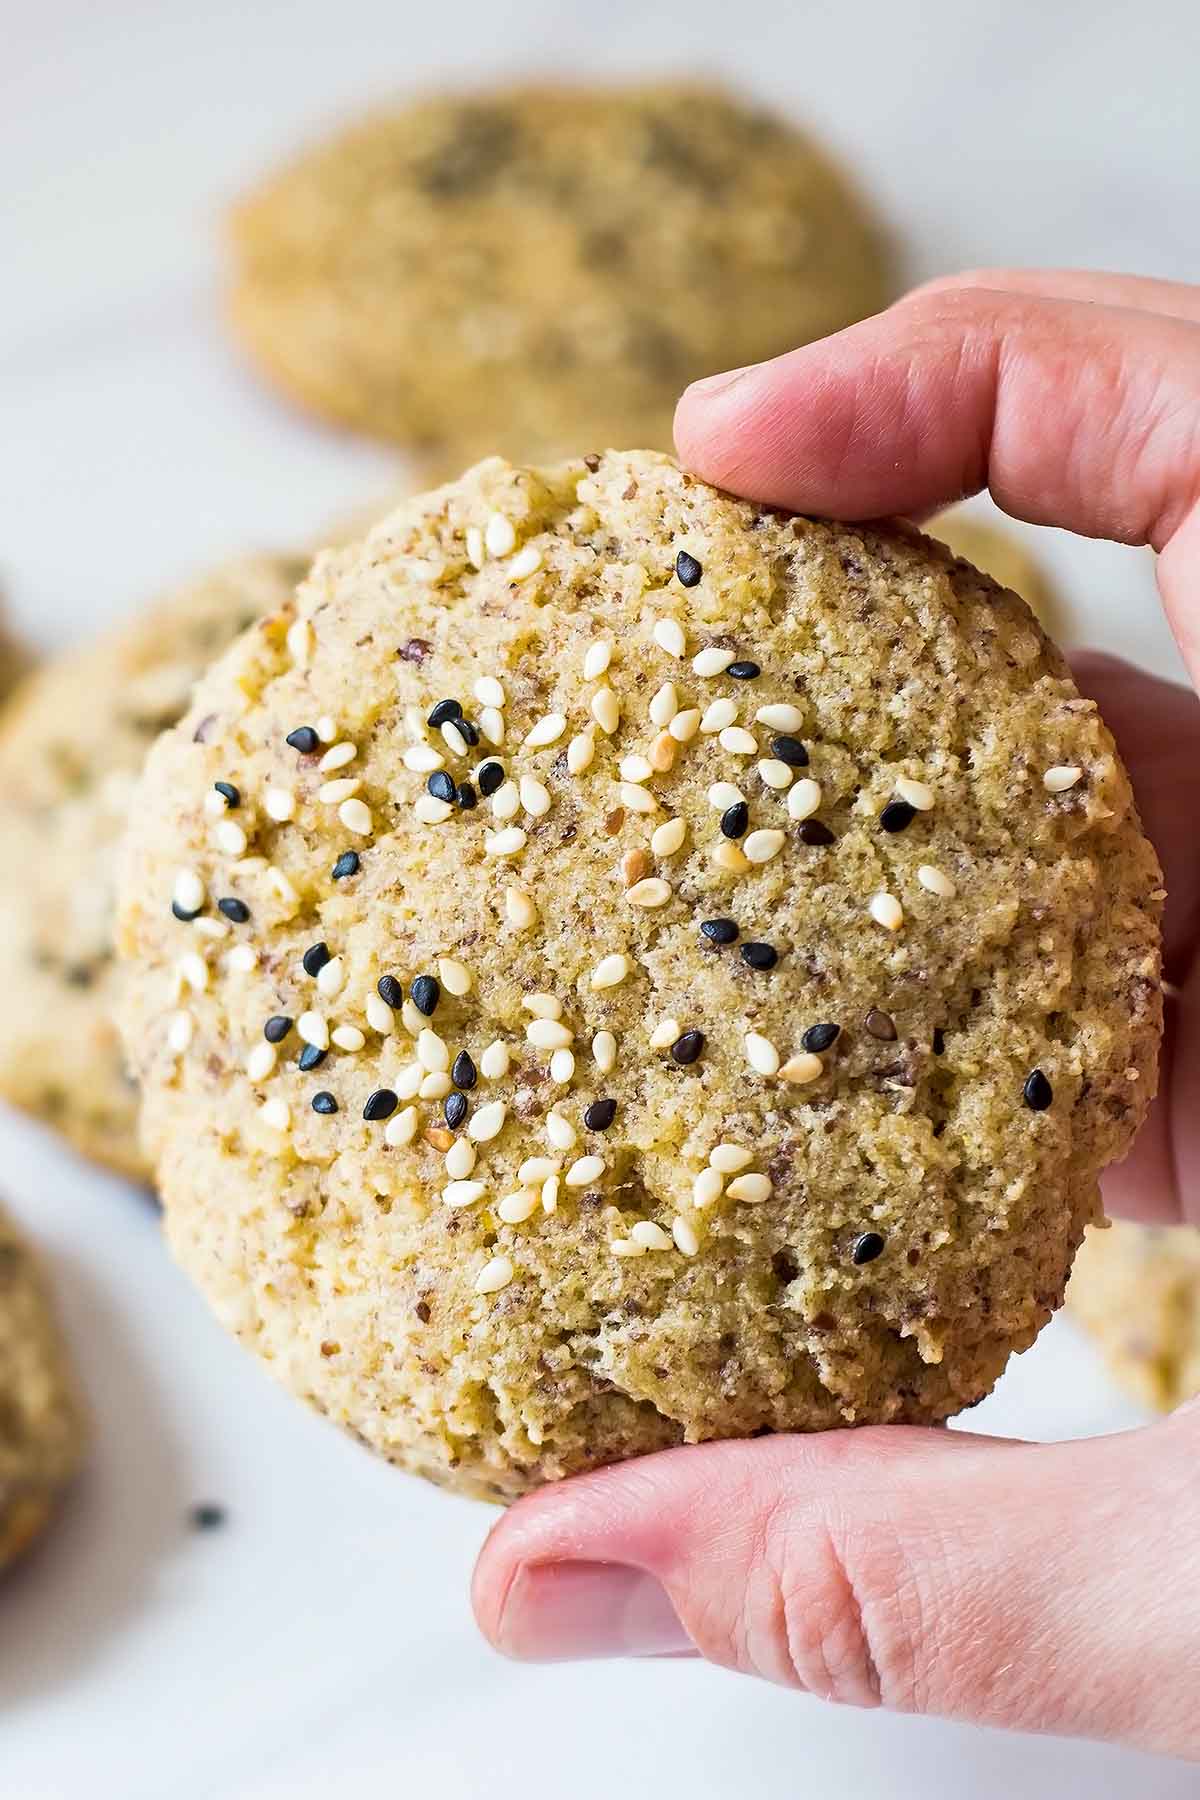
These completely gluten-free, grain-free coconut flour buns can accompany any meal. They are light and fluffy with a slightly sweet taste from the coconut flour. While you can eat them as they are as dinner rolls, they make a wonderful base for hamburgers and sandwiches as well.
About These Coconut Flour Buns
These coconut flour buns are wonderful for those on a keto or gluten-free diet, or wanting to avoid wheat. They comprise coconut flour, coconut oil, eggs, flax meal, arrowroot powder, and baking powder for a delicious grain-free, nut-free, and dairy-free option perfect as the base to hamburgers or as part of a holiday dinner.
The baking powder makes these buns more convenient to prepare than other low carb bread recipes, as you won't have to rely on yeast or fermentation to make them rise. The flax meal, while acting partly as a binding agent, also adds some earthy flavour to the buns along with some added fiber. However, if you don't love the taste of flax meal, you could use whole psyllium husk instead. Additionally, if you would prefer not to include arrowroot powder in your version of these buns, almond flour or tapioca flour are excellent replacements.
This recipe makes about eight buns which is wonderful if you would like some buns to serve the entire family. However, they are also quite fast and convenient to make, so if you need buns for a larger group, it would be quite easy to scale up the batch. Or cut the recipe in half for a small batch of just 4 buns.
Why is Coconut Flour Good in Buns?
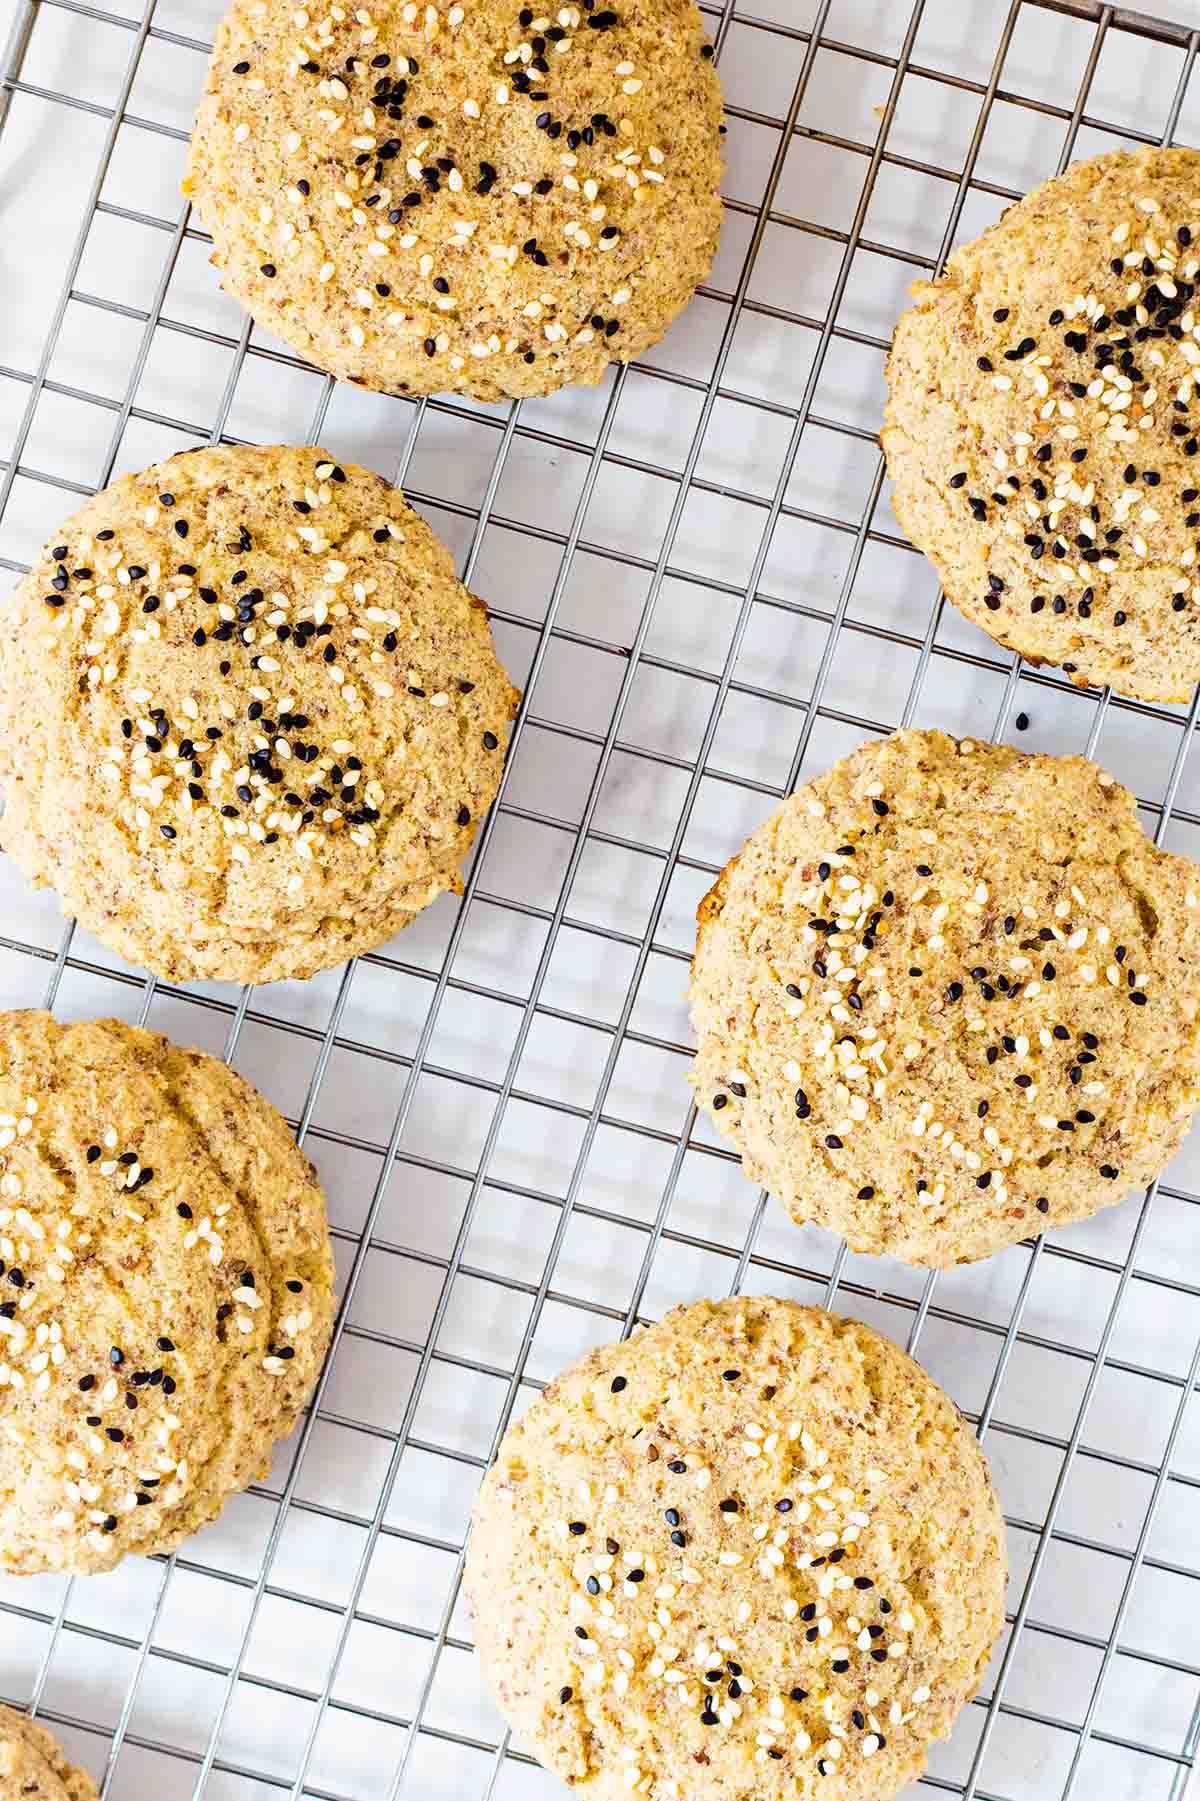
Coconut flour is a wonderful replacement for traditional wheat flour in buns, as it is higher in fiber and doesn't contain any gluten. This makes these buns suitable for those who prefer to avoid wheat-based baked goods. It is also relatively low-carb, so if you are trying to limit your carb intake, coconut flour bread would be a delicious alternative to bread made with all-purpose flour. These buns will also likely be more affordable than other keto bread or keto dinner rolls you can purchase at the grocery store.
Coconut flour is also a nice flour to work with as it absorbs liquid easily, helping everything bind together. It also has a lovely sweet and slightly nutty flavour which can add some complexity to baked items.
How to Make Coconut Flour Buns
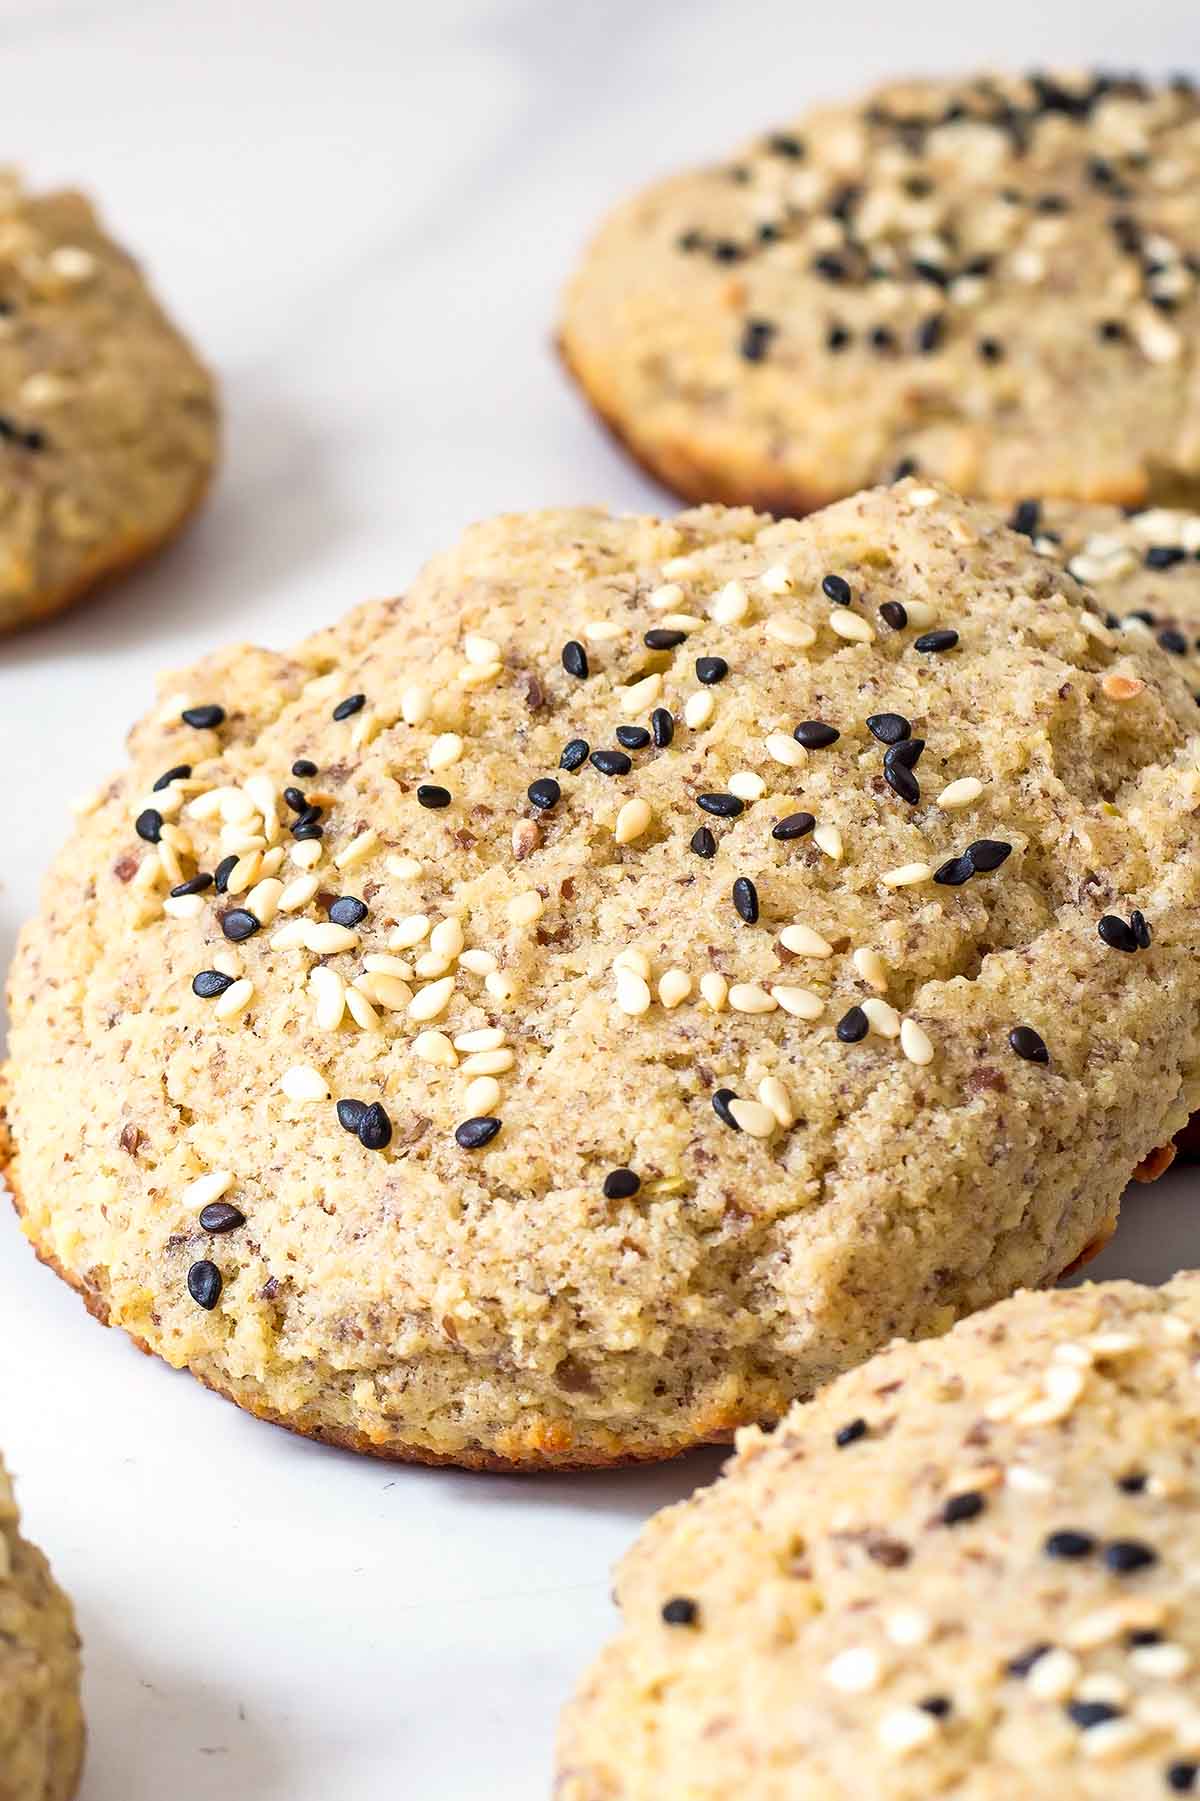
Making these coconut flour buns is quite easy. To begin, you should begin by preheating your oven to 350 F. Coconut flour bread recipes and other coconut flour dishes don't tend to do well at higher oven temperatures as coconut flour can brown quite easily. Then, you should prepare your baking vessel. You can either baked these buns on a parchment paper lined baking sheet or in a greased whoopie pie pan.
Mixing the Dough
The next step is to separate your eggs and whip the egg whites until they are very stiff. The egg whites will help lighten the dough and ensure you get fluffy buns.
Afterward, you whisk the egg yolks with the coconut oil, milk, and sweetener in a large bowl until combined. Then, you stir in the dry ingredients including the flours, baking powder, and salt until a smooth batter is formed.
Finally, you fold in the eggs whites until the dough is no longer streaky. This will lighten the batter and make it easier to work with.
Dividing the Dough
To divide the batter into equal portions, you can measure 3 tablespoon portions onto the baking sheet to form eight buns or into eight greased cups in a whoopie pie pan. The whoopie pie pan is great as it will help hold the mixture into more uniform shapes for more even looking buns. However, if you are baking them on a baking sheet, you could use mason jar rings to help the batter hold shape better.
Baking the Buns
The next step is to flatten the tops of the buns slightly and sprinkle them with sesame seeds. Then, you can bake them in the oven until they are golden and springy, about 15 to 18 minutes. The buns should cool completely before you serve them. I highly recommend that you toast them before serving them, especially if you plan to use these for burger buns.
Steps for Making the Coconut Flour Buns
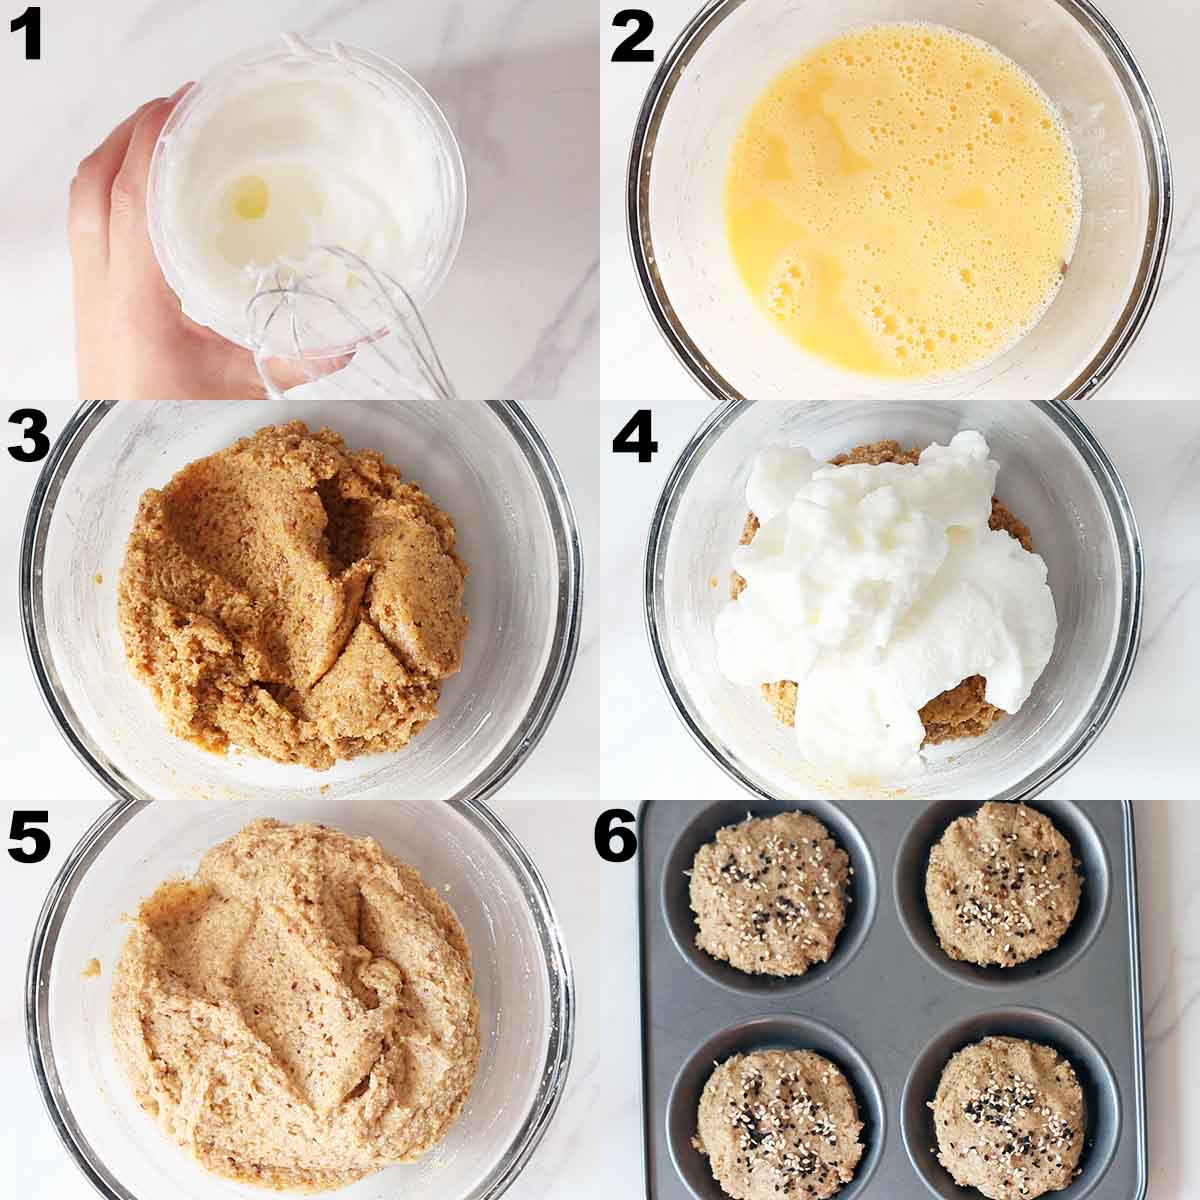
- Start by whisking the egg whites until stiff; then set aside.
- In a large bowl whisk together the wet ingredients (egg yolks, coconut oil, milk of choice, optional sweetener) until even combined.
- On top of the wet mix add the dry ingredients (coconut flour, flax meal, arrowroot powder, baking powder, salt). Mix until combined. The batter will thicken up significantly during the mixing process into a dough-like consistency.
- Add the stiff egg whites and gently fold in.
- The batter will loosen up again and will be airy and fluffy now.
- Divide into 8 buns on a lined baking sheet (with optional large mason jar rings) or use a whoopie pie pan. Flatten the tops and sprinkle with sesame seeds. Bake at 350°F for 15-18 minutes.
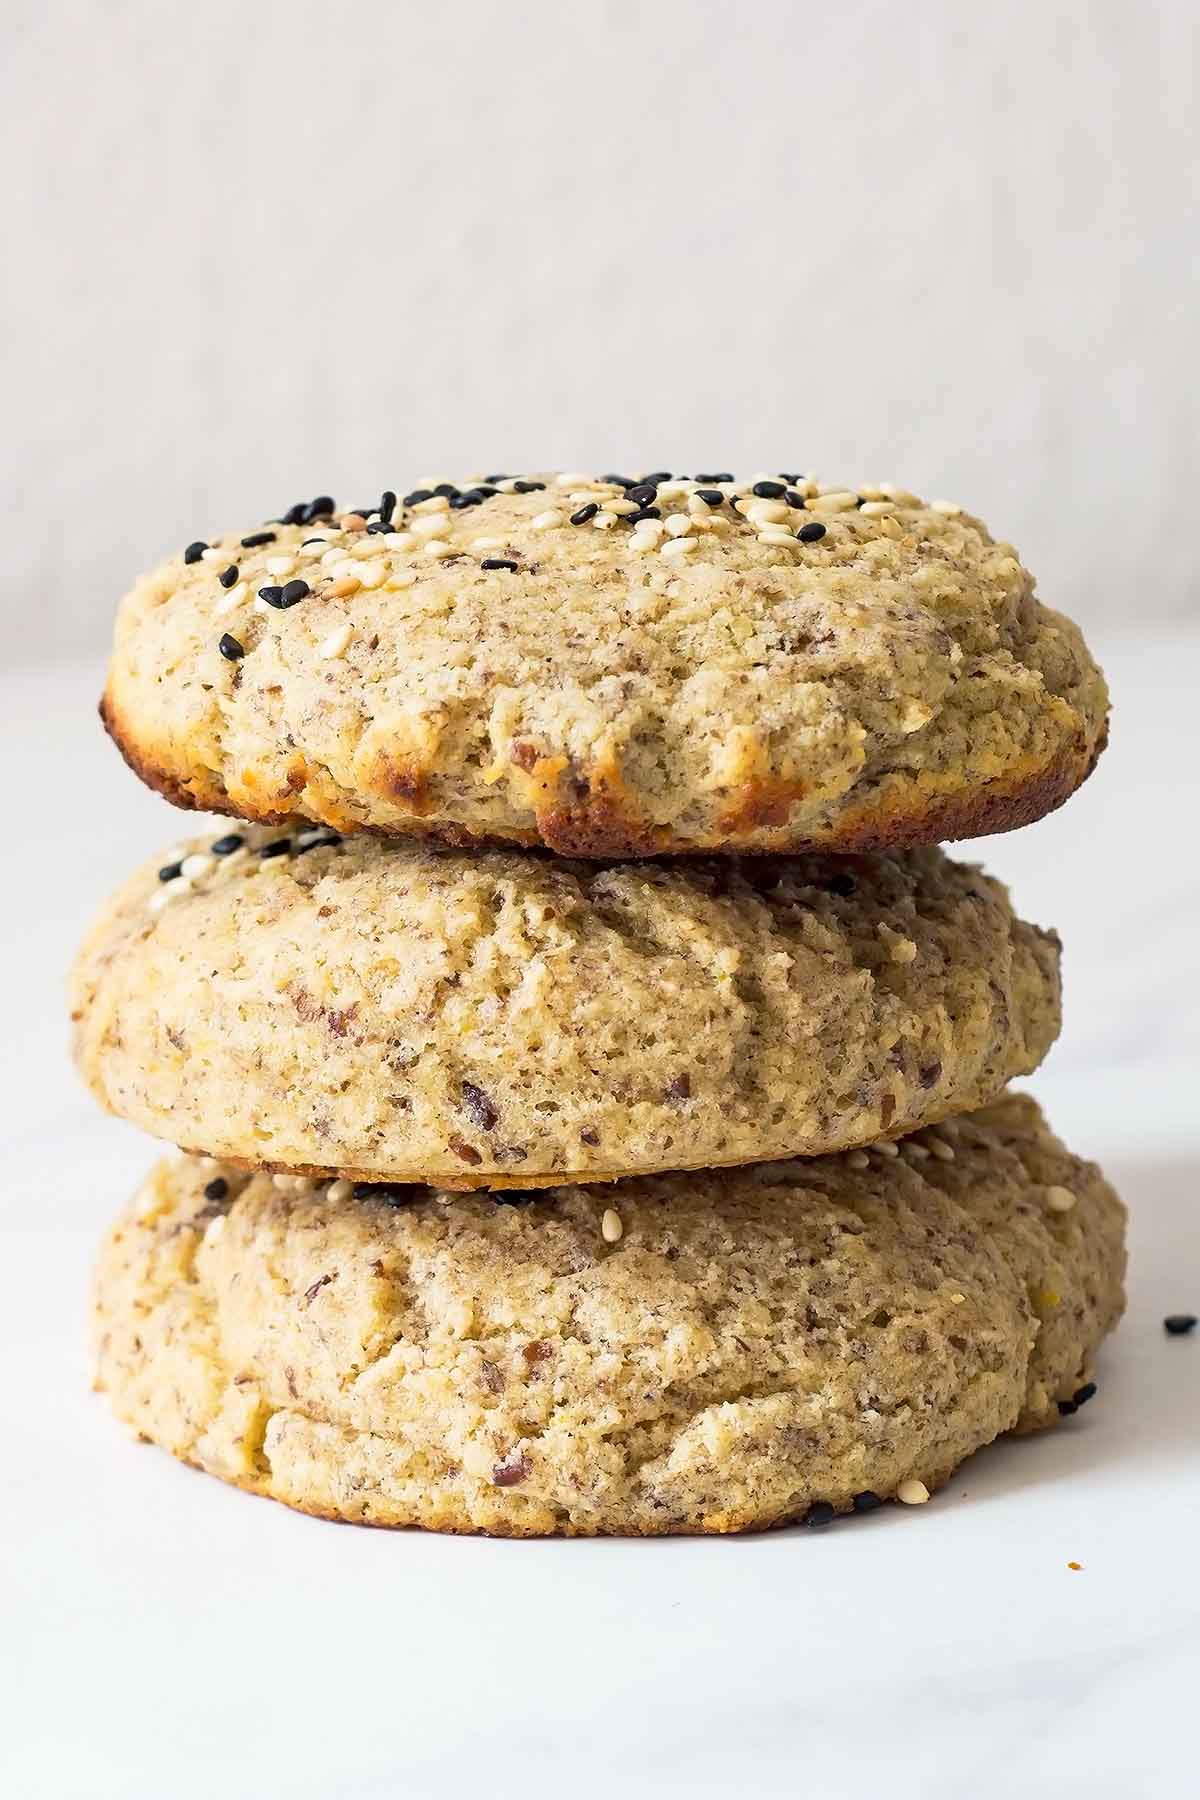
The above picture shows the side angle view of 3 coconut flour buns baked different ways
- Top: in whoopie pie pan
- Middle: on baking sheet with large mason jar ring
- Bottom: on parchment lined baking sheet
You can see there are slight height and coloring differences, but they all turn out very similar and delicious. Now they are ready to be enjoyed in a variety of ways. For most of them I recommend slicing the bun and toasting the halves.
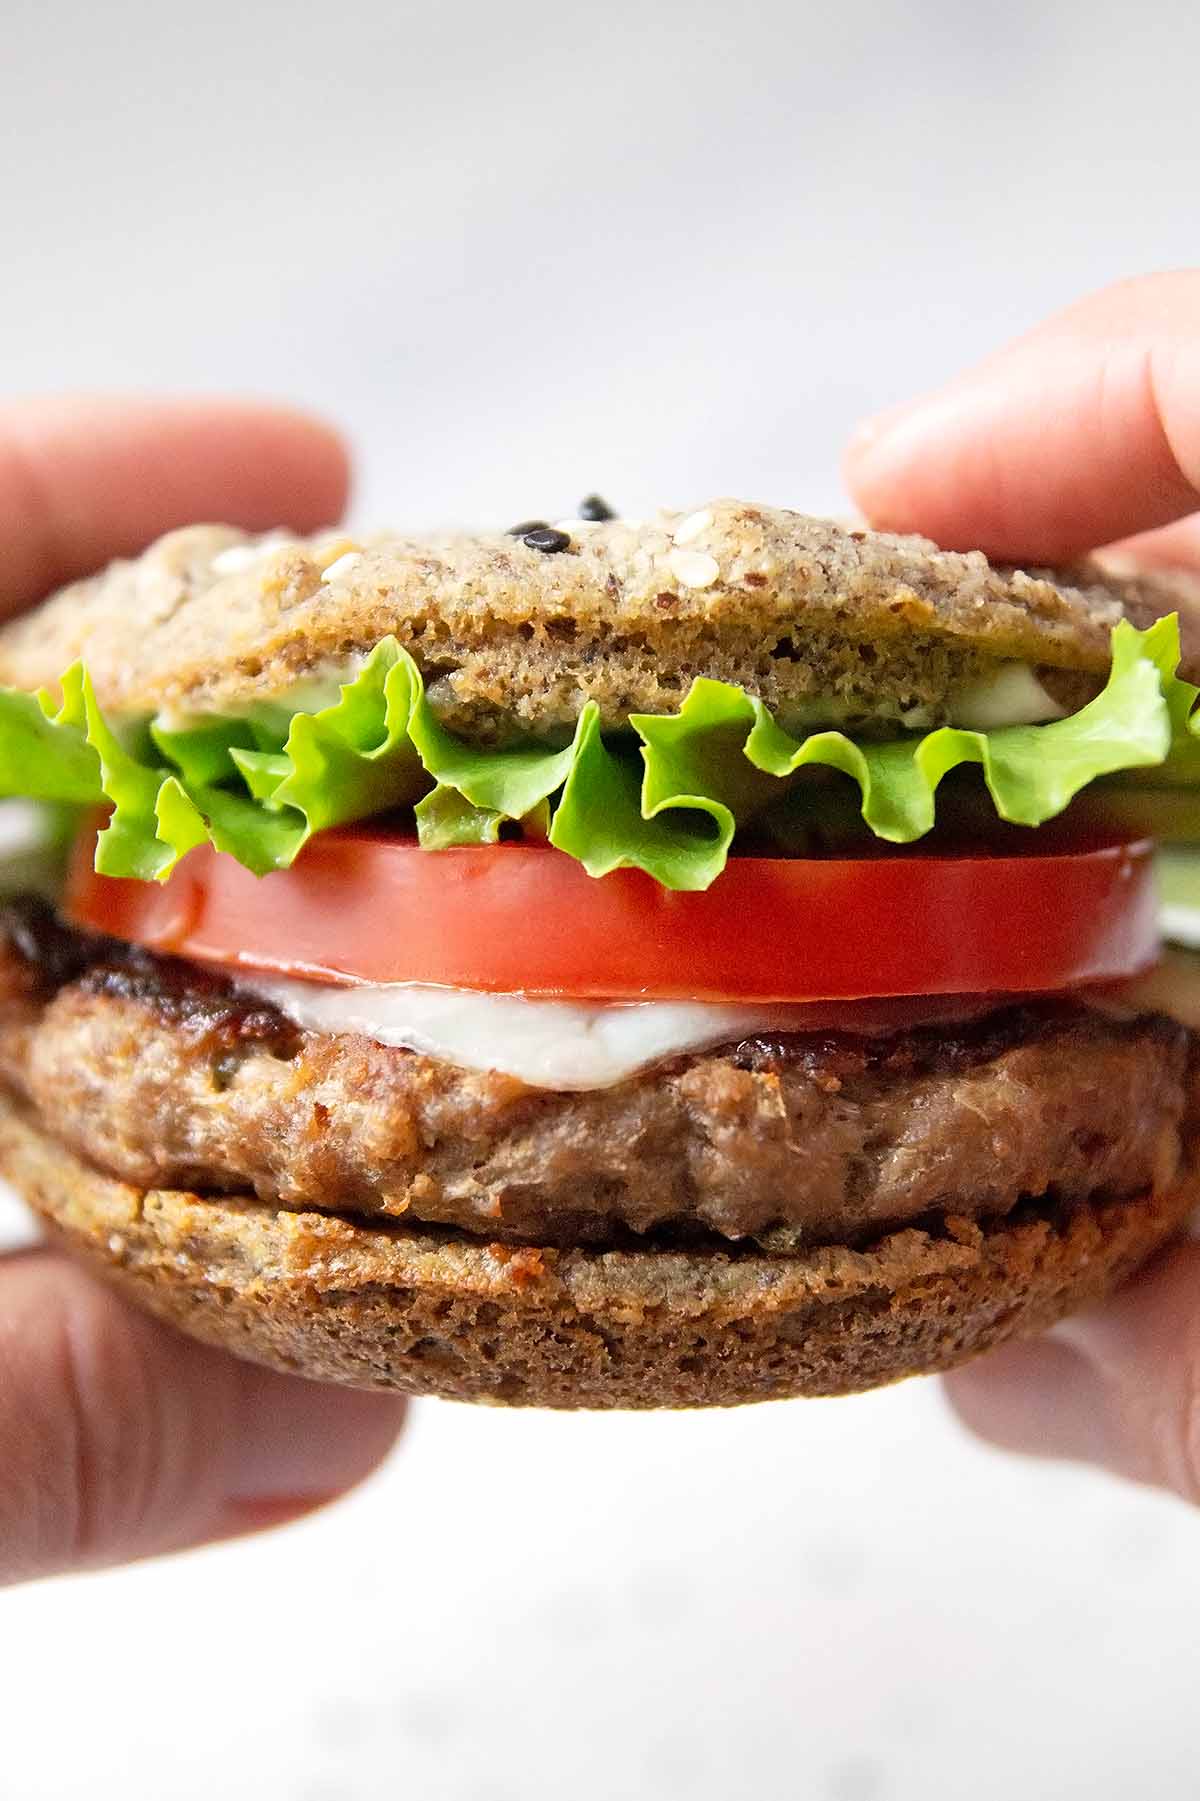
Make hamburgers, savory sandwiches - cold or warm (pulled pork or shredded chicken). Breakfast sandwiches with cheese, and egg (and sausage). Toast them and spread with butter, peanut butter, jelly, jams etc.
Tips for Baking with Coconut Flour and Storing it
There are some challenges to baking with coconut flour to keep in mind. Coconut flour is a very absorbent flour meaning that if you accidentally measure out too much of it, you might have a particularly dense baked good on your hands. Here are some tips for baking with coconut flour to ensure you have the best success with this coconut flour buns recipe.
- When measuring your flour, scoop it into the measuring cup rather than dipping the measuring cup into the bag of flour as dipping can cause the flour to compact, potentially resulting in your ending up with too much flour in the recipe.
- It is ideal to pair other types of flour with coconut flour in baked goods for varying textures and flavours.
- Due to how much liquid coconut flour absorbs, coconut flour recipes will require less coconut flour than if you were to use traditional wheat flour, or they might require more liquid.
- Coconut flour sometimes lends a grittier texture to baked goods than other types of flour. For this reason, you might like to sift the flour before you use it.
- Coconut flour can go rancid if it isn't used in good time. Therefore, if you don't think you will use it before it goes bad, you can put it in the freezer to prolong its life.

Variations for These Coconut Flour Buns
While you shouldn't modify the mixture for these keto buns too much, there are some ways you can vary them and make them your own. Here are some ideas:
- Replace the sesame seed topping with everything bagel seasoning or other seeds like poppy seeds, pumpkins seeds, caraway, or sunflower seeds.
- Add your favourite dried herbs or garlic powder into the dough.
- Top the buns with some grated cheese before baking them.
- Add some cheddar and finely minced jalapeno into the dough for jalapeno cheddar buns.
How to Store These Coconut Flour Buns
Like many baked goods, these coconut flour buns are best enjoyed soon after you make them. However, if you have some leftover, you can store them in an airtight container until you are ready to use them. Store them at room temperature for 1-2 days or in the refrigerator for up to 5 days. You can also place them in freezer bags in the freezer so that you can easily pull them out and thaw them when you need them quickly.
More Coconut Flour Bread Recipes:
Recipe
Coconut Flour Buns Recipe
Ingredients
- 4 large eggs separated
- ½ cup coconut oil melted, or butter/other light flavored oil
- ⅓ cup dairy free milk unsweetened almond milk, coconut, etc.
- 2 tablespoon sweetener optional*
- ½ cup coconut flour
- ⅓ cup flax meal or whole psyllium husk (26g)
- ¼ cup arrowroot powder or tapioca flour, almond flour
- 1 teaspoon baking powder **
- ½ teaspoon sea salt
Topping:
- sesame seeds or other seeds of choice - like sunflower seeds, chia, flax, etc.
Instructions
- Preheat your oven to 350° F. Prepare a baking sheet by lining with parchment paper, or grease a whoopie pie pan.
- Separate the eggs and whip the egg whites until stiff. Set aside.
- Add the remaining wet ingredients (egg yolks, oil, milk, optional honey) to a large bowl and whisk until they are well combined.
- Next, add the dry ingredients (coconut flour, ground flax, arrowroot powder, baking powder, salt) to bowl. Then stir together the dry and wet ingredients until evenly combined.
- Now gently fold in the beaten egg whites with a spatula.
- Evenly divide the batter to form 8 coconut flour buns (about 3 tablespoons batter each). You can use large mason jar rings to hold the batter in place on the baking sheet for slightly taller buns.
- Smooth out the tops of each bun and sprinkle with a few sesame seeds. Bake the buns for about 15-18 minutes until the tops are set and spring back when gently poked with a finger.
- Let the buns cool on the pan for 10 minutes, then move to a wire rack to cool fully.
- Store refrigerated for up to 1 week. Lightly toasting the bun halves is highly recommended.
Notes
Nutrition
Pin for later?
Random Questions
Yes, you can replace regular flour with coconut flour, but it absorbs more liquid, so you'll need to adjust the measurements accordingly.
Coconut flour absorbs more liquid than other flours, resulting in a denser texture. It also adds a subtle sweet and nutty flavor to baked goods.
Eggs are commonly used to bind coconut flour, as it lacks gluten. You can also use flax meal or psyllium husk as alternatives.
Yes, coconut flour is a good option for the keto diet as it is low in carbs and high in fiber, making it a popular choice for those on a low-carb eating plan.


Kaitlyn
Taste good but definitely spray the mason jar rings. Rookie mistake.
Jennifer @ Leelalicious
Hi Kaitlyn! Thanks for your review. I'm so glad you liked them. Yes, a little cooking spray is good to add to the rings to prevent sticking. 🙂