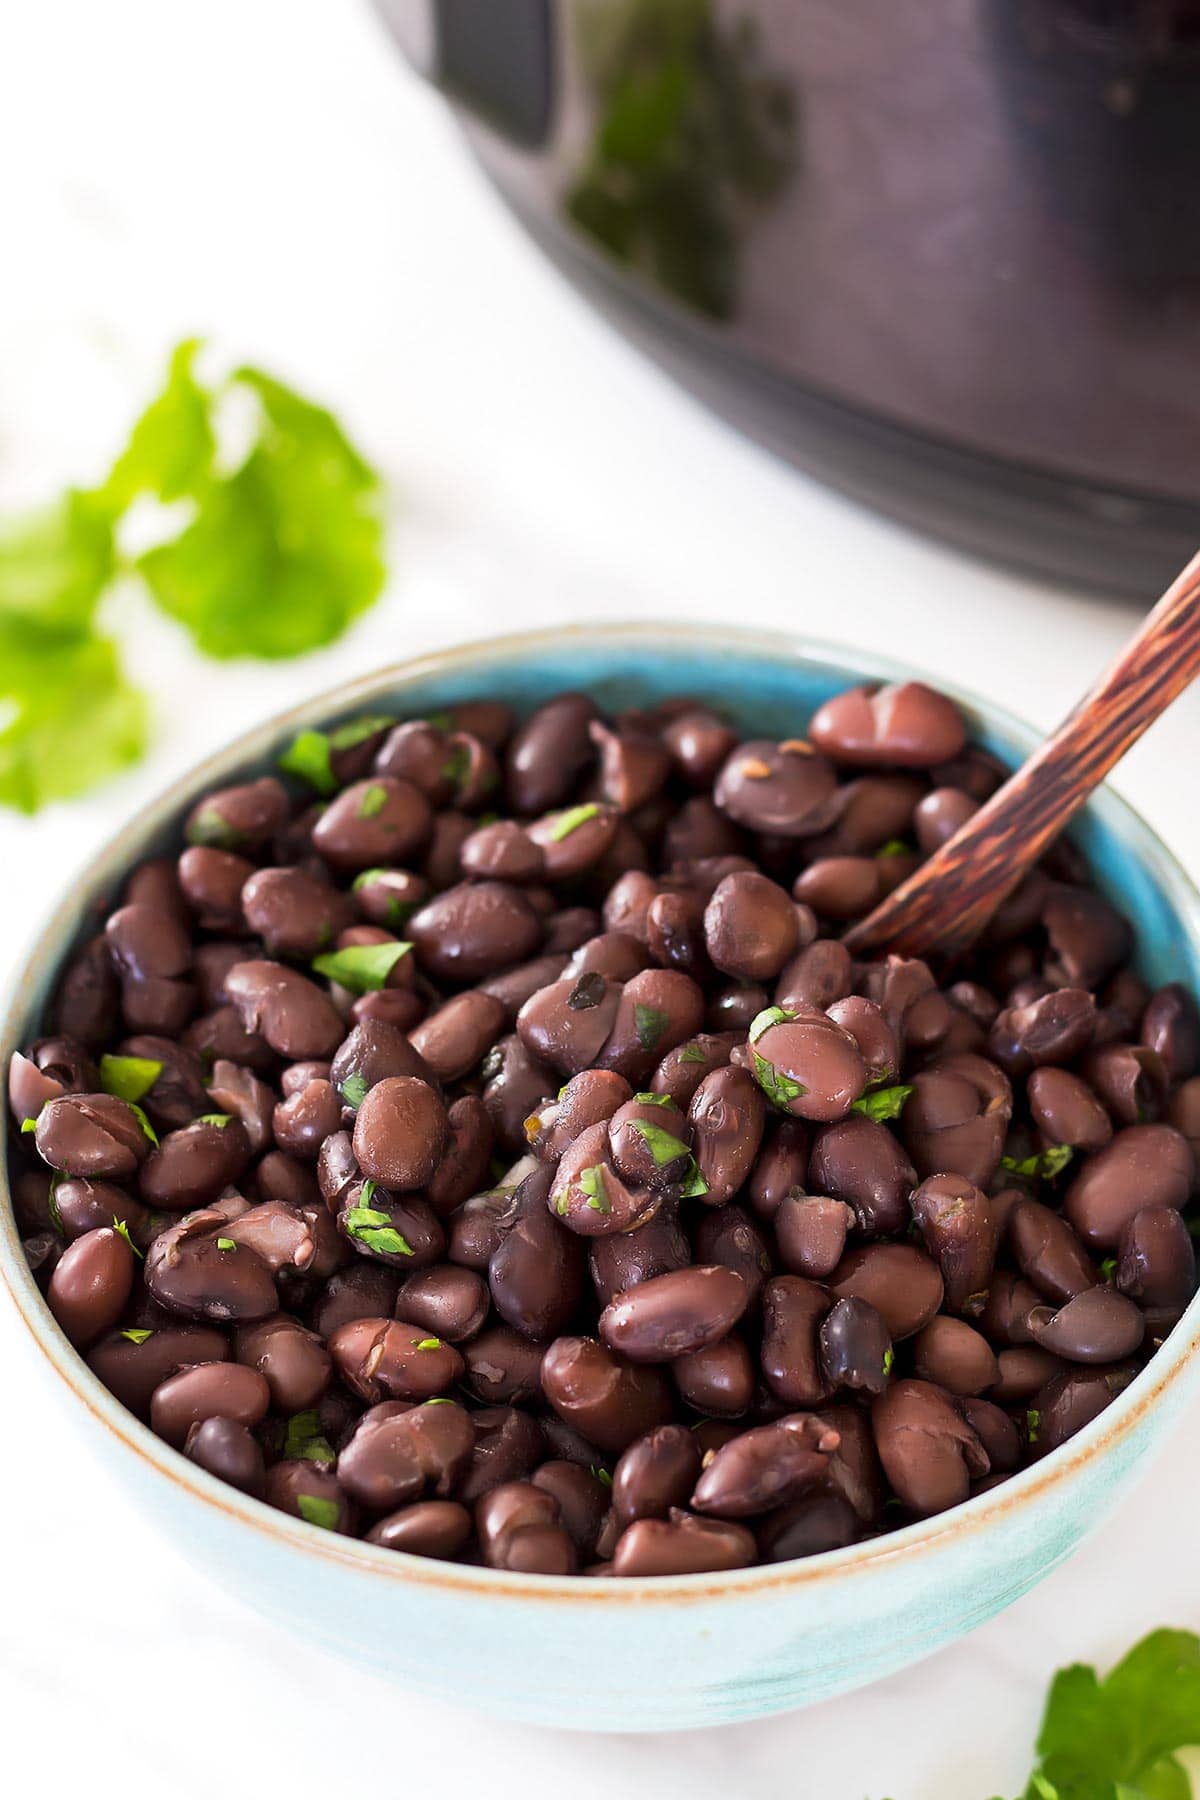
This Instant Pot Black Beans recipe shows you how to cook dried black beans at home. Cooked with flavorful seasonings they make a simple side dish, or a versatile cooking and baking ingredient. We'll also show you how to store cooked black beans to easily replace canned beans in recipes.
About Black Beans
Black beans are an incredibly nutritious food with North American origins. In fact, it is probably most popular in the cuisines of several Latin American countries although Indian, Cajun, and Creole cuisines commonly use them as well.
Black beans are particularly wonderful for vegetarian meals as they have a texture reminiscent of meat. Moreover, they are a tremendous protein source offering about 8 grams of protein per ½ cup. Other nutrients they include are fiber, vitamin A, vitamin C, iron, folate, magnesium, carbs, potassium, and calcium, although they have several other vitamins and minerals in smaller quantities.
Many have noted that eating more beans is excellent for heart health. This is because beans can not only lower cholesterol in the blood but also reduce LDL cholesterol. They may also aid in weight loss because of their fibrous nature; they can fill you up and hold you over until your next meal rather than you experiencing the dreaded sugar crash.
To store bags of dried beans at home, you should keep them in a dark, cool, and dry place like a pantry cupboard. Once opened, it would be ideal to place them in an airtight container to ensure they stay as fresh as possible until you intend to use them. Stored this way, you should be able to keep them for up to 12 months.
BEST INSTANT POT RECIPES eBook

Access ALL of my pressure cooker recipes in one convenient place
- - > Check it out HERE < - -
How to cook black beans in a pressure cooker
Cooking black beans or any other kind of dried beans in a pressure cooker like an Instant Pot is very easy. There is no necessary preparation to do before making these instant pot black beans, other than soaking them if you choose to do so.
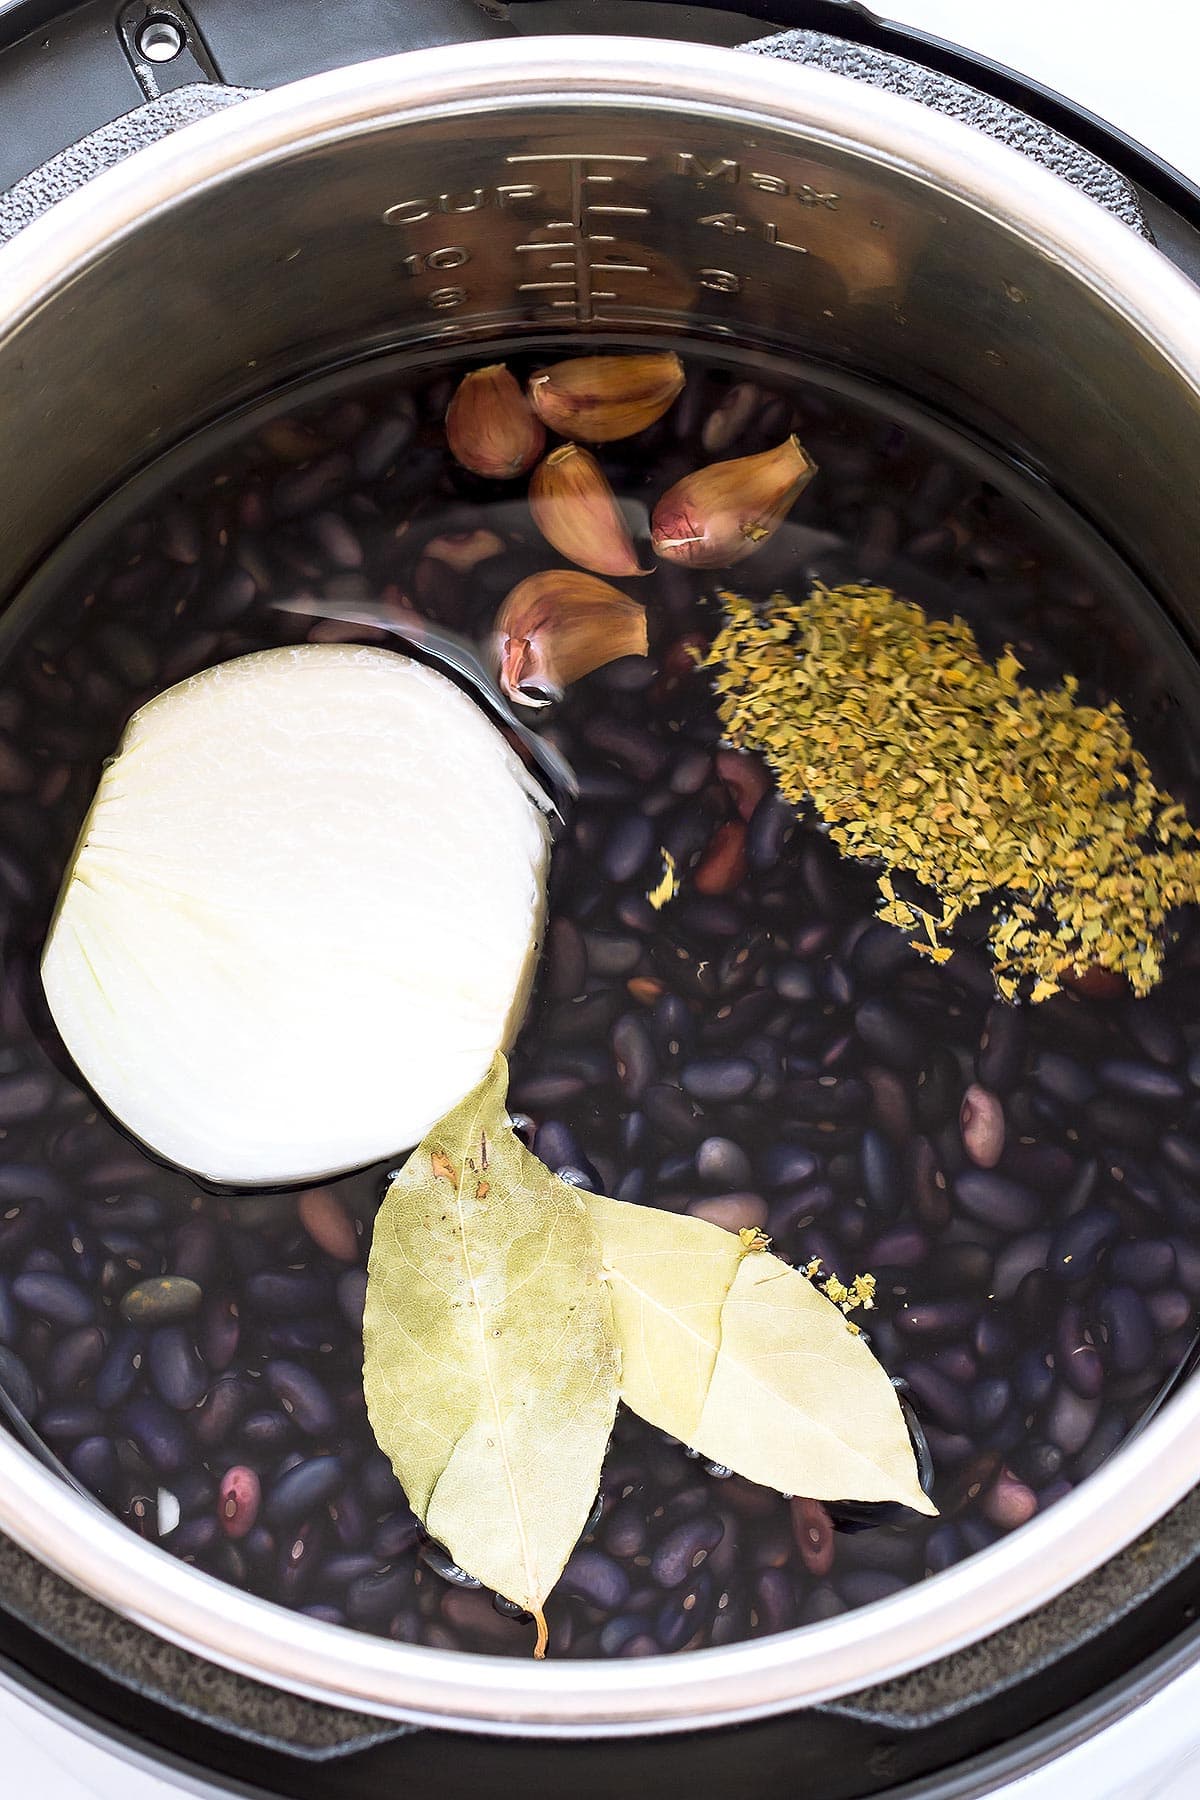
These instant pot black beans go into an instant pot with water and seasonings. You don't even have to chop the onion and the garlic cloves don't require peeling. In fact, these get discarded at the end of the cooking time.
The Benefits of Using Dried Beans Rather than Canned Beans
Canned beans are wonderful for their convenience. You can simply open the can, drain and rinse the beans, and add them to whatever recipe you would like to place them in. Moreover, they don't even have to be heated if you prefer to just add them to something like a salad. Despite the easiness of using canned beans for all of your cooking needs, there are a few benefits to using dried ones instead.
Firstly, if you are on a sodium-restricted diet, you can control the amount of sodium in beans you make yourself much more easily than purchasing canned ones. Of course, you can purchase sodium-reduced canned beans or drain and rinse canned beans to reduce the sodium, but that still only reduces it so much. With dried beans, you can choose to add no salt at all if you want to.
Other benefits to eating dry beans to cooked canned beans is improved taste and texture. Canned beans tend to be a little mushy in texture whereas your pressure cooker beans will be cooked through but still have some texture. Moreover, while canned beans can have a metallic taste from the can they were sitting in, dried beans don't have a metallic flavour at all.
Pressure Cooking Times for Black Beans
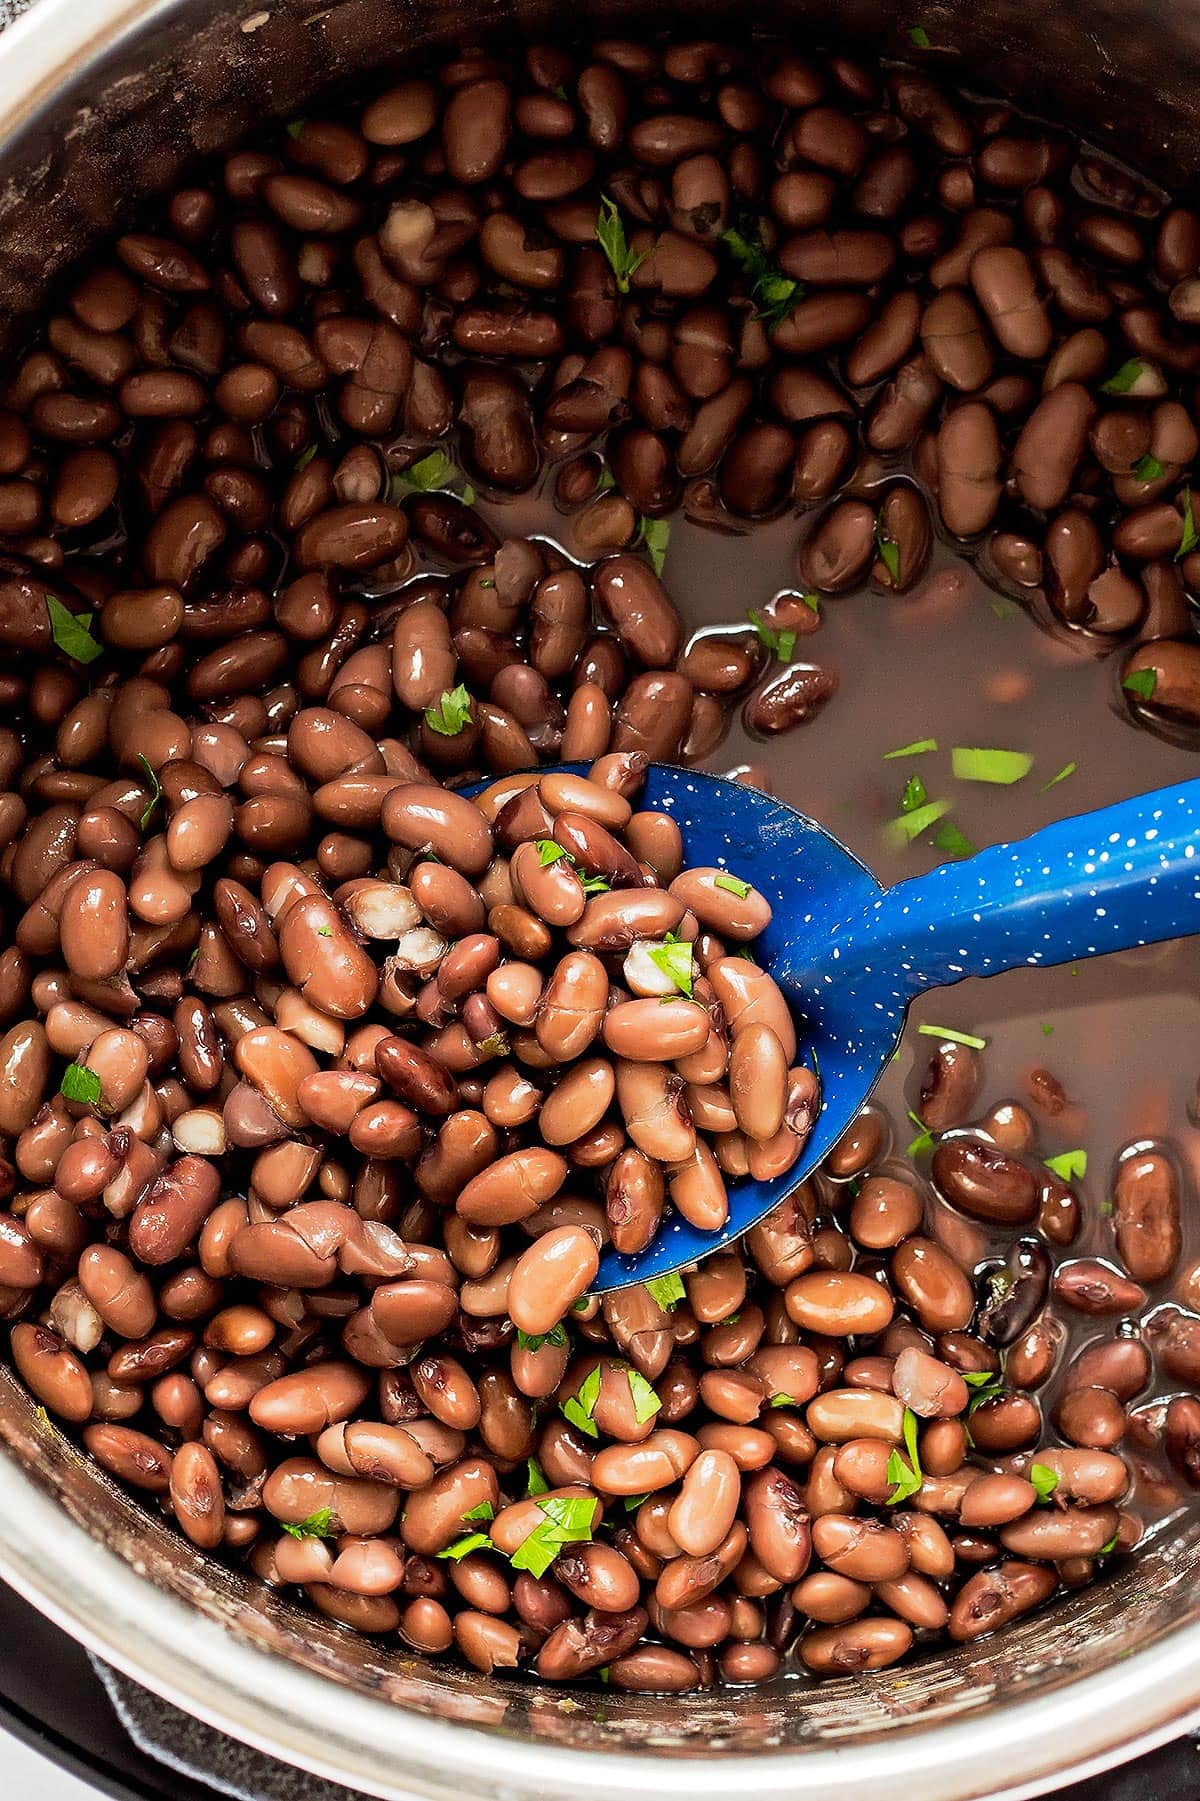
Soaked - If you soak your black beans for these Instant Pot black beans, they will take less time to cook - only 11 minutes at high pressure. If cooking at high altitudes, however, the cook time will be 15 minutes.
Unsoaked - The benefits of pressure cooking beans is that a pressure cooker will cook dried beans without presoaking. In this case, expect the total time for your beans to take 30 minutes at high pressure. Or 40 minutes, if cooking at high altitude.
Seasoning Black Beans
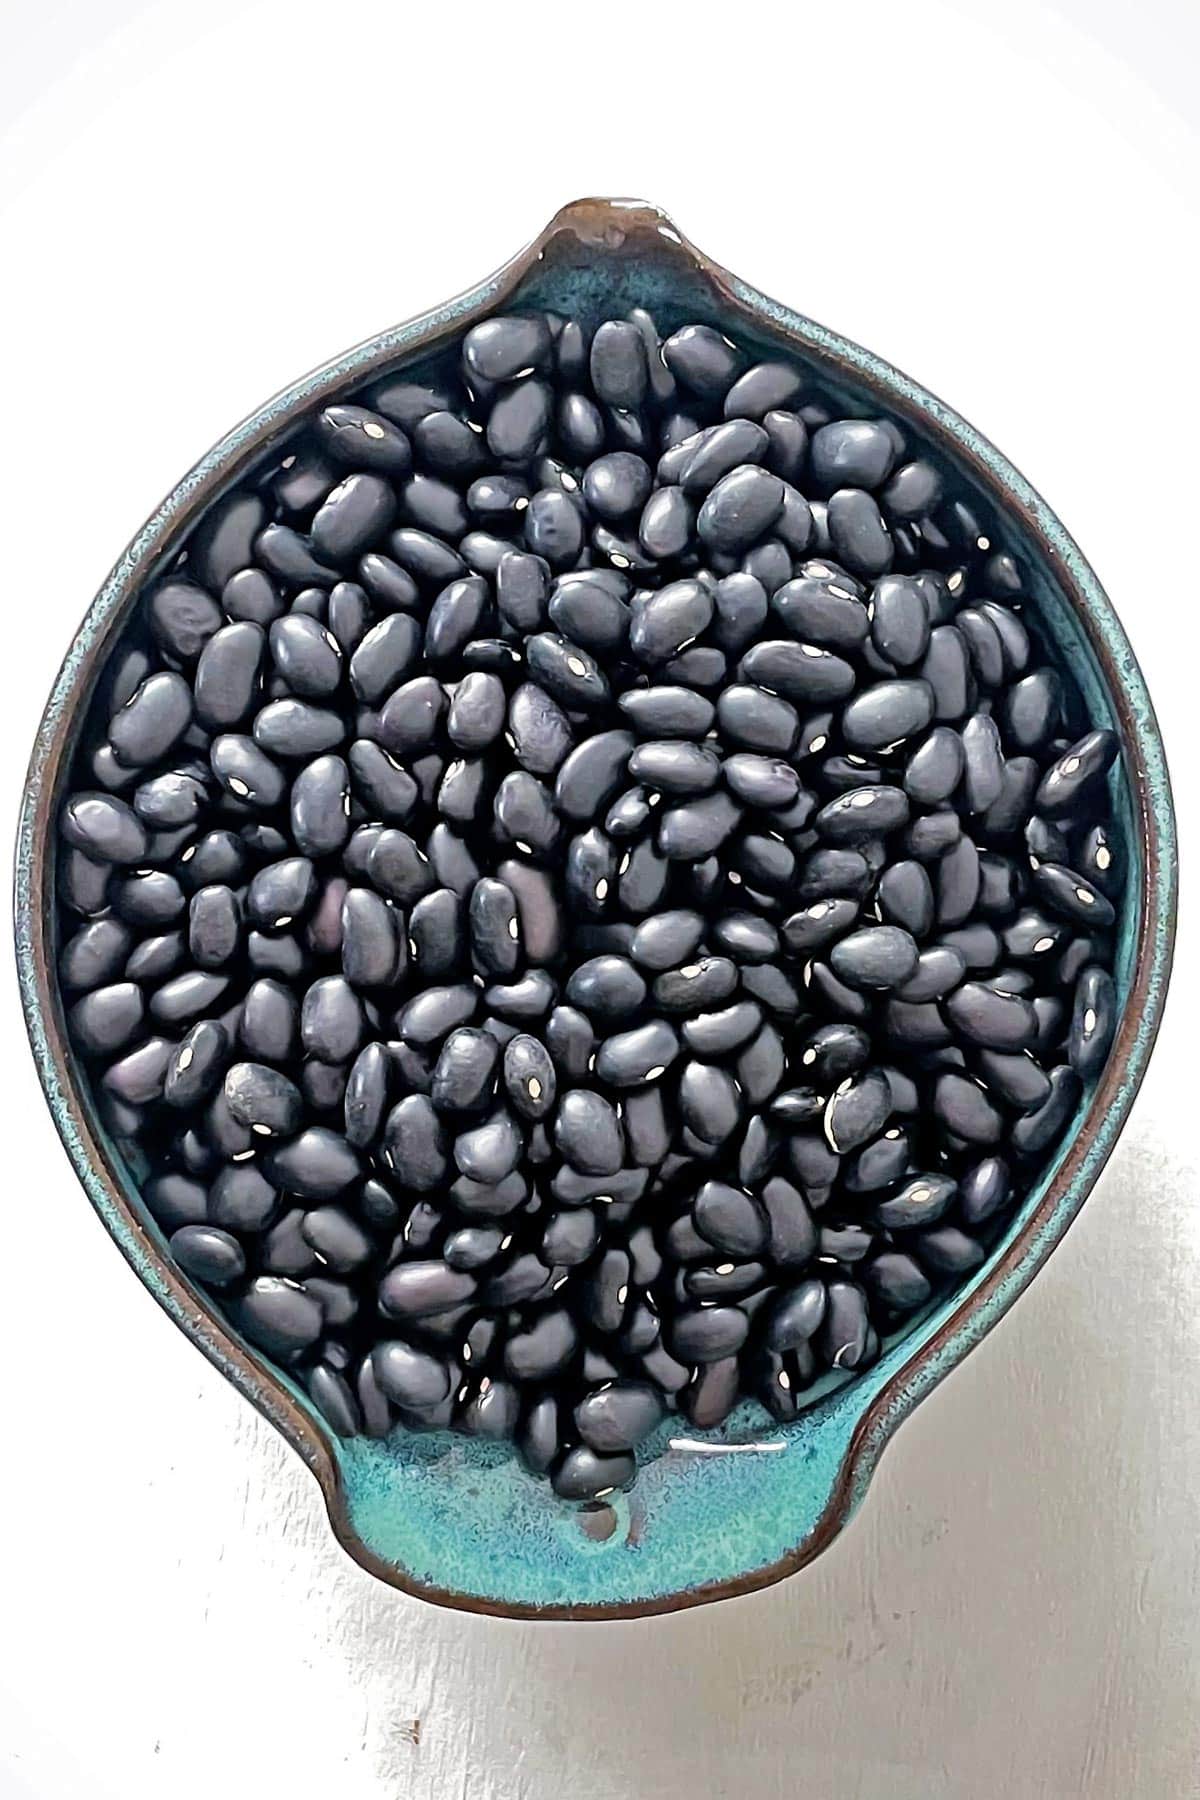
Seasoning black beans makes them flavourful and perfect as a simple side dish. In fact, these are excellent to pair with a Mexican-style meal due to the additions like cumin and oregano.
Some say that cooking beans with spices (like cumin) makes them easier to digest. For those who have trouble eating healthful beans due to digestion, adding slightly spicy and earthy cumin is known to aid the process. If you can't stomach cumin, however, ginger, fennel seed, or turmeric are excellent options, too.
Many people love to incorporate black beans into desserts. If cooking instant pot black beans for desserts (like brownies), be sure to omit the savoury seasonings. This will allow your beans to be multipurpose as you enjoy them through the week.
If you have any leftovers after adding the beans to your baked goods - like black bean cookies, you can heat them on the stove with your favorite herbs and spices to serve as part of a main meal. These are excellent served over rice with a sprinkling of vibrant green cilantro for taste and colour. And they can also go into brothy bean stews with tomato or a hearty chili.
Benefits of soaking black beans before pressure cooking
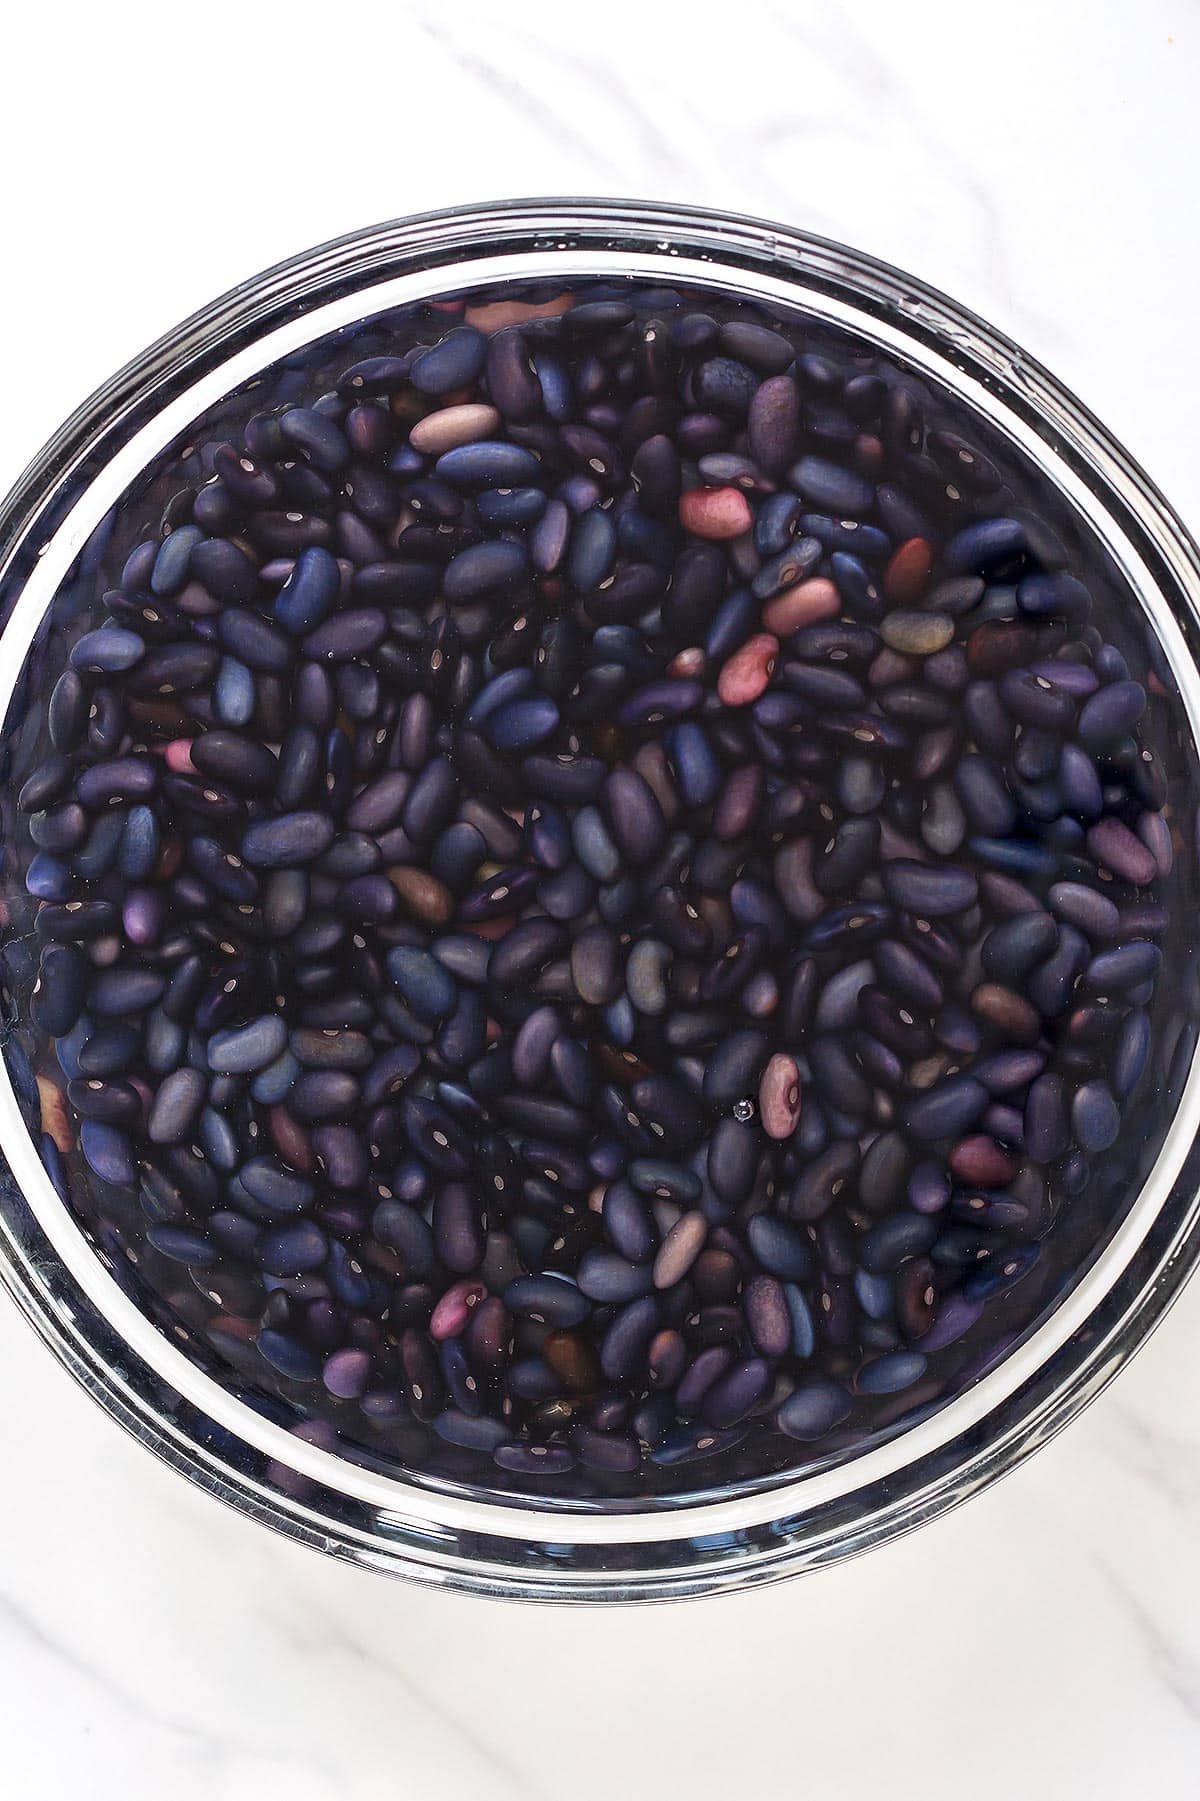
Soaking black beans for these Instant Pot beans aids digestion, so that they induce less or minimal gas. Beans are coated in oligosaccharides, which is a type of sugar. Soaking black beans prior to cooking allows the human body to break down that coating earlier in the digestive process and limit the potential for uncomfortable digestion.
Another bonus to pre-soaking beans is that their nutrients become more bioavailable. This is because the soaking has helped break the beans down a little, so that you can extract all the nutrition from them more easily. Because of the digestive benefits, I highly recommend everyone soak their dry beans for at least 4-12 hours.
Personally, I cannot stomach unsoaked beans. So I take it even further and try to soak them for 48 hours. I still change the water and rinse the beans every 12 hours. Because of the frequent water changes my black beans are lighter in colour. But even if they don't look deep black, they still have the delicious black bean flavour that I love.
Can I still cook dry/unsoaked Black Beans?
Yes, you can! Using a pressure cooker like the Instant Pot makes it possible to cook dried beans in a reasonably short time. In fact, once the cooker comes under pressure, the beans should take only a total time of 30 minutes to cook.
This means that even if you didn't plan to eat beans on a particular day, you can make them last minute with little fuss. Just make sure you always have a bag on hand in your pantry, so that you can have a quick side dish to pair with dinner.
Can I Cook Other Types of Dried Beans Using the Pressure Cooker Method?
Yes, any type of dried bean should cook perfectly well using this pressure cooker method for black beans. Other types of beans you could try to make in a similar way are soybeans, navy beans, kidney beans, cannellini beans, chickpeas, and pinto beans. You could even could hearty green, black, or brown lentils in the pressure cooker using this method if desired. All of the flavours will work well together.
The one aspect that may be different depending on the type of bean or legume you use is the cooking time. All beans and legumes take a different amount of time to cook so you may want to start with a lower amount of time and simply set your pressure cooker again if you find your particular beans need more time. Generally, lentils will take the least amount of time at approximately 9 to 11 minutes whereas pinto and cannellini beans should cook at a similar time to the black beans. If you are planning to cook chickpeas, check out my recipe for Instant Pot Chickpeas which is quite similar to this one but provides the correct amount of cooking time.
How to store cooked black beans
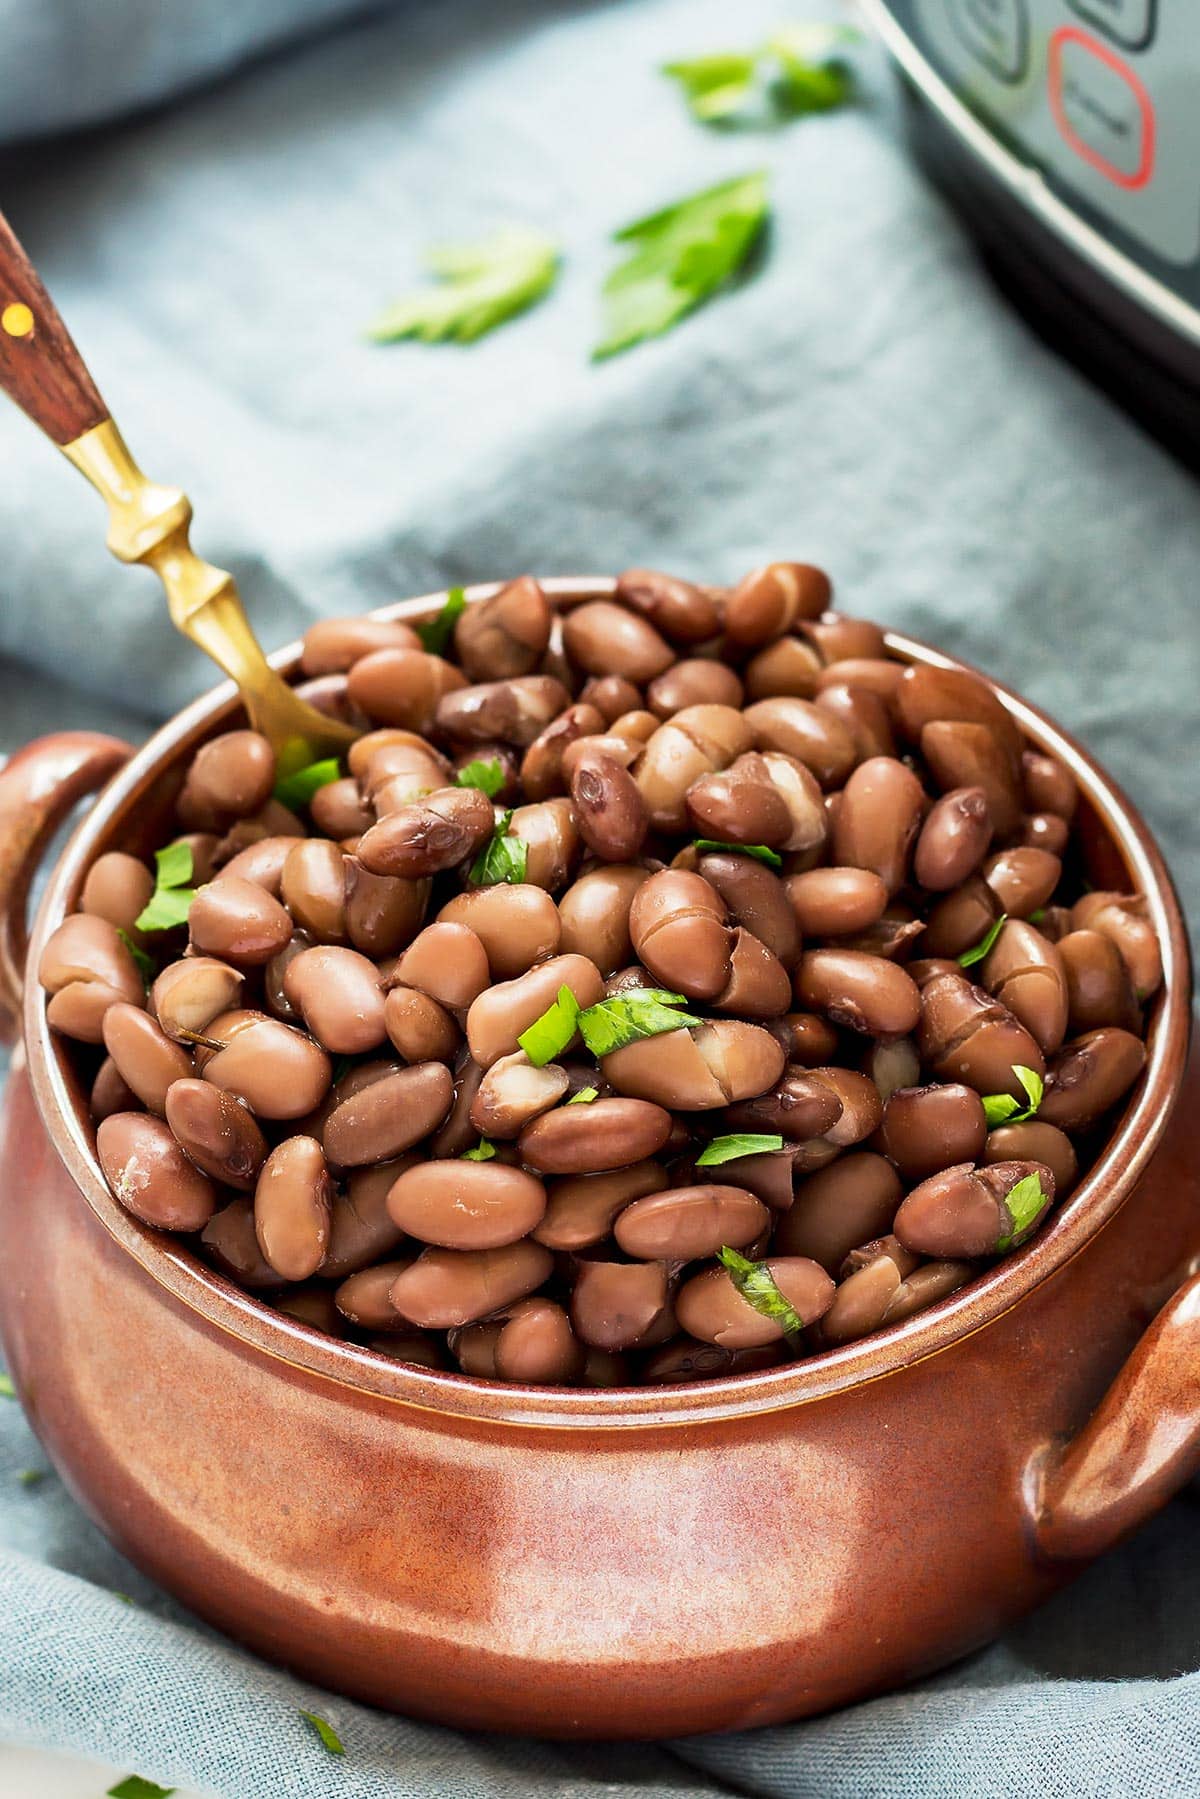
If using in the upcoming week, you can store the beans in their cooking liquid. Simply place in airtight containers and refrigerate for up to 1 week. This recipe makes a lot of beans so, depending on the size of your family, you should be able to incorporate them into a few meals.
Consider having these as a side dish one evening and a vegetarian black bean bowl over rice with salsa, avocado, and sour cream on another day. You could even turn the cooked beans into a quick pureed black bean soup later on if you are really looking for something different.
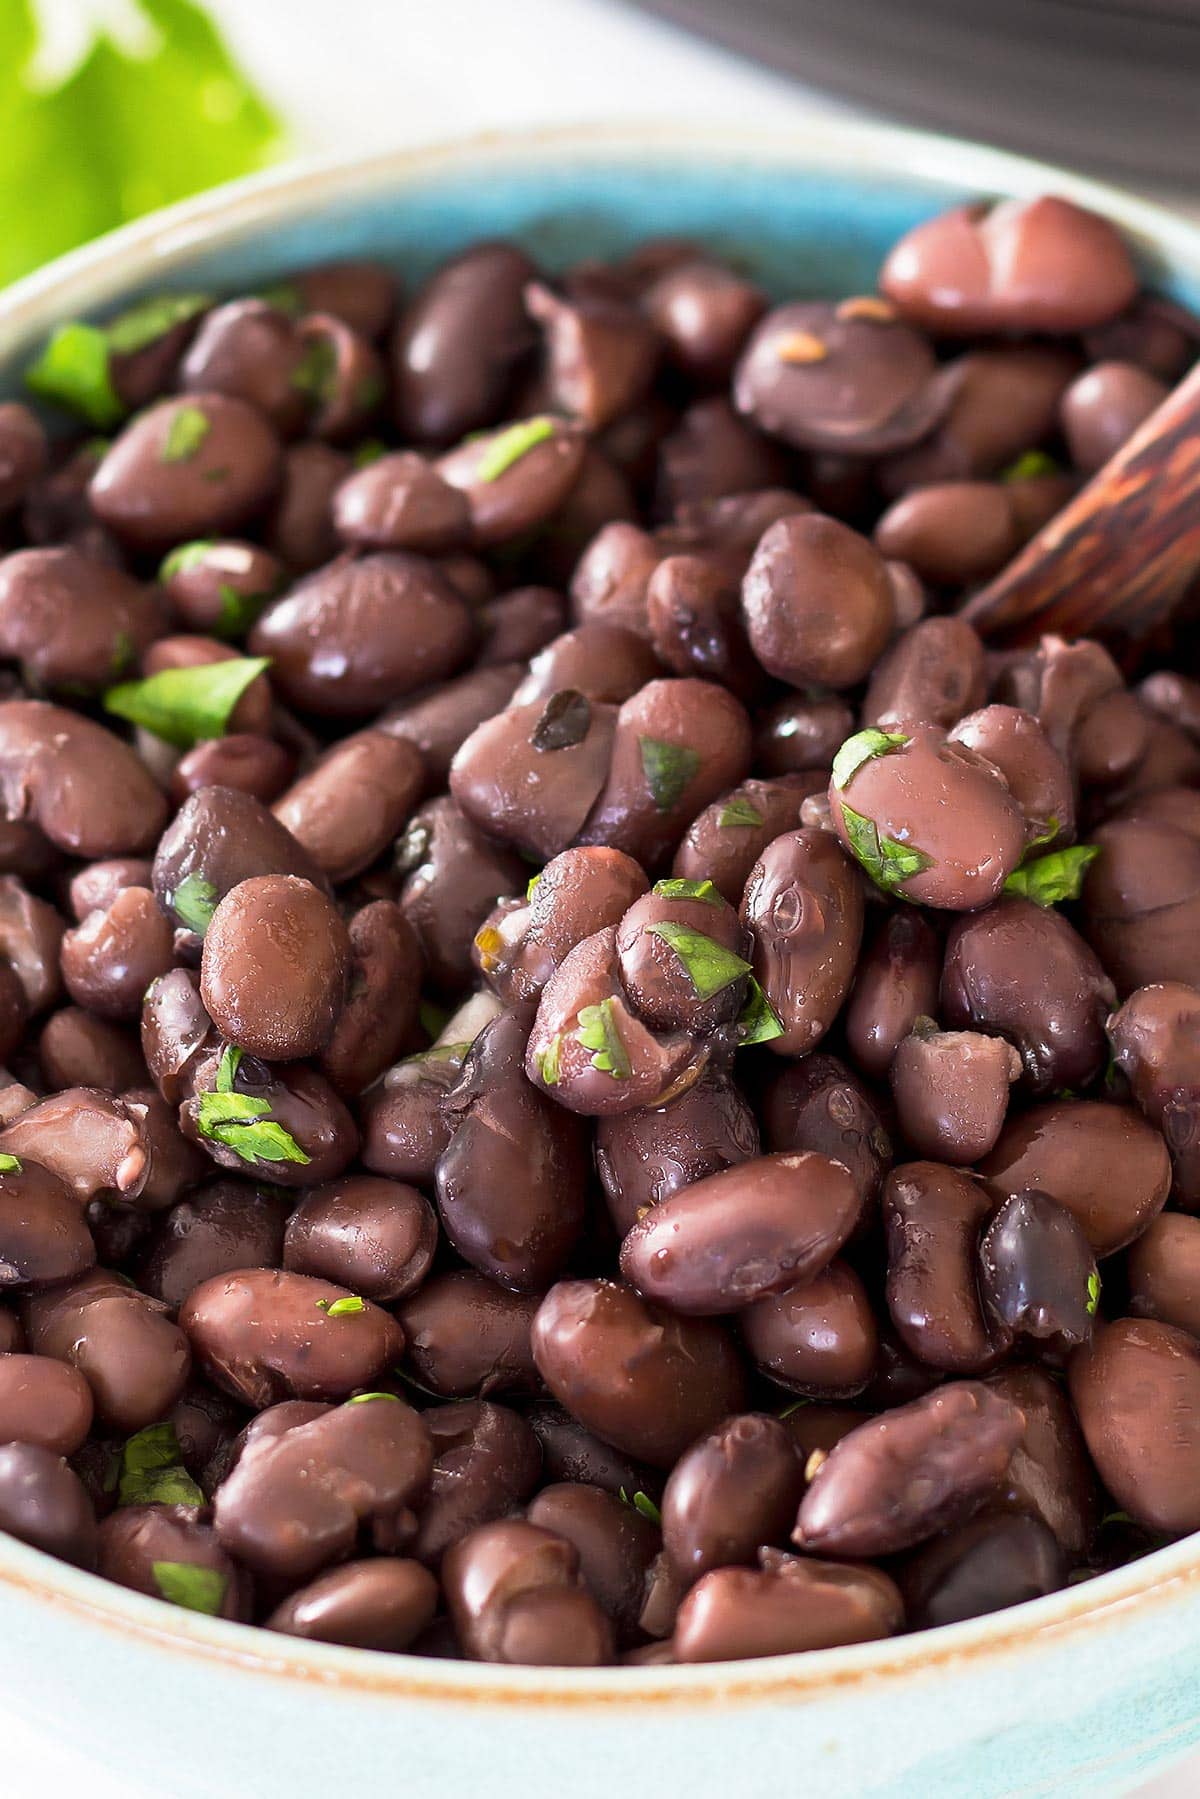
If you need to store the beans for longer, you can freeze them for up to 6 months. Simply divide them between sealable freezer bags once cooled and pop in the freezer. Of course, the beans should be perfectly safe to consume if stored longer, but their structure may deteriorate with longer freezing time.
Storing Beans in the Freezer
Storing the beans in jars in the freezer is a possibility, too, but you have to be a little more careful. If storing the beans in jars, ensure that you leave at least a ½-inch of headspace. This will prevent the jars from breaking in the freezer.
If you think that you will be using beans in drier preparations like salads, you could drain the beans before freezing. In that case, you could use the bean liquid as a broth for vegan or vegetarian soups or even braising meat. It is even an excellent and delicious cooking liquid for simmering rice. Otherwise, freeze the beans in their liquid so that they are ready to add to soups and stews, or to enjoy as they are.
How to Use Instant Pot Black Beans to replace canned beans in a recipe
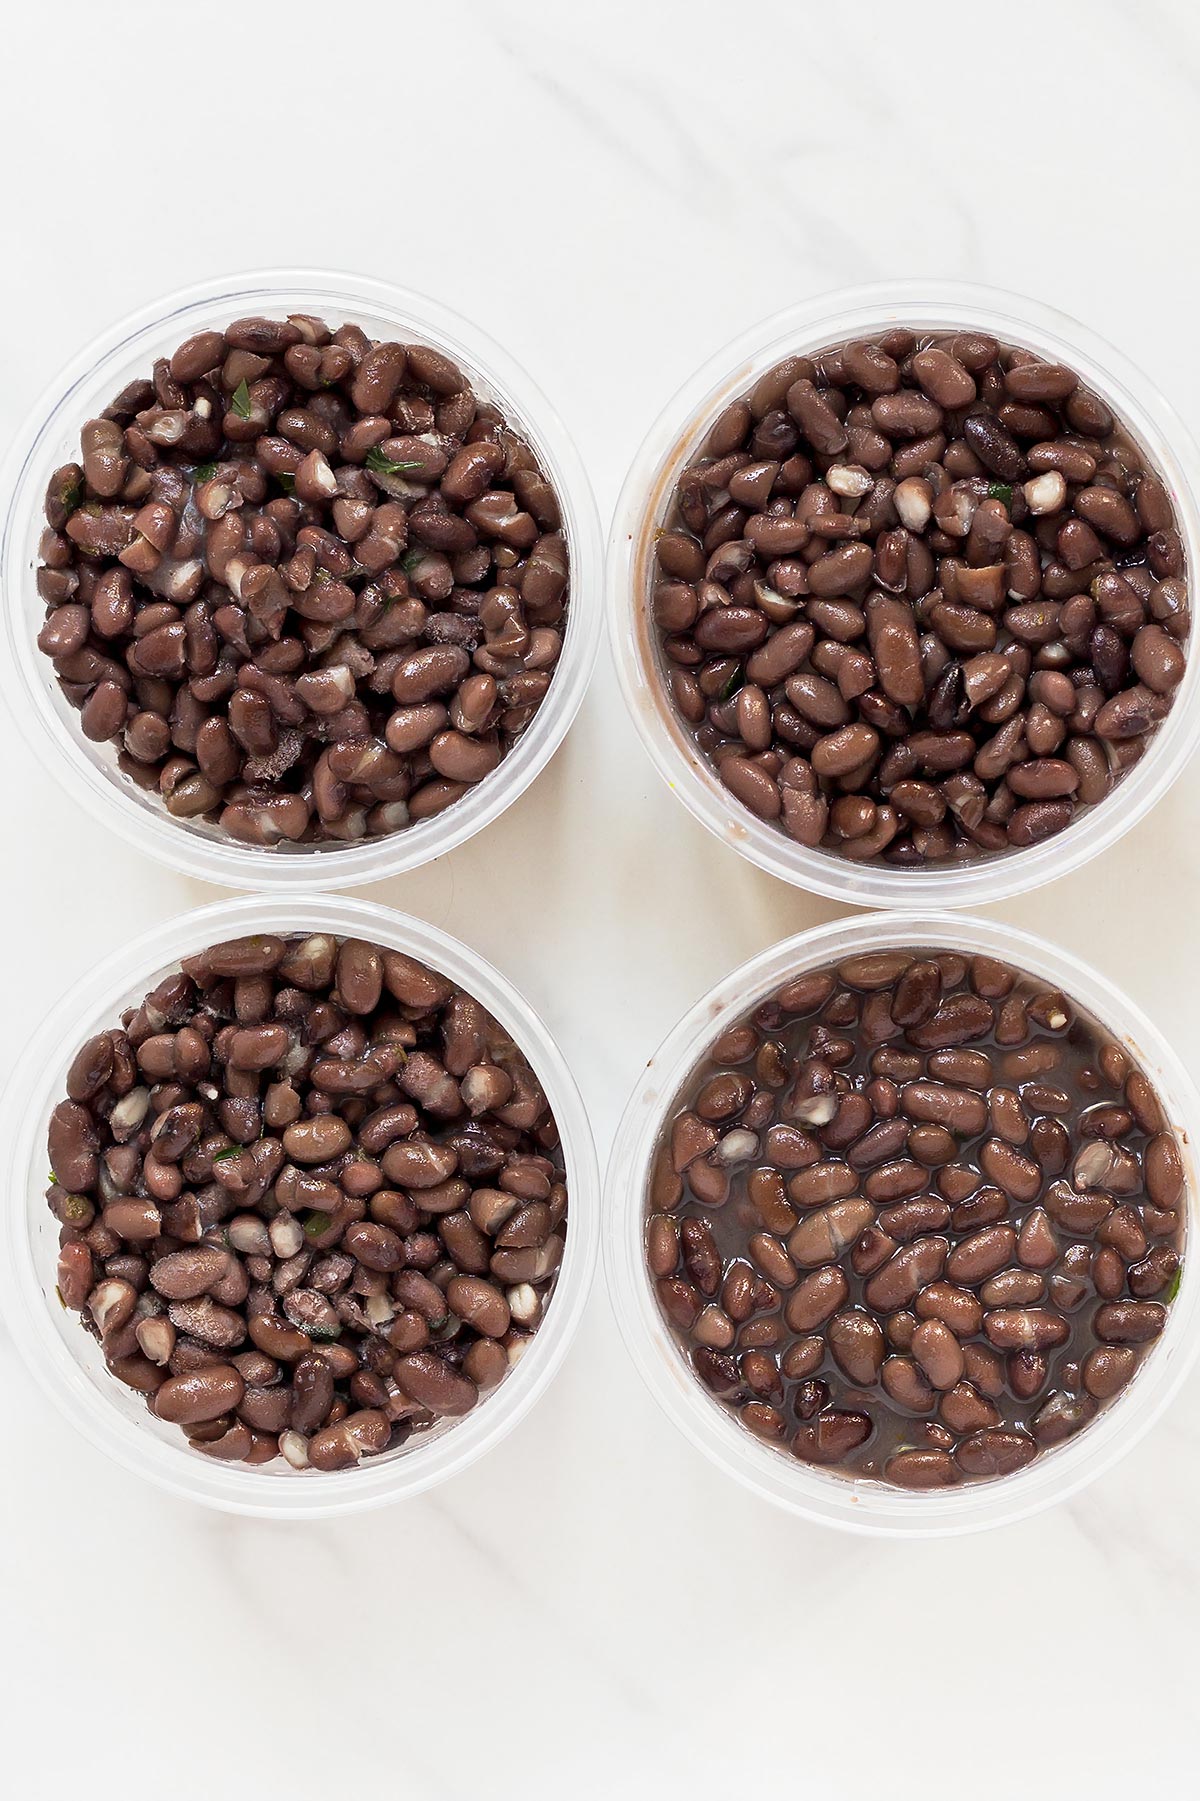
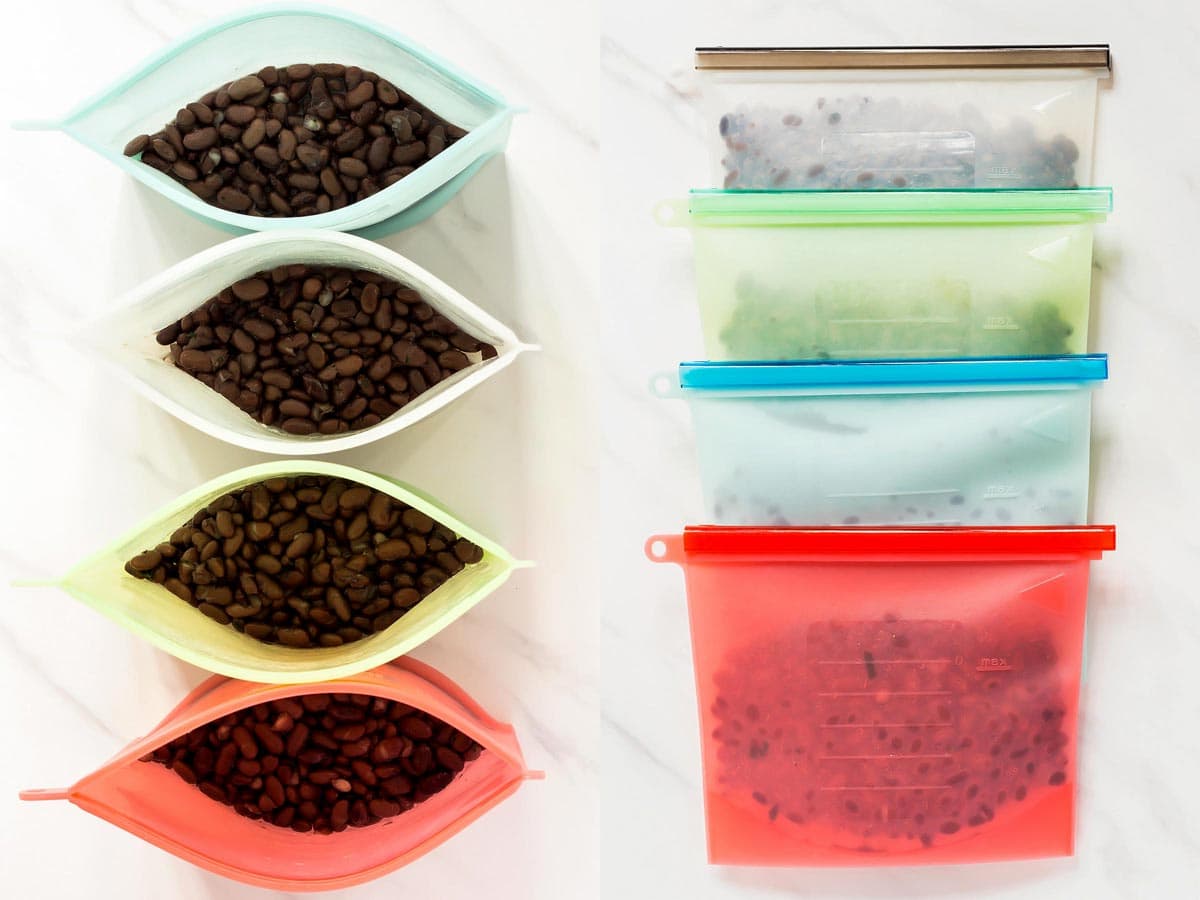
If you are used to using canned beans in your favorite black bean recipes but would like to replace with these cooked Instant Pot beans, one regular 15-ounce can contains about 1.5 cups of drained black beans. I divide cooked beans into deli containers or silicone storage bags for storage.
I measure 1.5 cup of drained beans into each storage container to make them easy to add to black bean dishes and top them up with some of the cooking liquid.
As a result, each container equals 1 can of beans. In the case of this black bean Instant Pot recipe, 1 pound dry beans results in 6.5 cups cooked black beans. This is actually equal to more than 4 cans. For a price comparison, a pound of dried beans may cost between $3 and $4, whereas a single can could cost between $2 and $3 on its own. The bottom line is that using dried beans can save a lot of money.
Uses for Pressure Cooker Black Beans
While you may already be quite familiar with using up batches of cooked beans, here are a few ideas for how to use these pressure cooker black beans:
Savoury Recipes
- As a part of a burrito bowl with grains, salsa, sour cream, lime, cilantro, avocado or guacamole, cheese, tomatoes, and green onion.
- Added to chili with ground turkey, chipotle, and cubed sweet potatoes.
- With huevos rancheros.
- In a quesadilla.
- Inside an omelette with your favourite Mexican-inspired ingredients on top.
- Tossed with corn kernels, lime juice, cilantro, bell peppers, and tomatoes for a refreshing summer salad.
- Tossed in Spanish rice.
- Fermented into black bean miso rather than using traditional soy beans.
Sweet Recipes
- In brownies.
- Added to chocolate cookies with dried cherries and walnuts.
- The Thai dessert of black beans in coconut milk (Tua Dum Gang Buawd).
- In Chinese coconut red bean soup.
- In chocolate muffins with cacao nibs.
Pressure Cooker I Use
Delicious Recipes using Black Beans:
How to Cook Black Beans in the Pressure Cooker
Equipment
Ingredients
- 1 pound dry black beans sorted and rinsed
- ½ onion
- 2-5 garlic cloves
- 2 bay leaves
- ¾ tablespoon sea salt
- 1 teaspoon oregano
- 1 teaspoon cumin optional
Instructions
- Pick over the black beans and remove any pieces of debris or stray seeds/grains. Then rinse the beans well
Soaking - Optional, but highly recommended
- Add the rinsed black beans to a bowl with plenty of water. Cover the bowl and let the black beans soak to rehydrate at least for 12 hours (overnight) or up to 48 hours for best results. Rinse beans and change water every 12 hours. Discard any soaking water and rinse the beans one last time.
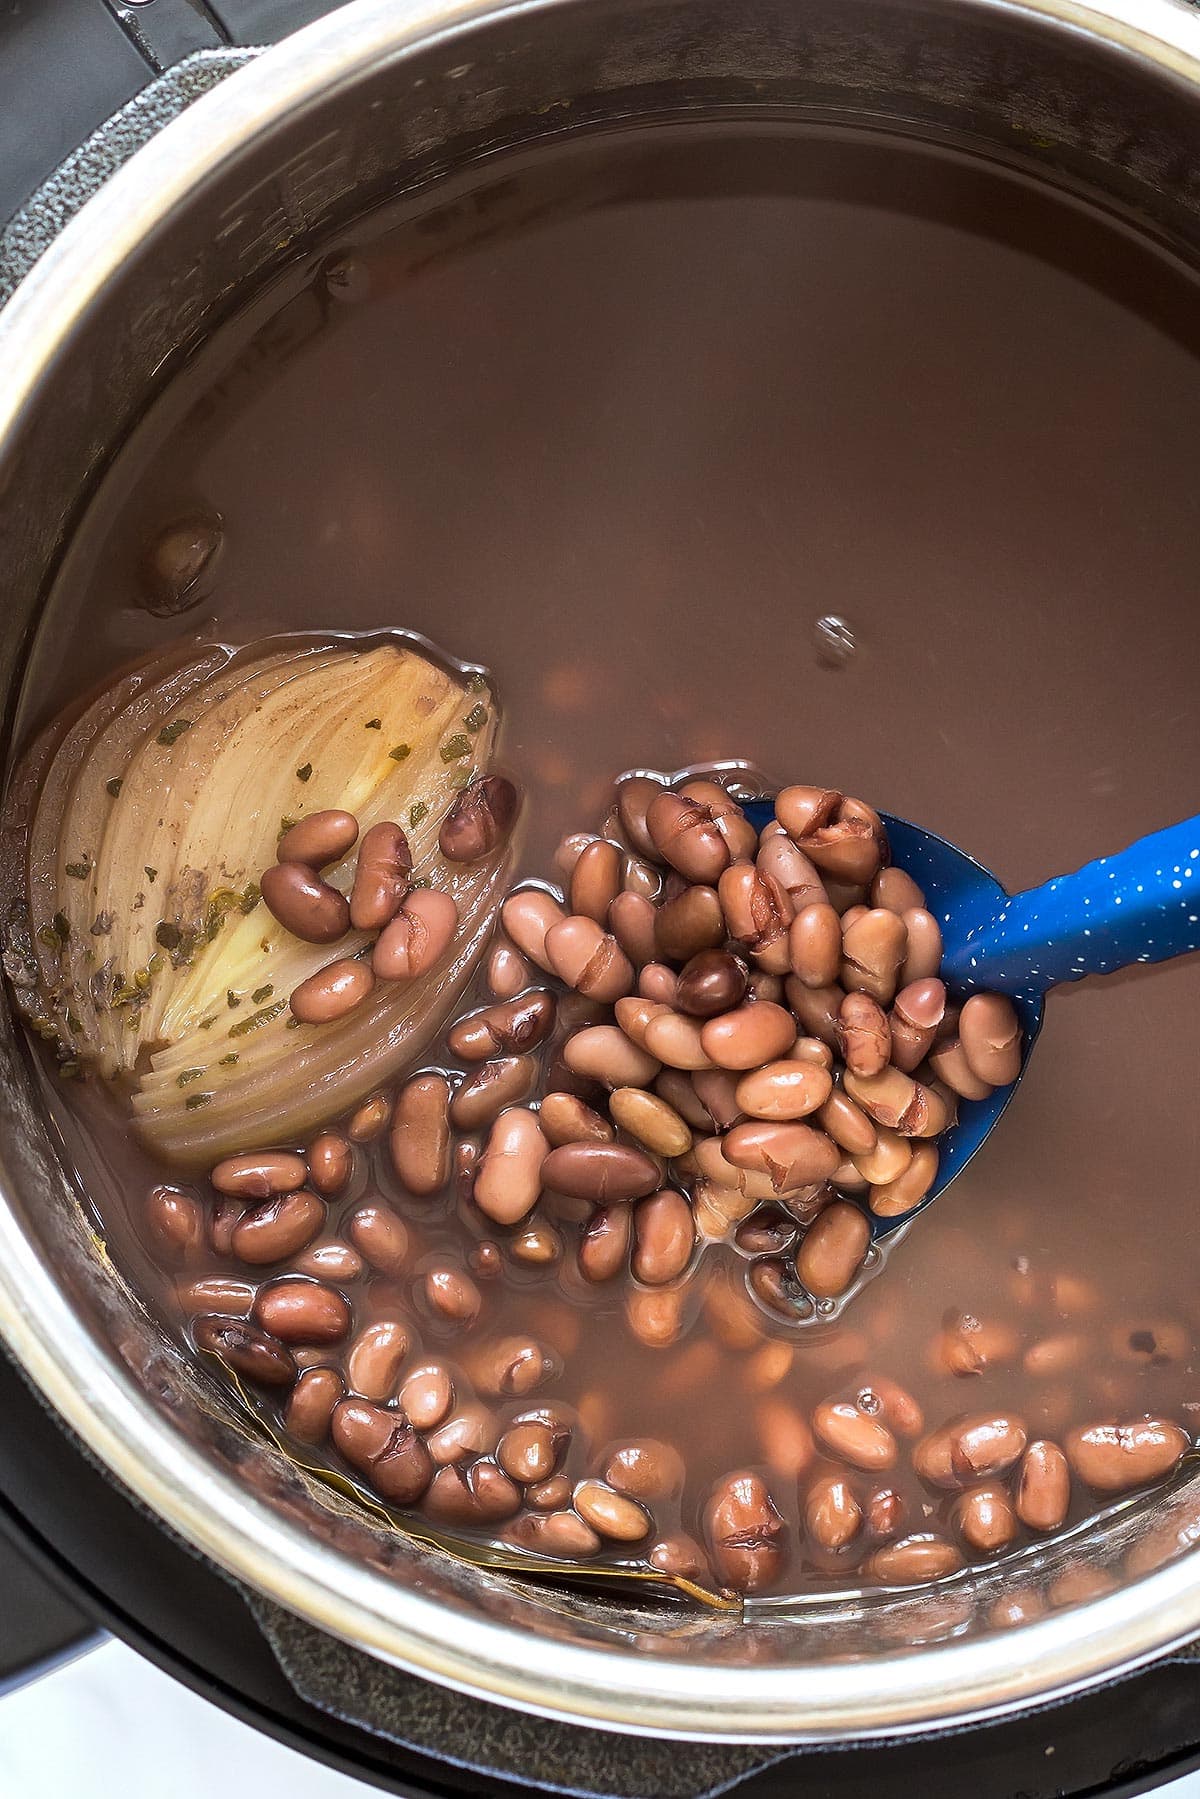
- Add the black beans to your pressure cooker and fill the pot with fresh water. It should be about 2 inches above the beans.
- To the beans add onion, garlic cloves, bay leaves, sea salt, oregano, and cumin (optional).
- Close the lid and turn the pressure valve to sealing position. Cook soaked black beans on high pressure for 11 minutes (15 mins for high altitude). Cook unsoaked black beans for 30 minutes (40 mins at high altitude).
- The pressure cooker will take about 20 minutes to come to pressure before the timer starts to count down. At the end of the cook time, let the pressure release naturally (NPR) until the pin drops by itself, or quick release any remaining pressure after 20 minutes.
- Now open the lid and discard the onion, garlic cloves, and bay leaves. If serving as a side dish or over rice, add chopped cilantro.
Notes
To make on the stovetop, add the (soaked) black beans to a large pot with all other ingredients and cover with water by several inches. Bring to a boil, then simmer covered for 1-2 hours. Test the beans after one hour, and if necessary keep cooking while checking for doneness ever 15 minutes. Add 1 cup of water at a time when needed to keep beans submerged. Actual cooking time will depend on whether the beans are soaked and how old they are.
Nutrition
Pin for later?

Random Questions
For this Instant Pot Black Beans recipe, the ratio is 1 pound of dried black beans to 8 cups of water.
Soaked black beans take 11 minutes at high pressure; unsoaked ones take 30 minutes.
Soaking aids digestion and reduces gas. Soak for at least 4-12 hours or up to 48 hours.
Black beans are a staple, adding texture and protein to various dishes in Mexican and Latin American cuisines.


Elizabeth
Thank you so much for sharing the timing and amounts for soaked black beans! Everyone else out in Food Blog Land seems so excited to not HAVE to soak their beans, they've forgotten about the benefits of doing so. I followed your recipe, but didn't quick release after the 20 min natural release (I was doing other things and came back a good hour+ later). This gave me very very soft but very very tasty black beans that I blended with butter into restaurant-worthy refried-ish beans 🙂
Knowing I'm not on top of my timing enough to be sure to quick release after the 20 min mark, I think I'll take my cook time down to 9 or 10 min and see what happens!
Jennifer @ Leelalicious
Thank you so much for taking the time to review, Elizabeth! I'm so glad you appreciated the soaking instructions in the article. 🙂