Used with an array of tasty ingredients, these Granola Clusters take me back to my days of loving museli, and they are simple and delicious.
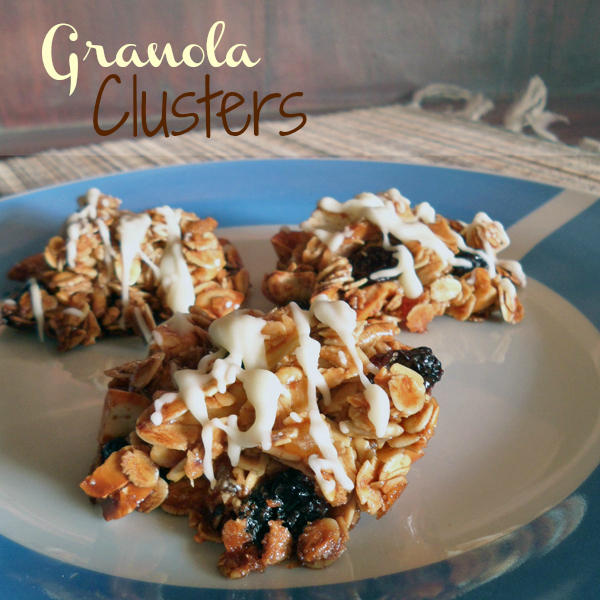
As a German, I sure love my muesli. So of course, I was happy to find some in the grocery store even here in Bali.
But I figured, something that's so good and healthy with milk or yogurt for breakfast can't be too bad as a day-time snack either, right?! Inspired by my friend Sarah, I got given the confidence that muesli is indeed very suitable for making granola. But not just granola, since I want it as a snack, but also bite-sized (or 2-bites-sized) granola clusters.
I picked an Apricot & Almond Muesli mix, and next to dried apricot bits and slivered almonds, there were also bran straws, sunflower seeds, and coconut already in the mix. So, I only had to add chocolate chips, raisins and cashew nuts to it. Perfect!
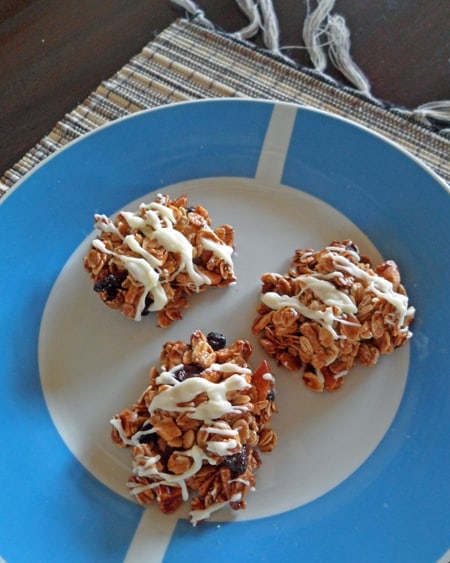
Finding Out How to Make This Recipe
Next, I started researching how I could get the granola to stick together in clusters. Some suggested an egg-white mixture, however, this didn't sound too appealing to me. Finally, Heather's recipe from Multiply Delicious with honey and syrup to make the granola stick was just what I was looking for.
I didn't have maple syrup, but pancake syrup (though not as healthy and natural), worked for me. Still, they didn't turn out for me on the first batch, and I learned a couple valuable lessons:
- There is probably a reason when a recipe calls for lining the baking sheet.
- You CANNOT go for a swim while the recipe that you are trying for the first time is baking in the oven!! Especially not if it is a gas oven with which you are unfamiliar and have only used for a couple weeks.
Funnily enough, the original recipe calls for 35-40 minutes of baking time, so I thought I could swim a few lanes and start checking at 25 min. Well, I came back to the kitchen to find these charcoal teeth-breakers (and spatula-breakers while we're at it!) inside the oven. Oops...
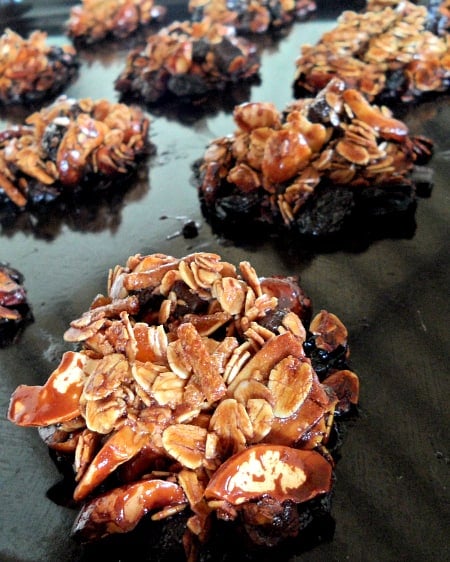
Learning from My Mistakes and Lowering the Cooking Time
The not-so-burnt tops could be used to sprinkle on my yogurt, but I actually broke the spatula when I tried to remove the burnt bottoms from the cookie sheet.
Still, I was determined to make these granola clusters work for me. I whipped up another batch (smaller, just in case), baked them on an aluminum baking tray (have no parchment at this place) and kept a close eye on them the whole time. At 15 minutes, they were already golden and just right.
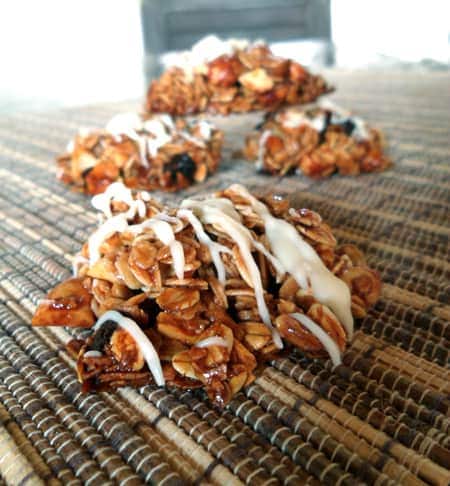
Drizzled with some white chocolate, these granola bites were a crunchy, yummy and pretty healthy snack to go with my afternoon tea.
The recipe makes about 24 granola clusters. Have fun!
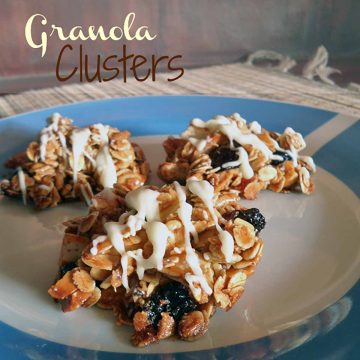
Granola Clusters Made with Muesli Recipe
Ingredients
- 2 cups muesli
- ½ cup chocolate chips
- ¼ cup raisins or dried cranberries, blueberries
- ¾ cup halved cashewnuts or other seeds/nuts
- ¼ teaspoon salt
- ⅓ cup honey
- ⅓ cup syrup maple or pancake
- 1 tablespoon butter
- 1 teaspoon vanilla
- white chocolate chips
- butter
Instructions
- Preheat oven to 300F/150C.
- In a bowl mix together muesli, chocolate chips, raisins, nuts and salt. Stir together honey, syrup, butter and vanilla in a small saucepan and heat over low heat until mixture is liquid (1-2 min)
- Pour honey mixture over muesli mix and stir to moisten (some of the chocolate chips will melt). Using a tablespoon place heaping mounts of muesli on a lined baking tray. Bake for about 30 minutes or until golden (in my gas oven 15 min. were enough). Let cool fully before removing from baking tray.
- Melt a few white chocolate chips, add a little butter to make more liquid and drizzle over the cooled clusters.
Pin this Muesli Granola Clusters recipe for later?
Other Recipes You Might Enjoy
Be sure to check out these other similar recipes!
Common Questions
Granola clusters can be a nutritious snack option as they often contain ingredients like oats, nuts, and dried fruits that provide essential nutrients such as fiber, protein, and vitamins. However, it's essential to be mindful of added sugars and fats that can sometimes be present in commercial granola products.
Yes, granola can be consumed raw, especially when it is used as a topping for yogurt, smoothie bowls, or as a mix-in for trail mixes. However, baking granola can enhance its texture and flavor by creating a crunchy and more cohesive cluster.
To make granola clusters stick together, ingredients such as honey, maple syrup, or agave syrup are often used as binding agents. These sweeteners act as a natural adhesive, helping the granola ingredients to form cohesive clusters during the baking process.
The ingredient that helps granola clump together is typically a binding agent such as honey, molasses, or a sticky sweetener. These ingredients create a glue-like texture that holds the dry granola ingredients together during the baking process.
Granola bars usually stick together due to the presence of binding agents like honey, maple syrup, or other natural sweeteners. These ingredients not only add sweetness but also act as an adhesive, helping the various components of the granola bar to remain cohesive.
Granola clumps together when ingredients such as sweeteners and oils are heated, causing them to become sticky. As the granola bakes and cools, these sticky components harden, creating the clumps or clusters that are characteristic of many granola varieties.
Oats refer to whole grains that are used in various culinary preparations and dishes. Granola, on the other hand, is a breakfast food consisting of rolled oats, nuts, honey, or other sweeteners that are baked until crisp. Granola often contains additional ingredients such as dried fruits, seeds, and sweeteners to enhance its flavor and texture.
Both oats and granola have their benefits. Oats are a whole grain with high fiber content, making them a healthy breakfast option. Granola, while also containing oats, often includes added nuts, seeds, and dried fruits, providing additional nutrients and flavors. However, it's important to watch out for added sugars and fats in commercial granola products.


amy
Ooh, these sound great! Sorry about the burnt batch (+ your broken spatula) but it looks like it was worth it in the end - they turned out wonderful!
Regina
Haha thank you Amy, I am so glad I didn't give up on them. My husband and I gobbled them up in no time. And the spatula was easily replaced for about 40cents at the store 😉