
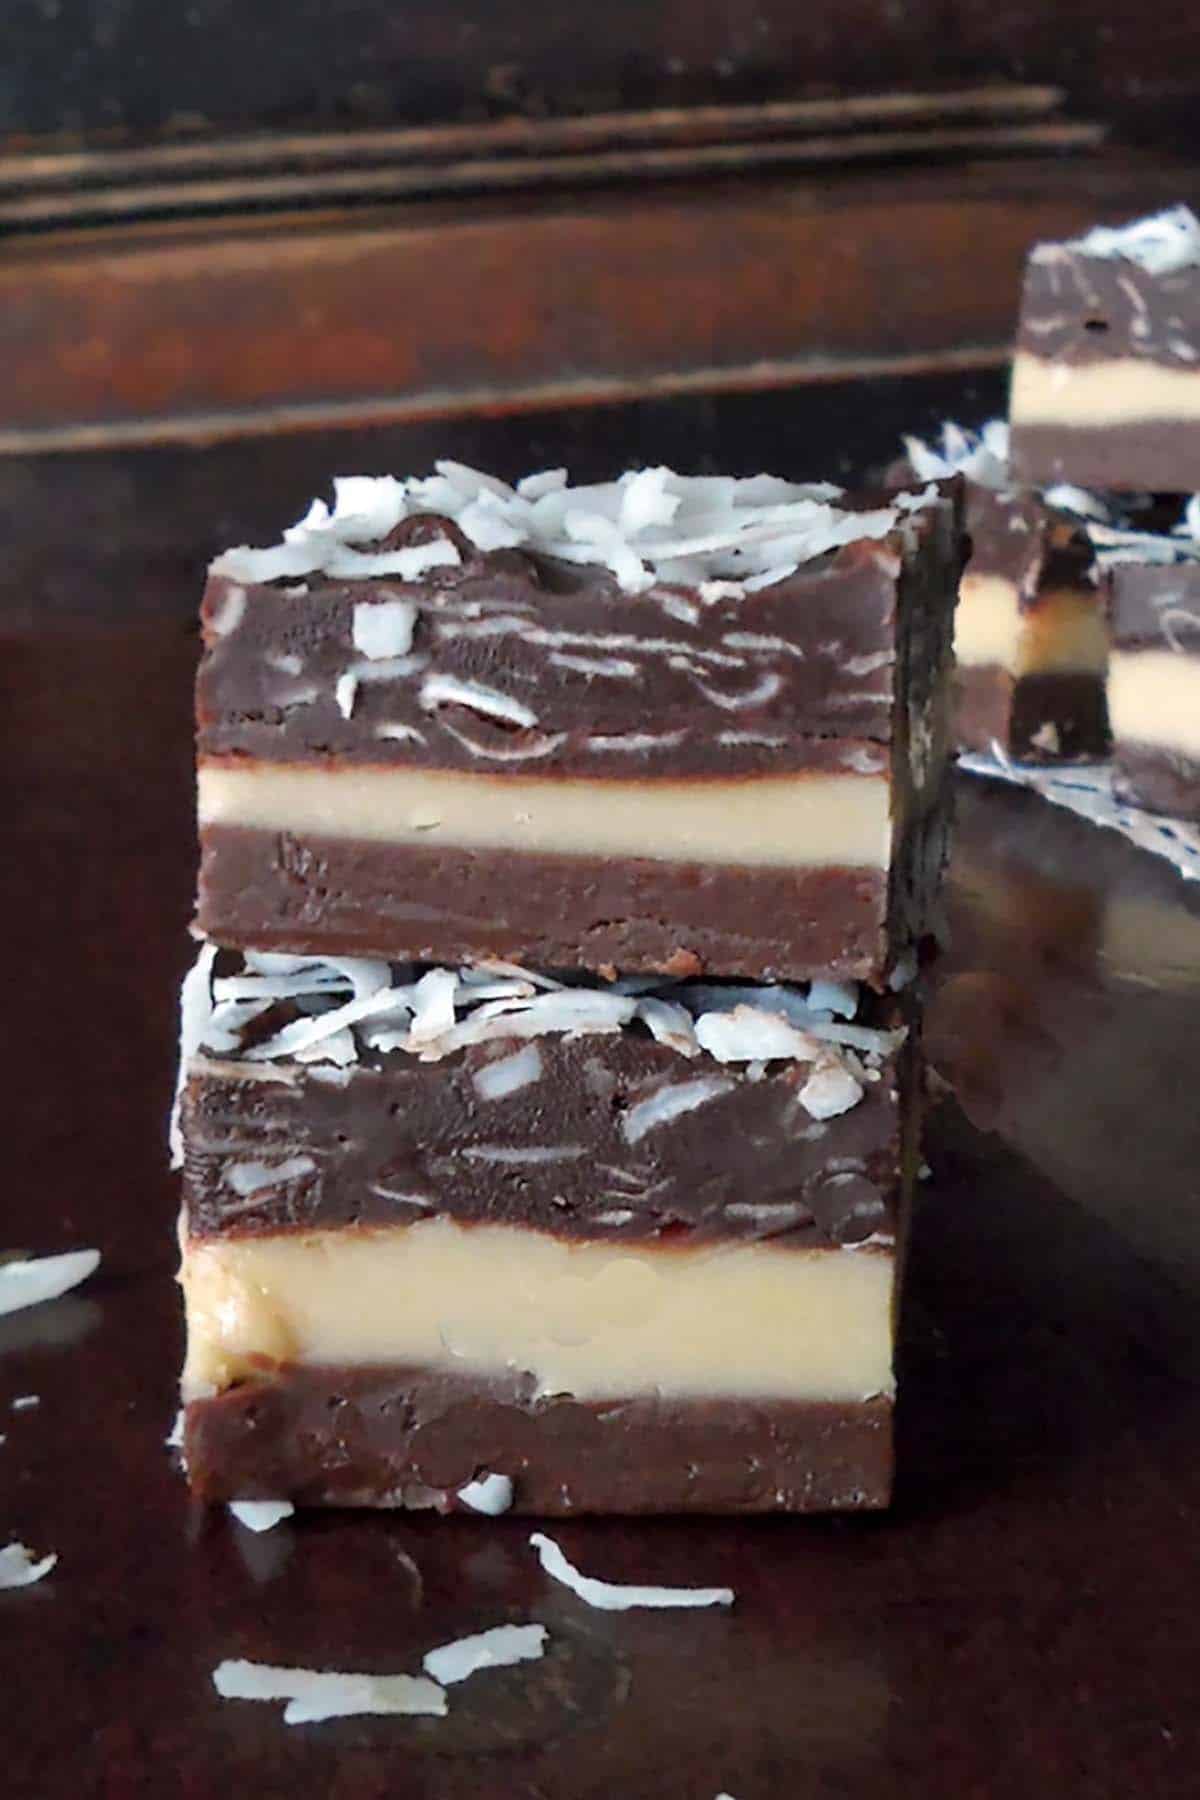
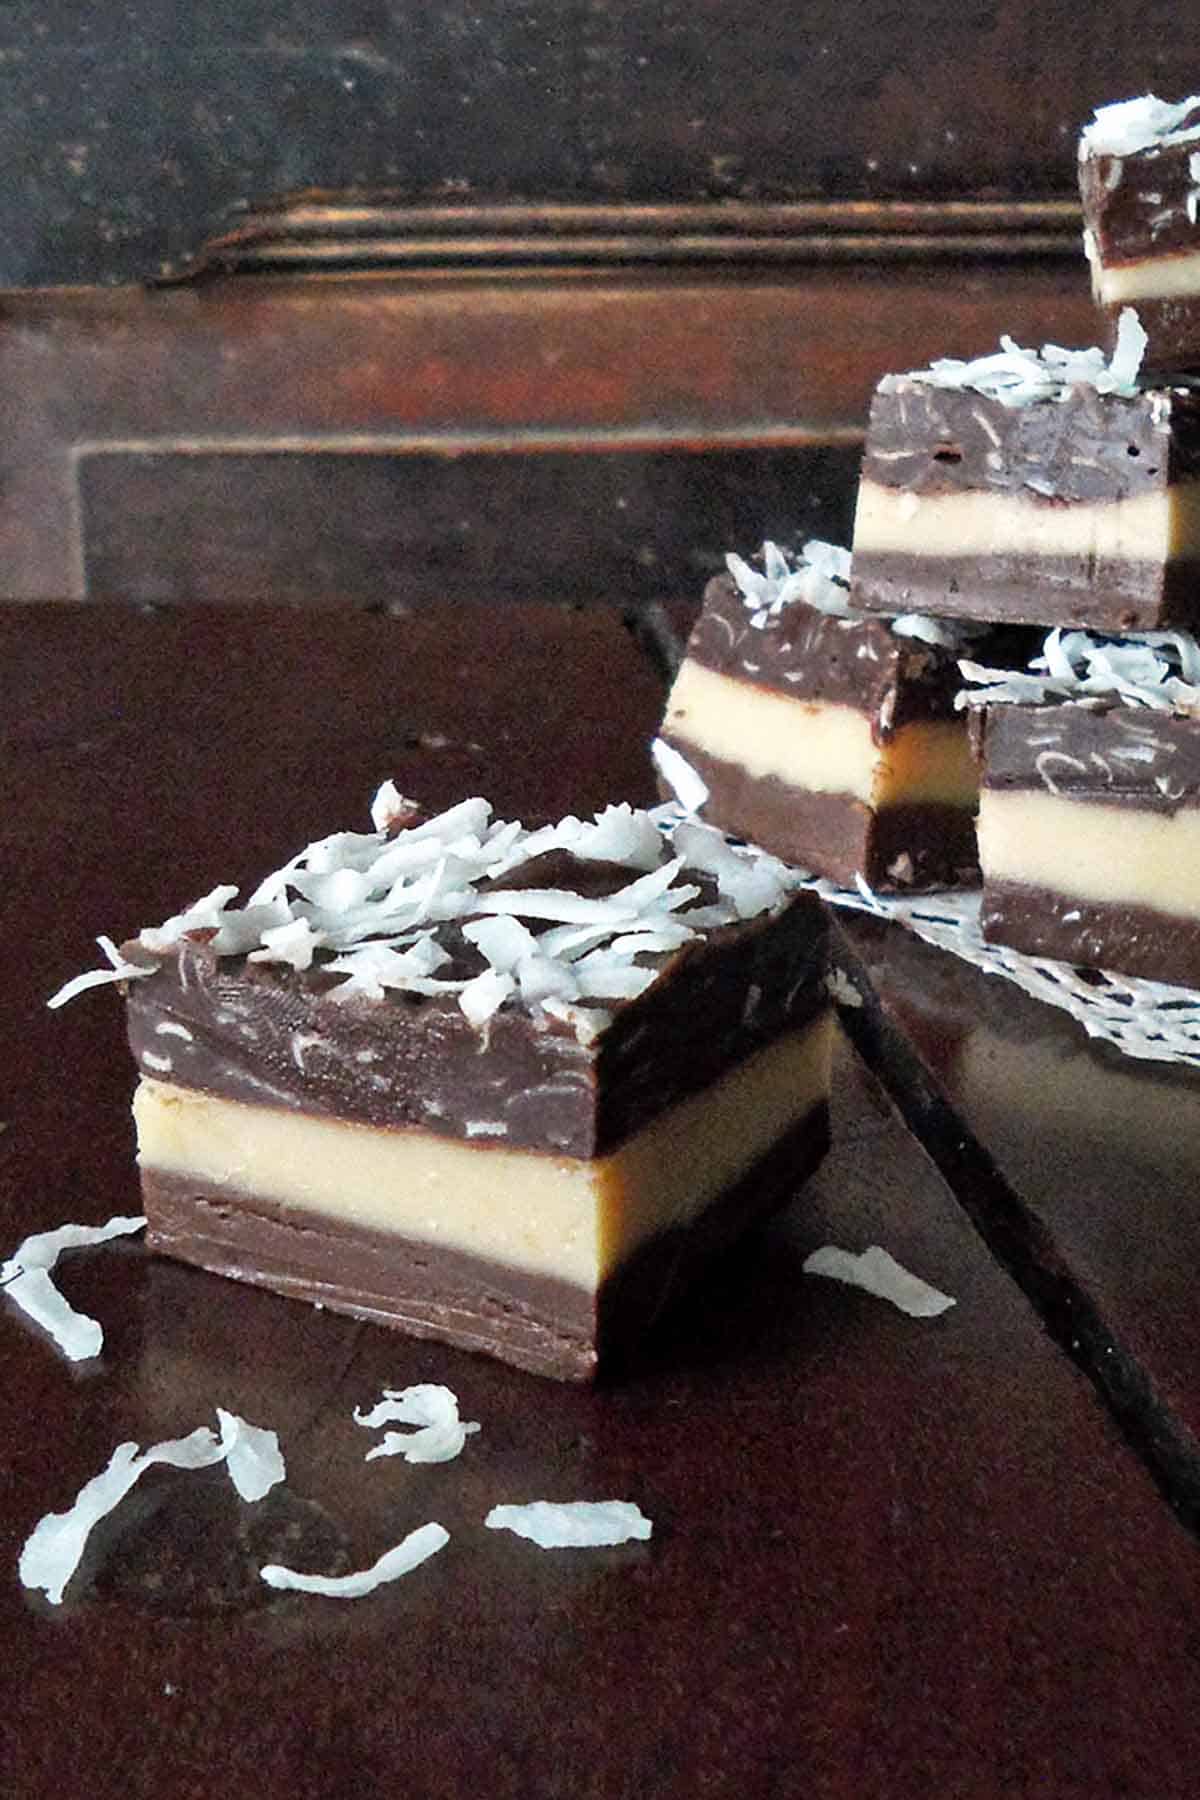
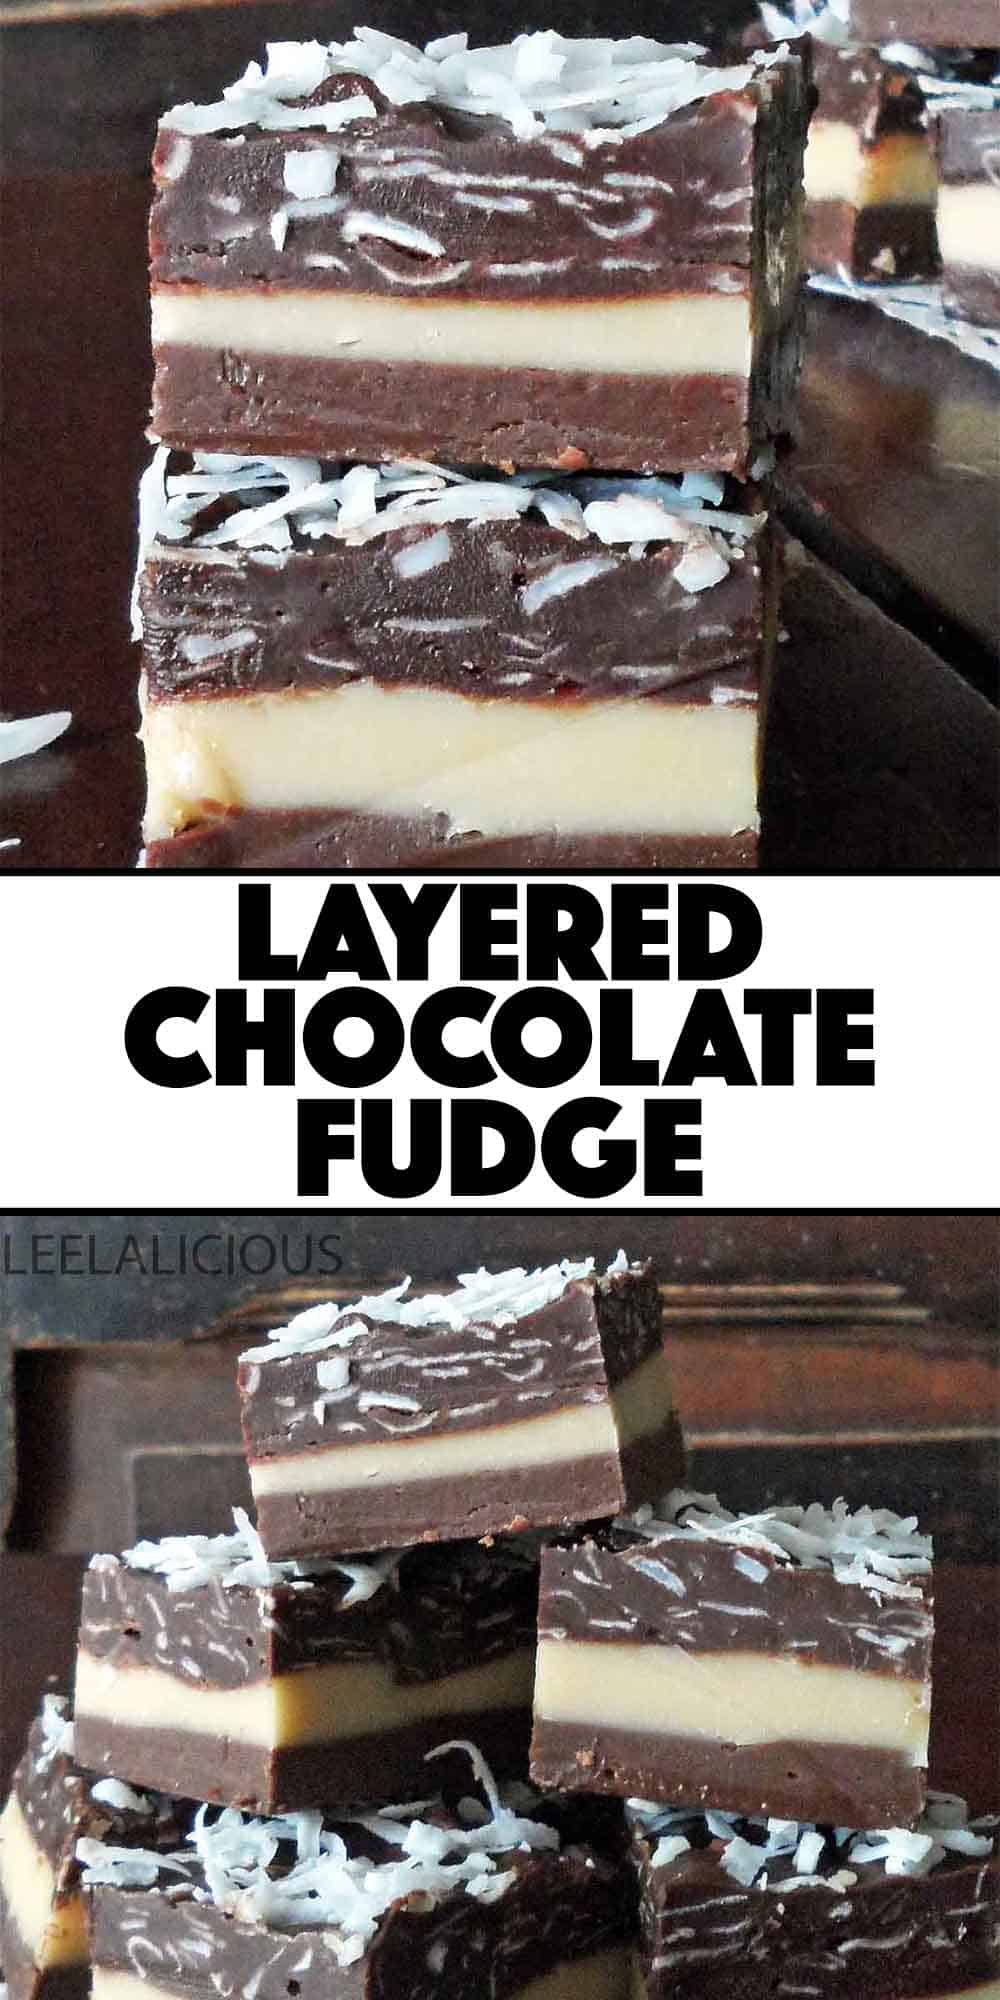
This Triple Chocolate Fudge combines 3 different fudge flavors into one delicious layered fudge treat. The flavor layers are Mocha Milk Chocolate Fudge, creamy Peanut Butter Fudge and Coconut Dark Chocolate Fudge.

Colds simply suck!
Everyone in agreement say Aye.
But you know what sucks even more? Having a cold while being pregnant. None of my usual choices for medication or relief are an option. Echinacea? Not recommended during pregnancy - too little research. NeoCitran? Big no no. The are no studies in humans but results in animals indicate it could hurt the unborn :/
Ugh...ok. I'll suffer through it for you, little one. So all I can do is get lots of rest, good nutrition (trying myself on a bone broth today), steam inhalation, ointment on my poor nose that is rubbed sore despite lotion-infused Kleenex.
Colds, Babies, Vietnam, and Fudge
Ok, maybe not all of these are pure medical advice, but they help me get through this phase. It's not only physical health; it's overall well-being. Seems like pregnancy makes me an even whinier sick person than usual. Sorry in advance if you came here just to read about sweet fudge and happiness.
The last time I had this nasty of a cold was almost a year ago while we were still traveling in Vietnam. Back there I had to use TP as Kleenex and had a tough time communicating with the pharmacist.
You know what else I did in Vietnam? I made this ridiculously awesome triple-layered fudge (I'm proud of that segway). Back then, I still had my old point-and-shoot camera, but there was this wonderful antique desk in our room that served as my photo backdrop.
Why did it take me so long to post about this fudge? I have no idea.
It's Taken Awhile, But Here Is the Fudge In All Its Glory
Well, I made three different fudge varieties while in Vietnam (there are only so many treats you can make without an oven) and I was worried you might be fudged out. Then we returned to Canada and I couldn't wait to share actual baked goodies with you. Then I got a nice camera and wanted to post only pictures taken with it. Then I thought Christmas time would be great for a decadent triple-layered fudge recipe. But... I got pregnant and was totally out of blogging commission around Christmas.
Anyway, you can see I have no shortage of excuses 😉 You, however, my dear friends, have no excuse not to try this fudge (Boom, I'm precise with my segways this post). There are 3 layers of awesomeness. We are starting with Mocha Milk Chocolate Fudge at the bottom, creamy Peanut Butter Fudge in the center, and Coconut Dark Chocolate Fudge at the top. Something for every flavor preference.
My easy way of making fudge does not require the complicated boiling of milk, sugar, and butter to a softball stage. Instead, I am using sweetened condensed milk, and due to this, the whole fudge-making process becomes a breeze. There is some cooling time involved between each layer of the fudge to prevent them from forming together.
If for some reason you want to make a full tray of only one flavor, you can simply triple any of the flavor recipes. Enjoy, my dear friends!
Recipe
Triple-Layered Chocolate Fudge
Ingredients
Divide between the 3 layers
- 1 can sweetened condensed milk 14 oz. - divided
- 2 tablespoon butter divided
Mocha Milk Chocolate Layer
- 5.5 oz. milk chocolate
- 1 tablespoon instant mocha powder or ½ tablespoon instant espresso powder; I use Starbucks VIA Ready Brew
Peanut Butter White Chocolate Layer
- 4 oz. white chocolate
- 2.5 tablespoon smooth peanut butter
Coconut Dark Chocolate Layer
- 5.5 oz. dark chocolate
- ½ cup shredded coconut more for sprinkling
Instructions
- Line a 8x8 inch baking pan with wax or parchment paper. Leave overhang on all sides for easier lifting out later.
Mocha Milk Chocolate Layer:
- In a small bowl stir together ⅓ of the can (good ½ cup) of sweetened condensed milk with the instant mocha powder. Heat the mixture up on top of a double-boiler (or in the microwave), stir occasionally until the mocha powder dissolves.
- Add in 1 tablespoon of butter and chopped up milk chocolate. Place back on top of a double boiler and cook for about 8-10 minutes. Stir occasionally until the mixture is melted and smooth and has thickened. Pour into prepared pan and chill before adding the next layer - half an hour in the fridge or 15 minutes in the freezer.
Peanut Butter White Chocolate Layer:
- Heat up peanut butter and ⅓ can (about ½ cup) of sweetened condensed milk on top of double boiler until mixture is combined. Add chopped white chocolate and continue heating and stirring until melted and smooth.
- Pour over chilled milk chocolate layer (has to be somewhat firm and set) and continue chilling.
Coconut Dark Chocolate Layer:
- Place remaining ⅓ can of sweetened condensed milk, chopped dark chocolate and 1 tablespoon butter into a small bowl.
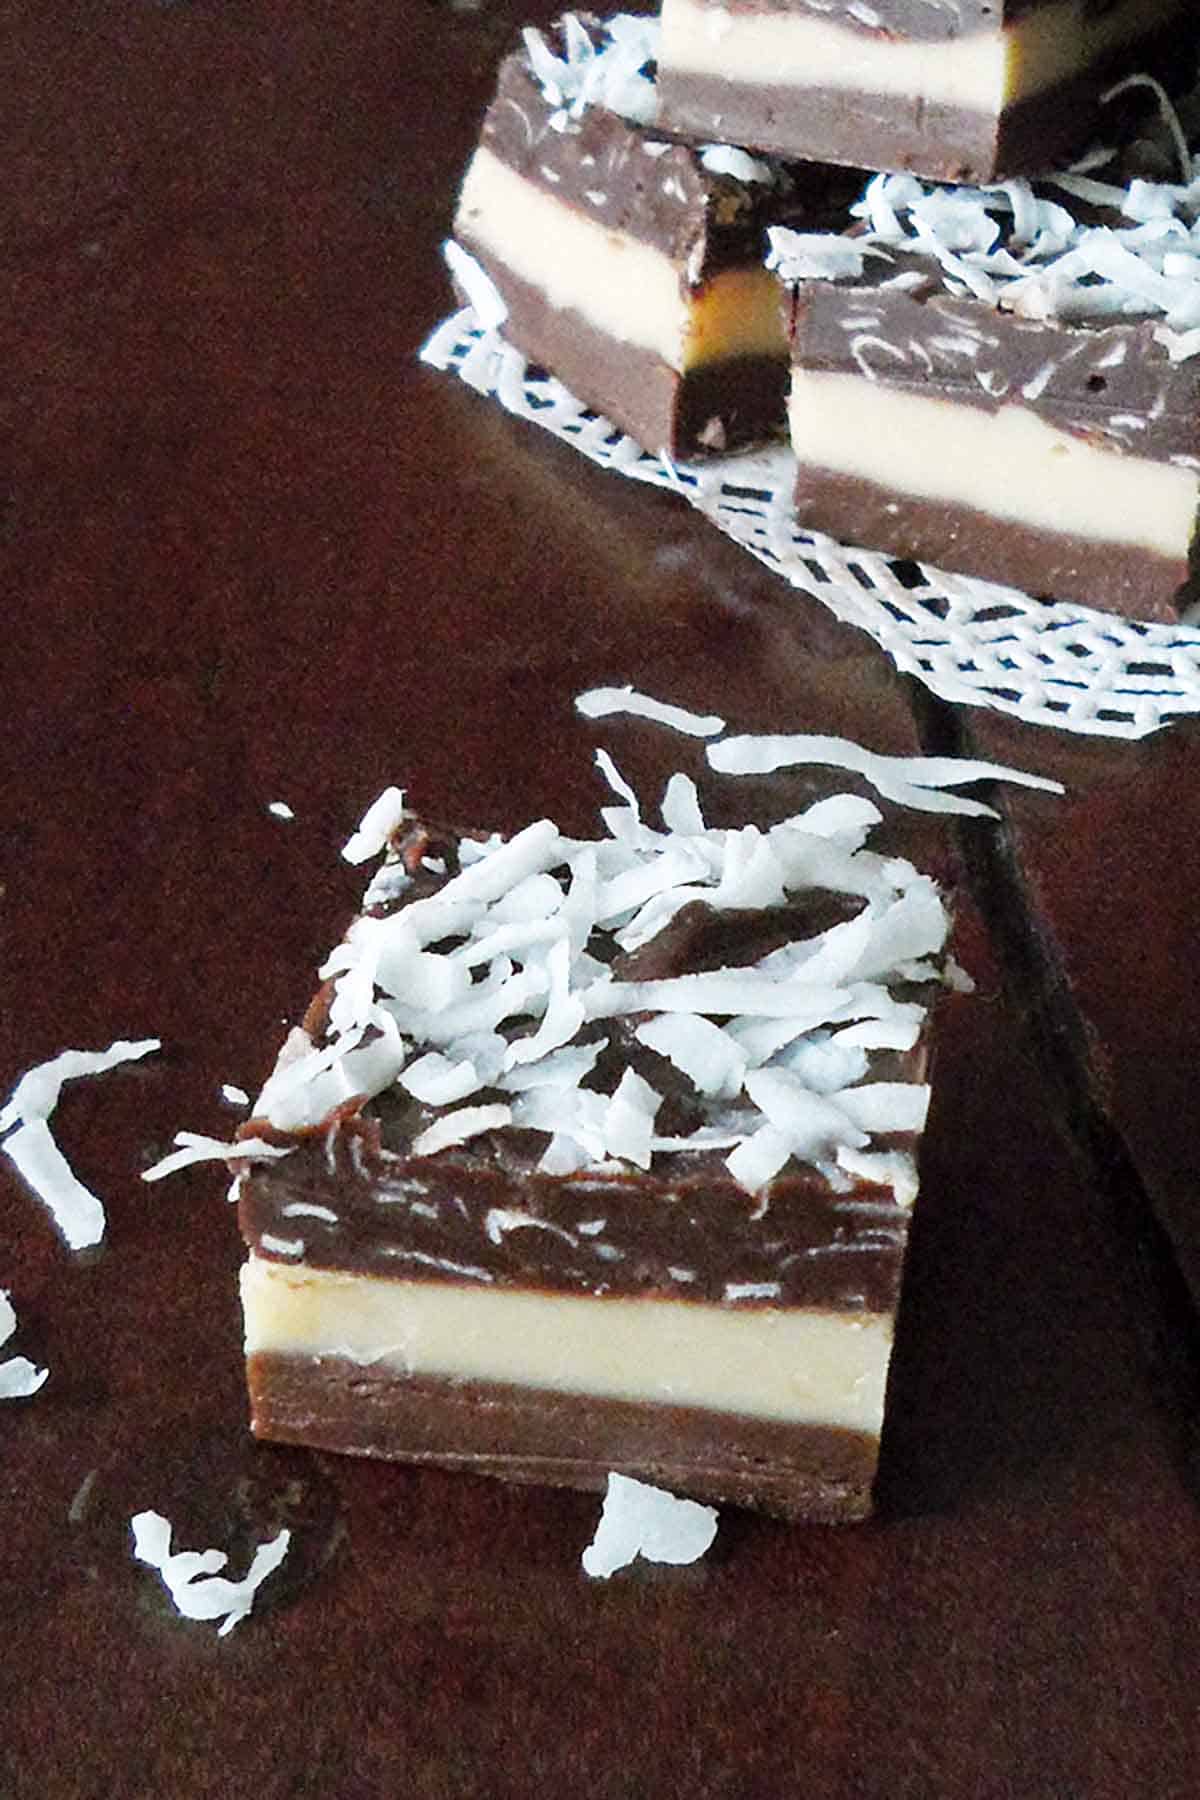
- Heat on top of a double boiler and cook for about 8-10 minutes. Stir occasionally until the mixture is melted and smooth and has thickened. Stir in shredded coconut and pour over set up peanut butter layer. Sprinkle with some more shredded coconut.
- Let the layered fudge set fully in the fridge for at least 2 hours, then cut into 1” pieces.
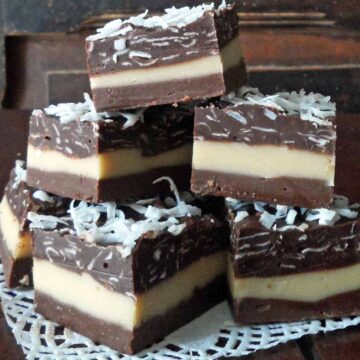
Pin this delicious Triple-Layered Chocolate Fudge for later?
Other Recipes You Might Enjoy
Check out these similar recipes!
Random Questions
Fudge is a type of confectionery made by mixing sugar, butter, and milk, heating it to the soft-ball stage, and then beating the mixture while it cools to produce a smooth, creamy consistency. Chocolate fudge, on the other hand, is a specific variation of fudge that incorporates chocolate or cocoa into the base mixture, resulting in a rich chocolate flavor.
The key to achieving smooth fudge lies in properly controlling the temperature during the cooking process. It is essential to heat the fudge mixture to the soft-ball stage without overcooking it, as overcooking can lead to grainy and crystallized fudge. Additionally, stirring the mixture gently during cooling can help achieve a smoother texture.
Milk chocolate refers to a type of chocolate that contains a higher proportion of milk solids, giving it a sweeter and creamier flavor compared to other types of chocolate. Chocolate fudge, however, is a sweet confection made primarily from sugar, butter, and cocoa or chocolate, resulting in a dense, rich, and sweet treat that has a distinct fudge texture.
Several factors contribute to the firmness of fudge, including the cooking temperature, the ratio of ingredients, and the cooling process. Properly heating the fudge mixture to the soft-ball stage and ensuring it reaches the right consistency during cooling can result in a firmer texture. Additionally, incorporating ingredients such as corn syrup or condensed milk can contribute to the firmness and smoothness of the fudge.
Farai
Hi Regina, this recipe looks incredible! Does the fudge melt at room temperature?
Regina
It depends what room temperature is at your house 😉 I made this fudge while living in Vietnam. Tropical heat and humidity made this very soft at room temperature so I kept it in the fridge. But I believe in more moderate climate it will be just fine outside of the fridge.
Jacquee @ I Sugar Coat It!
For a moment, it felt like deja-vous, but then I remembered the other bars you shared while still in SE Asia, had peanut butter! OK, so now that we've established that I have not lost my mind (completely)... these sound and look delectable!
Regina
Haha...this is one of the reasons I put off posting this recipe for so long. It just looked so much like the Oreo Peanut Butter fudge. But I am glad I finally did. It is out of my draft folder and it was a lot more fun editing the pictures with a newer Photoshop on a screen better than my laptop 🙂
Mimi @ Culinary Couture
Love all the layers! Gorgeous pictures too!
Regina
Thanks so much Mimi. I give all credit to the vintage desk backdrop. Took these pictures a long time ago but maybe I have learnt a thing or two about picture editing since 😉
Danielle @ TheCharmItSpot
This looks SOO good!! Oh my, this is an awesome recipe! Thanks so much for sharing!!
Regina
Thanks so much for your sweet comment Danielle!